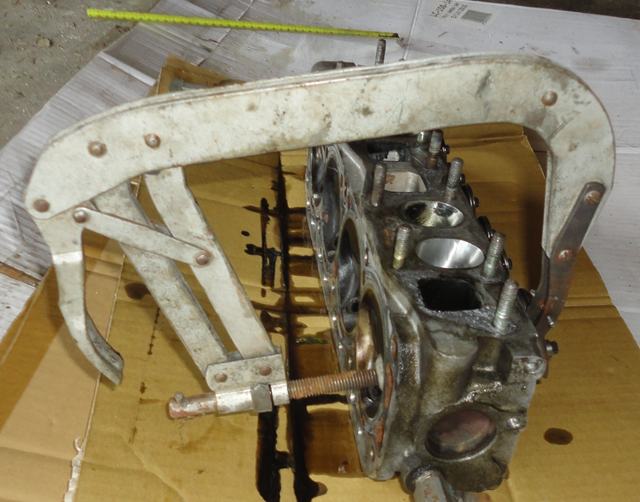
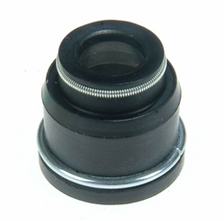
Valve stem seals. B110 originally used only O-rings, but later 1200s were fitted with valve shrouds (umbrella seals) on the intake valves. Later A-series engines moved to a lip-seal type that fits over the valve guide (positive seal) and were fitted to all valves.
Contents |
Overview
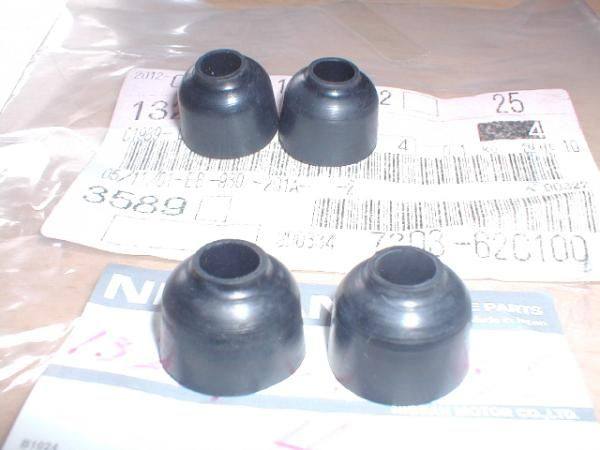
B210 used umbrella seals on all eight valves. B110 originally used only O-rings, but later 1200s were fitted with umbrella seals on the intake valves.
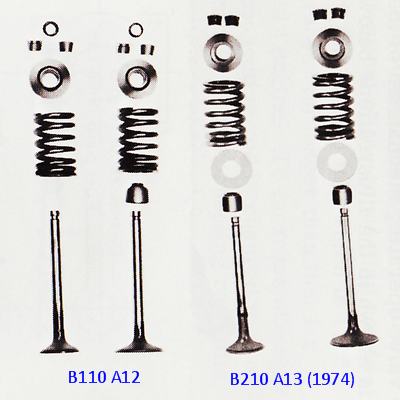
Aftermarket seals come in various types, as this MGB graphic shows

1 and 3 have Teflon inserts
POST diymark: I used the positive type seals on the inlet so oil doesn't get sucked in under vacuum and the umbrella type ones on the exhaust as the extra oil allows better lubrication and cooling of the exhaust valve.
The O-ring is an original A-series item. The later spec is the positive seal (fits on the guide).
1972 July change: elimination of O-rings
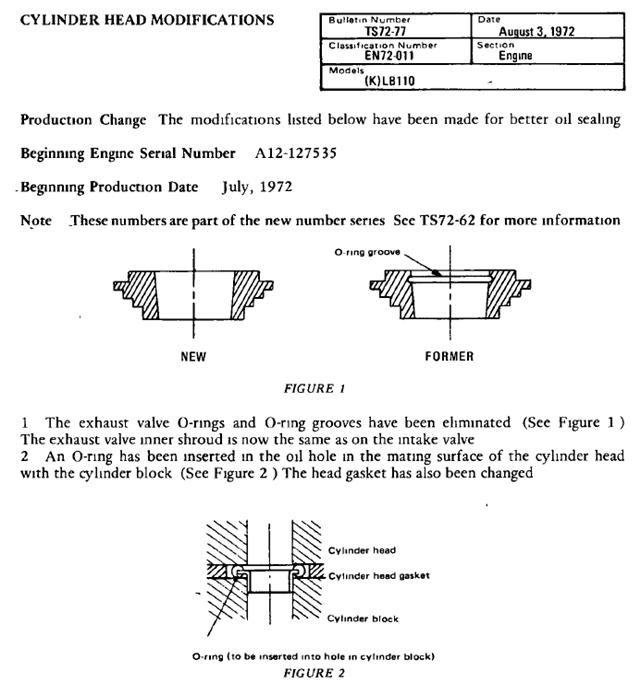
POST ddgonzal: I like the umbrella seals best -- they just fit on the stem, not on the guide. Umbrella seals shield the valve stem from getting oil in the first place, so keep oil from going down the guide. For racing where the heads rebuilt regularly either will be fine. For new heads, Nissan chose to use the positive seal.
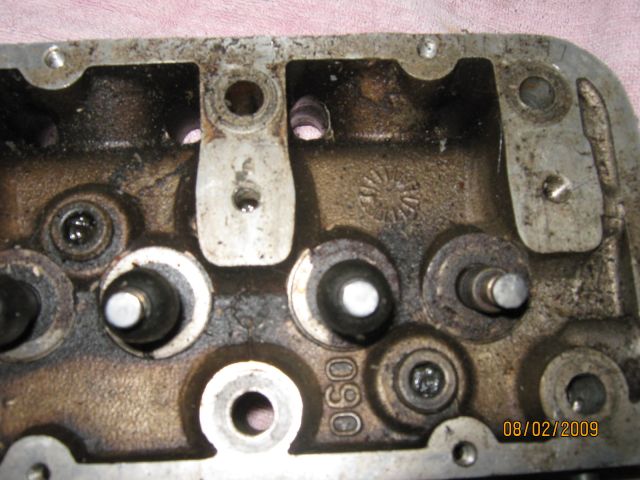
Umbrella seals installed, except last valve has no seal:
If the smoke is totally white and dissipates into the air, it is water vapor. If it is white with a tinge of blue that blows away, but doesn't evaporate into the air, it is burnt oil, yes probably from the valve seals. Sometimes just replacing the seals will help (and you do not need to remove the head). But replacing the valve guides is usually needed to clear it up 100%.
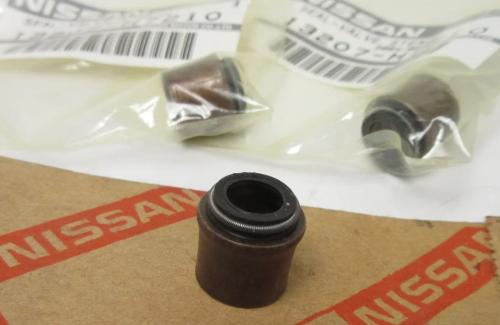
1975-up A-series Valve Seals (Positive Seal type)

Diagnosis
Symptoms of bad valve seals include 1) Puff of bluish smoke on starting the engine. But no smoke when revving the engine.
- worn or cracked valve guides
- incorrect size valve stem seals (not tight enough around the valve stem)
- Hard and brittle valve seals
- Improperly installed valve seals
- Torn valve seals
Remove the Rocker Cover and use a flashlight to look between the valve spring coils. If you see torn or missing seals, time to replace them. Or if you see one or two that have popped up off the guide, time to replace them.
Perform and Wet Compression Test to verify that the rings are still good. Otherwise, no valve seals won't fix the smoking problem.
The valve stem seals go bad due to:
- Heat causes them to get brittle and break
- Heat causes them to get hard and so stop sealing well
- Tearing or other physical damage sometimes occurs
Valve seals don't dry out as they are surrounded by oil, but Positive Seal types can get brittle and thus stop sealing correctly. Umbrella seals generally keep working when they get brittle.
In a good engine, oil covers the valve stem. The seal keeps it out of the guide. With old seals, there is no seeping, but oil runs down the valve through tiny gaps in the seal.
Replacement
- Compress the valve springs and remove the keepers, then the springs
- Remove old seals and put new seals on
- Re-fit the valve springs
You can replace the valve stem seals without removing the cylinder head. It's far more work to remove the head.
Remove Valve Springs
You can remove and replace the valve springs with the cylinder head installed on engine, or after it is removed.
Cylinder Head Off
With the head off you can use a regular cylinder head spring compressor. Compress the valve spring, then remove the keepers. Remove the compressor. Push the valve off the seat about 5mm then see if you can wiggle the valve stem side-to-side.
Cylinder Head On
The valve springs can be replaced without pressurizing the cylinder. You can change the valve springs without taking the head off, without using air pressure. I have used the following methods:
1. Clean rubber hose fitted into the cylinder
2. Clean thin rope pushed into cylinder
Then rotate the piston up, and it holds the valve from dropping
Method 1: Rope Trick
Remove all spark plugs and turn the cylinder until distributor rotor is pointing somewhat before the plug. Then feed in clean 1/4" (5mm) rope until the cylinder is filled. You can also use clean new vinyl hose. Then rotate the engine the rest of the way. The rope will hold the valve from dropping when you undo the spring.
Method 2: Compressed Air
By pumping the cylinder full of air with piston at TDC.
I got an old spark plug, and busted the ceramic part out, and then braised in a fitting that is the same as the tire valve stem.
If you use air you need to have the piston at top dead center otherwise it will try and turn the engine. 10 psi is all that is needed to hold the valves up. A Leakdown Tester is an ideal tool for adjusting the air pressure.
If it's still on the engine, you can do what I always do:
- remove spark plugs
- feed clean small-diameter soft tubing
- turn crank until piston stops
- change the seals
- repeat next cylinder
The tubing inside the cylinder holds the valves from falling down.
With head on engine, take out spark plug, rotate to TDC for that cylinder, insert clean rubber tubing, as much as will fit. This will hold the valve in place. Remove rockers from shaft (on some engines, you can leave them on).
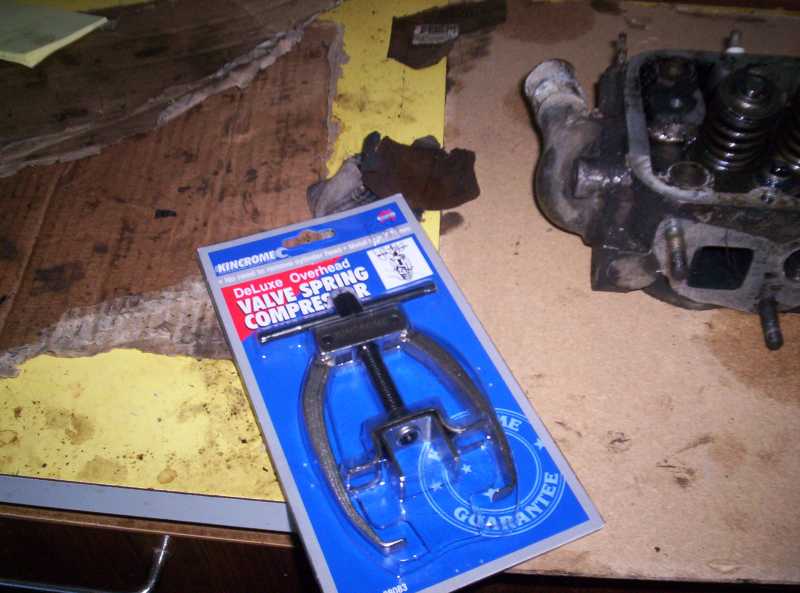
Use a fork type or bar type or an On-Engine Valve spring compressor.
On-Engine Valve Spring Compressor
Or use a forked bar to push the spring down.
Or a bar with a hole in it. The bar I have is basically flat stock turned up on the sides for strength. It's a simple device. I bought it at NAPA 25 years ago, and they still sell it.

Keeper Removal
Remove the two keeper halves (collet), then uncompress the spring. Lift the valve & retainer off. Note the position of the spring so you can reinstall it correct-side up.
NOTE: Be careful not to move the spring seat "washer".
Do one valve at a time, to avoid mixing the parts.
Replace Seals
- For O-ring type, pick the old O-ring carefully off the valve stems. A small pocketknife can be used.
- For Umbrella type, lift them straight off
- For positive seal types, carefully pry the metal base off the guide
Next fit the plastic valve stem protector over the valve. Then slide the new seal over the stem. Tap lightly into place on the guide.
Reinstall Valve Springs
Reinstallation is reverse of removal. Be sure to fit the valve correct side up.
Part Numbers
A-series valve seals (positive seal type) are the same as the Nissan SD25 engine and J18 engine.
B110 O-RING
13207-18000 SEAL-OIL VALVE (INTAKE ONLY) (8) -0672 $1.11 USD

UMBRELLA SEAL
13219-H1000 SHROUD-VALVE INNER (8) A12 0772-
13219-H1000 SHROUD-VALVE INNER,FOR TROPICAL REG (8) OP A12
* Also B120 -8503
13207-H2301 SEAL-LIP VALVE OIL (INTAKE ONLY,KEEPER) 4 OP A12
13207-H2300 SEAL-oil valve (intake only) GX
13207-H2310 SEAL-LIP,VALVE,OIL (INTAKE ONLY,NOK) 4 OP A12 $4.62 USD
13207-H2300 SEAL-LIP VALVE OIL (NDK) 8 B210 1974
13207-H2310 SEAL-LIP VALVE OIL (NOK) 8 B210 1974
POSITIVE SEAL
13207-H7210 SEAL-LIP VALVE OIL (NOK) 8 B210 1975-1978
13207-H7200 SEAL-LIP VALVE OIL (NDK) 8 B210 1975-1978
Also B120 8504-
Aftermarket
* Fel-Pro SS27283
* Beck/Arnley 0221446
* Sealed Power MV1796 (Umbrella type)
** Upper Inside Diameter: 0.315
** Overall Length: 0.718
** Inside Length: 0.625
** Seal Outside Diameter: 0.89
** Type: SS
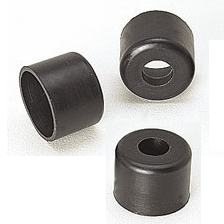
B310 - positive seal type -Can be used on all A-series
* 13207-H7200 SEAL-OIL VALVE (NDK) (8) $4.93 USD
* 13207-H7210 SEAL-OIL VALVE (NOK) (8)
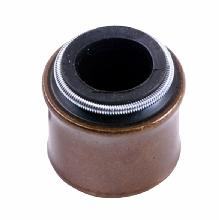
13207-H9200 A14E/A15E <> 13207-H9210
B310 VAN continues to use 13207-H1000
L-series
- 13207-21002 SEAL-OIL,VALVE
- Upper Inside Diameter: 0.27
- Overall Length: 0.56
- Inside Length: 0.35
- Seal Outside Diameter: 0.64
- Type: TP
The lip-seal type is different for A-series and L-series. This is the type that fits over the valve guide. It is the "normal" type for L20B, is the same as Chevy 4, Isuzu, KA, VG and L-series.
シール バルブ ガイド オイル

![[Datsun 1200 encyclopedia]](/wiki/upload/wiki.png)


