![[Datsun 1200 encyclopedia]](/wiki/upload/wiki.png)
Contents |
Introduction
Trouble shooting is a process of elimination, and provided the procedure is carried out correctly and systematically, an accurate diagnosis of the trouble can be made in the minimum amount of time.
Engine Won't Start
For an internal combustion engine to run there are three basic requirements, these are
- Ignition (spark)
- Fuel
- Compression
There are other factors of course, but usually when an engine fails to start it can be attributed to a fault in one of these three systems.
The most common causes of an "engine won't start" issue are ignition or electrical failure. Also common is fuel problems (gasoline not flowing). Finally, mechanical or compression failure the least common.
Before getting into ignition troubleshooting it is worth checking: is there fuel in the fuel tank? If yes begin the ignition/electrical diagnosis.
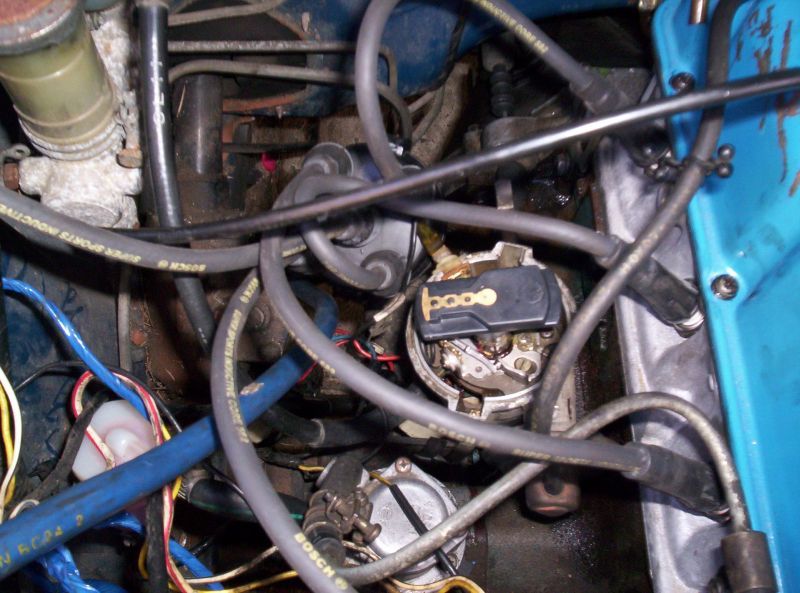
Ignition and Electrical Systems checks
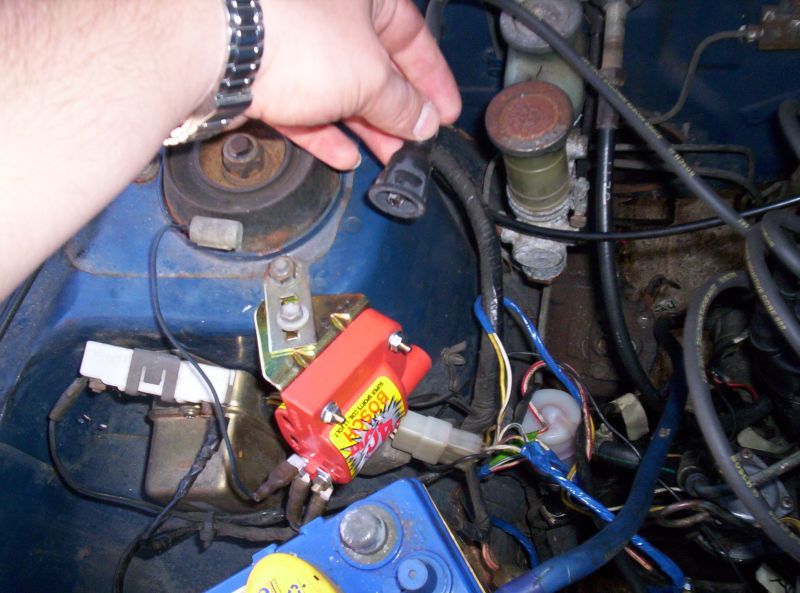
Also see Spark Test
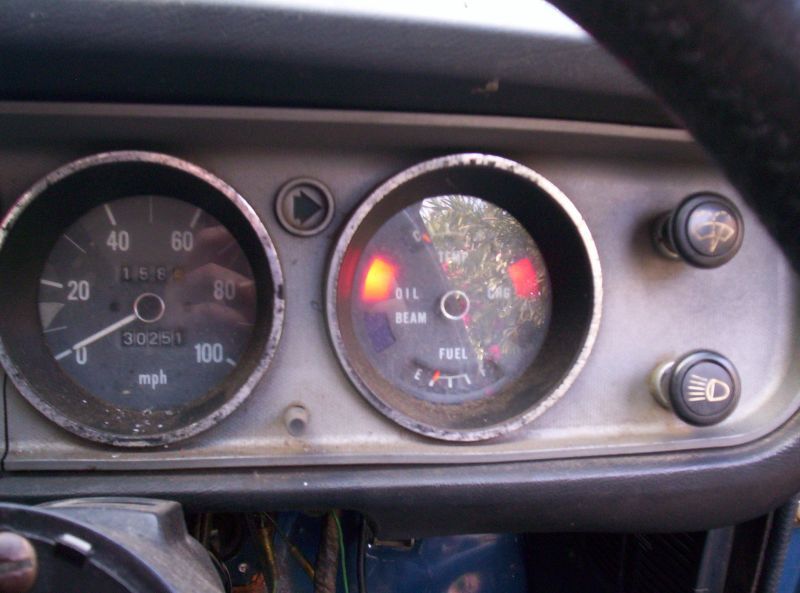
- Switch on the ignition and check for warning lamp illumination:
-
- Operate the starter switch and check that the starter rotates the engine at a steady speed.
- Switch on the headlamps and check for good light intensity.
-

Results: Should the lamps not illuminate or the starter motor not turn the engine, carry out the following action:
- Remove the battery terminals and clean both terminals and posts. Refit the terminals and tighten firmly but not excessively.
- Check that the earth lead from the battery to the engine and body frame is not broken and that the connections are clean and secure.
- Check that the lead from the battery to the starter motor or starter solenoid is intact and with a clean and secure connection.
- Where necessary carry out repairs
Again carry out the check procedure. Should the starter motor still not operate, or the lamps illuminate, then one or more of the following faults may be the cause:
- No starter motor operation or lights: Battery flat or defective.
- Lights illuminate but no starter operation: Starter motor drive jammed in mesh with flywheel ring gear. Starter motor or solenoid defective. Ignition/starter switch faulty.
- Lights dim and starter motor operation sluggish: Discharged battery or fault in starter motor. Battery flat due to broken fan belt or defective alternator. Faulty battery due to cell breakdown.
If the battery and starter motor operation prove satisfactory but the engine still fails to start continue as follows:
- Disconnect a spark plug lead and position the terminal within 3 mm of the cylinder head. It may be necessary on leads fitted with terminal insulation to use a piece of wire, a split pin or screwdriver as an extension to the terminal.
- Have an assistant switch the ignition 'ON' and operate the starter switch.
- Check that the spark, if any, jumps the gap to the cylinder head. If there is no spark or the spark is weak or yellow, carry on with next step. If the spark is satisfactory skip the next step.
- Disconnect the coil lead from the distributor cap and carry out the check procedure previously described for the spark plug lead in points (1) to (3). If there is a strong blue spark then the fault lies within the distributor. Should there be no spark or a weak and yellow spark on both or either of the tests, then carry out the following action.
- Check the spark plug leads to ensure that they are perfectly dry and that the insulation is not cracked.
- Check the distributor cap to ensure that it is dry and clean. Examine both inside and outside of the cap for cracks or tracking, particularly between the spark plug segments in the cap.
- Check the rotor arm for cracks, deposits or burning on the metal arm.
- Ensure that the spark plug leads and the coil lead have dry, clean and secure connections in the distributor cap.
- Check that the wires to the ignition switch side of the coil and from the contact breaker side of the coil to the distributor are intact and have clean secure connections.
- Check that the carbon brush in the centre of the distributor cap interior face is clean and dry and ensure that it moves freely in and out of the locating hole.
- Check that low tension current is reaching the ignition coil when the ignition is switched 'ON' by using a test lamp between the coil low tension terminals and a good earth. Ensure that the breaker points are open or insulated when making the test. Should the test lamp light on the ignition switch side of the coil but fail to light on the contact breaker side of the coil then it is possible that the coil primary circuit is faulty. Remove and test the coil or replace it with a known serviceable unit.
NOTE: If a test lamp is unavailable the low tension lead can be disconnected from the ignition switch side of the coil and 'flashed' to a good earth in order to check for current flow. Similarly the other low tension lead can be disconnected at the distributor and 'flashed' to some other good earth to check for current flow. Ensure that the ignition switch is in the 'ON' position.
- Check and if necessary clean and adjust the contact breaker points. See the appropriate heading in the Engine Tune-up section.
- Ensure that the distributor low tension leads and the earth wire are intact, clean and secure.
Again carry out the check procedure. Should there still be no spark or a weak and yellow spark, then one or more of the following faults may be the cause:
- Defective coil, capacitor or high tension leads. If the contact breaker points showed severe burning or pitting of the point faces in the previous check then this would indicate a possible capacitor failure. Renew the capacitor and contact breaker points.
If the above checks prove the spark to be satisfactory but the engine still fails to start, remove all the spark plugs and check their condition and electrode gap.
Fuel System Checks
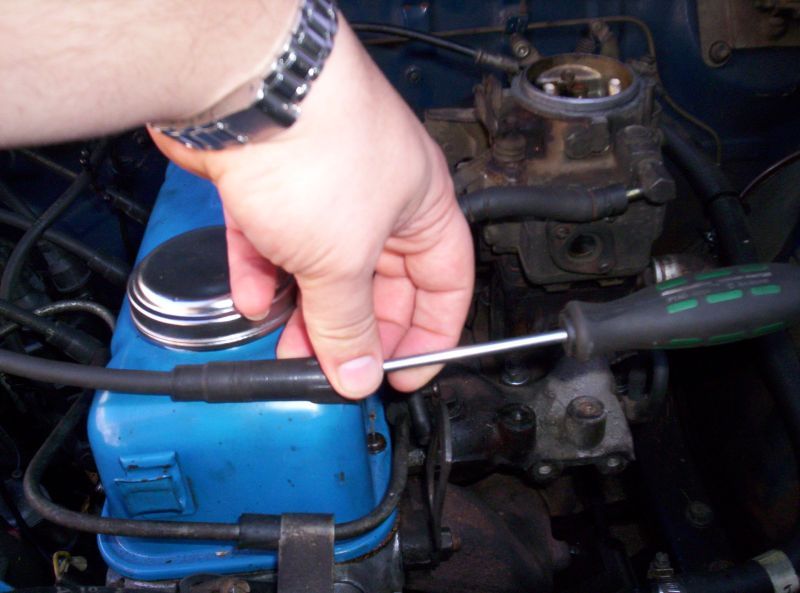
Check there is clean fuel in the fuel tank by unscrewing the fuel tank drain plug and draining a small quantity into a clean container.
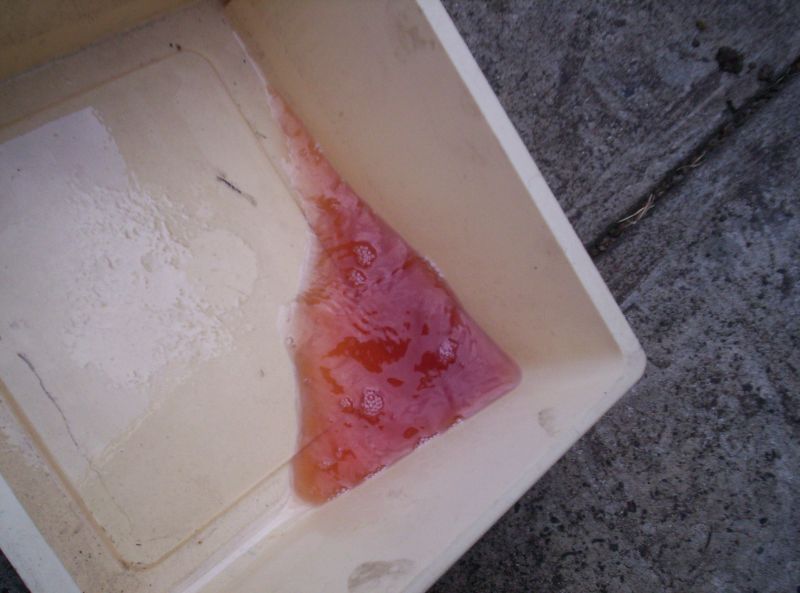
Results:
- Water at bottom of fuel. You need to drain the tank and refill with clean fuel.
- No water, and no dirt. You are OK.
- Dirt: drain tank, filter the fuel and fill tank again
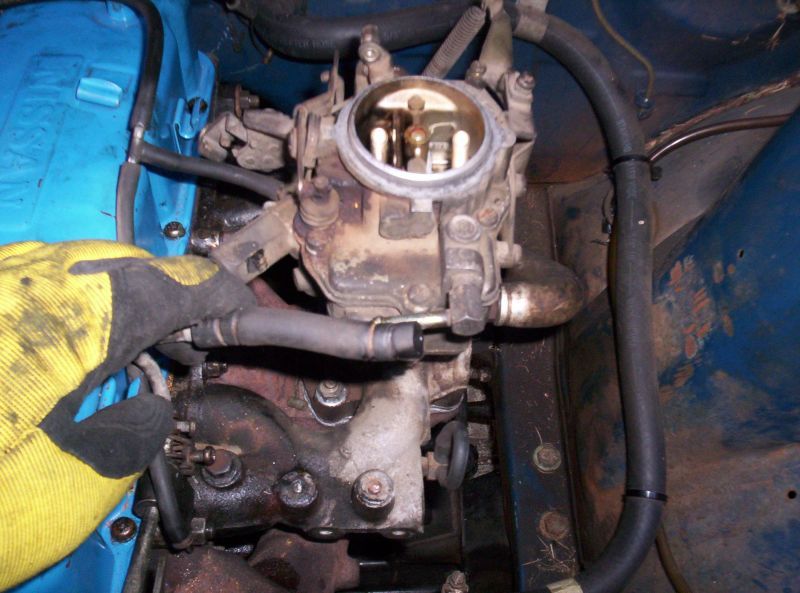
1) Determine if there is fuel in the carburettor float chamber. To do this, remove the air cleaner assembly from the carburettor and with the choke valve open look down the carburettor throat. While looking down the carburettor throat open and close the throttle several times by actuating the throttle linkage by hand.
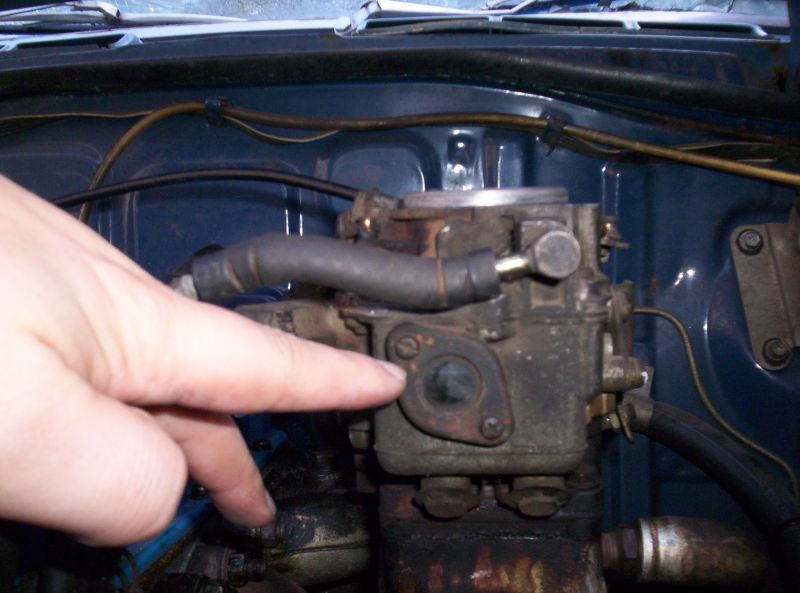
Results:
- If squirts of fuel are seen to discharge from the accelerator pump discharge nozzle it is an indication that the carburettor float chamber is full of fuel and that the fuel system is functioning satisfactory.
- If on the other hand no fuel is being discharged from the accelerator pump nozzle then proceed, checking as follows:
2) Pull the lead from the top of the coil or remove the distributor rotor arm to prevent the engine from possibly starting during the next part of the test.
3) Disconnect the fuel supply hose at the carburettor and position the end in a suitable container. Have an assistant operate the starter and note if fuel is being discharged into the container.
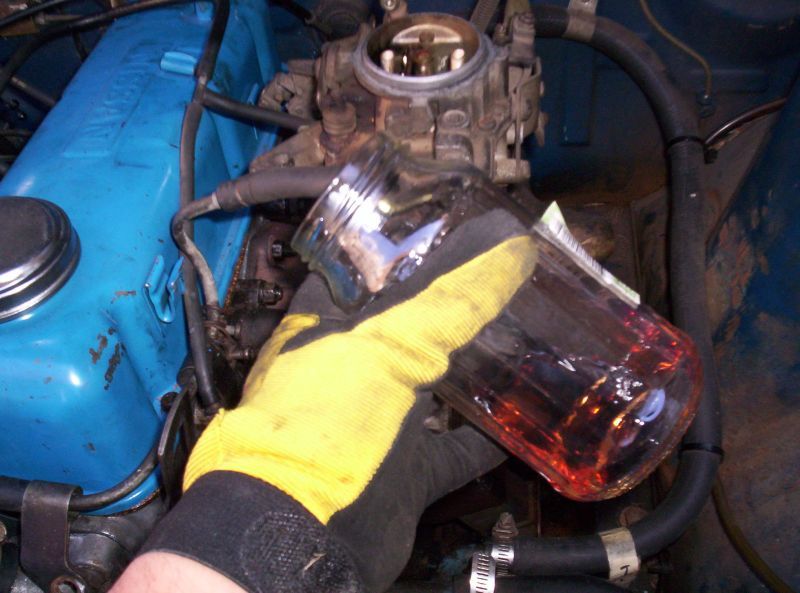
Proceed to point 7) if the fuel flow is satisfactory, if not, continue with points 4) to 6).
4) Disconnect the fuel supply hose from the tank to the inlet side of the fuel pump.
5) Remove the fuel tank filler cap and have an assistant listen at the tank filler aperture. Blow down through the fuel pipe towards the tank and provided the pipe is clear, air bubbles will be heard in the tank.
6) Reconnect the fuel hose to the pump and again check for fuel delivery from the fuel pump. If there is no delivery of fuel to the carburettor side of the fuel pump then one or more of the following faults may be the cause:
- No air bubbles heard on tank test: Fuel line obstructed or fractured. Fuel filter blocked.
- Air bubbles heard in tank but no delivery from fuel pump: Faulty fuel pump.
7) Should there be a satisfactory supply of fuel at the carburettor end of the fuel pipe but the engine will not start, carry out the following additional procedures:
- First check that flooding is not the cause due to excessive use of choke and/or accelerator when attempting to start the engine.
- Remove the spark plugs and check for petrol saturation of the electrodes, if evident thoroughly clean and dry before replacement.
- If flooding persists, check the float and needle valve for sticking and also ensure that the float is not punctured allowing it to fill with fuel.
- Check the air cleaner for a choked element. If flooding is not the cause and there is an adequate supply of fuel to the carburettor, one or more of the following faults may be the cause:
- Stuck or obstructed needle valve.
- Choke valve not closing correctly.
- Air leaks around the inlet manifold or carburettor mounting flanges because of distortion or defective gaskets.
- Fractured hose or loose connections between the brake servo unit and the inlet manifold.
Also See: Carburetor Diagnoses
Mechanical System Checks
The following check procedure assumes that the starter motor will rotate the engine, if not, press in the clutch to disengage the engine from the transmission in case the fault lies within the transmission.
If the starter will still not rotate the engine it will be necessary to remove the starter motor and attempt to turn the engine over manually. This will establish whether the fault lies with the starter motor which could be jammed or defective, or, the engine which could be seized or have broken internal components such as connecting rods, pistons and crankshaft etc. If the starter motor is not at fault and the engine will not rotate manually then refer to the Engine will not rotate Trouble Shooting section below for the possible causes.
It should be noted that the only way that compression can be accurately tested is by means of a compression test gauge. The crude method described in the following check procedure is only intended to give a rule of thumb indication when checking the causes of engine breakdown.
- Remove the radiator cap and check for loss of water from the radiator. If so, check carefully for any indication of external leakage and remove the engine oil dipstick and check for emulsification of the oil. When water mixes with oil it will turn creamy and the oil level will also have increased. If the oil is emulsified the following checks are not required.
-
- Isolate the ignition by disconnecting the lead from the top of the coil. Remove each of the spark plugs in turn and firmly block the spark plug hole in the cylinder head with the pad of the thumb. While having an assistant fully open the throttle and operate the starter switch to rotate the engine, check that the compression is strong enough to force past the thumb sealing the plug hole. Also examine the thumb and spark plug previously removed for indications of water.
If the above checks show a loss of water and this is evident in the engine oil or on the thumb or on the spark plug, then one or more of the following faults may be the cause:
- Blown cylinder head gasket
- Cracked cylinder or cylinder head
- Warped cylinder head or cylinder block faces
If the crude compression check showed any weak, lack of or inconsistent compression, then any of the above faults could also be the cause plus the following:
- Broken piston(s)
- Burnt or broken valves
Provided the previous checks do not indicate an internal leakage of water continue with the following:
- Remove the distributor cap and with an assistant operating the starter switch, check that the rotor arm rotates as the engine turns over.
-
- Remove the rocker cover and again with an assistant operating the starter switch, check that all the valves open and close as the engine turns over.
-
If the rotor arm or the valves do not operate with engine rotation then one of the following faults may be the cause:
- Rotor arm does not turn but valves operate: Distributor drive shaft broken or drive gear stripped.
- Rotor arm and valves do not operate: Broken timing chain. Broken camshaft. Sheared drive key in crankshaft sprocket.
Provided all the previous checks have been carried out correctly and the operator is quite satisfied that none of the components are at fault then all that remains is for the ignition and valve timing to be checked.
It should be noted however, that if loss of timing proves to be the fault then the cause of this occurring must be sought if the vehicle has started and run satisfactory up to the point of engine failure.
NOTE: In order to check the ignition and valve timing it will be necessary to remove the distributor cap and the rocker cover and turn the engine clockwise via the crankshaft pulley until No. 1 piston is at tdc on the compression stroke. In this position the valves of No. 1 cylinder should be 'closed' and the distributor rotor should be pointing to the No. 1 high tension lead segment in the distributor cap.
Also See: Engine compression test
Engine will not rotate
If all the troubleshooting above has been done and still the engine will not rotate when you operate the starter switch review the mechanical causes below.
If the engine will not rotate potential causes include:
- Starter motor drive jammed: Remove starter motor, check and renew damaged drive and/or flywheel ring gear.
- Engine overheated and seized: Remove and dismantle engine, check and renew damaged components. See following note.
- Water in cylinder due to blown head gasket or cracked cylinder block or head: Remove cylinder head, if gasket is blown check for cylinder block and head warp, reface if necessary. Renew cylinder head or cylinder block if cracked.
- Broken crankshaft, connecting rod, piston etc. due to overheating, fatigue, etc : Remove and dismantle engine, examine and renew components as necessary.
- Valve head broken off due to overheating, fatigue, etc: Remove cylinder head, check head, piston
and cylinder for damage, repair or renew as necessary.
NOTE: Frequent jamming of the starter motor drive with the flywheel ring gear can be due to a bent starter armature shaft, damaged teeth on the drive and/or ring gear. With the starter motor removed the flywheel ring gear teeth can be examined through the starter motor mounting aperture. Replacement of the ring gear requires removal of the transmission and the clutch and flywheel on manual transmission models. The checking for a bent armature shaft can be done by rotating the shaft by hand while the end is held in close proximity to a fixed object.
Invariably when an engine seizes because of overheating due to lack of oil and/or water, damage is done to the bearings, pistons etc. Although there may be instances where an engine will restart and run after it has cooled down and the oil and water have been replenished, it will generally be found that oil consumption increases, oil pressure drops and the engine will be noisier, depending upon the degree of damage. When a cylinder head gasket blows allowing water into the cylinders, or compression loss between cylinders, it is essential to check the gasket faces on the cylinder block and head for warp. Sufficient water can enter a cylinder because of a blown gasket, cracked cylinder or head to prevent an engine from rotating, normally this is preceded by difficult starting, misfiring, excessive steam from the exhaust and loss of water from the radiator. By removing the radiator cap and allowing the engine to fast idle, bubbles may be seen in the top tank or alternatively, with the radiator cap on excessive discharge from the radiator into the reservoir tank.
Also see:
Lubrication System Diagnoses
Engine Trouble Diagnoses