|
|
| Re: racetech's 1200 SR20VE Project |
Subject: Re: racetech's 1200 SR20VE Project
by racetech on 2013/10/29 12:59:51
It's been a long road to get the car to the state that it currently is in, especially the last few months was tough, everything started feeling like work, but that is the case with so many things in life. Luckily for me the list of things to do was starting to shrink, well I was hoping for it, as one thing was finished the next one came up. Do not get me started on wheel speed probes.
Radiator Air Deflector
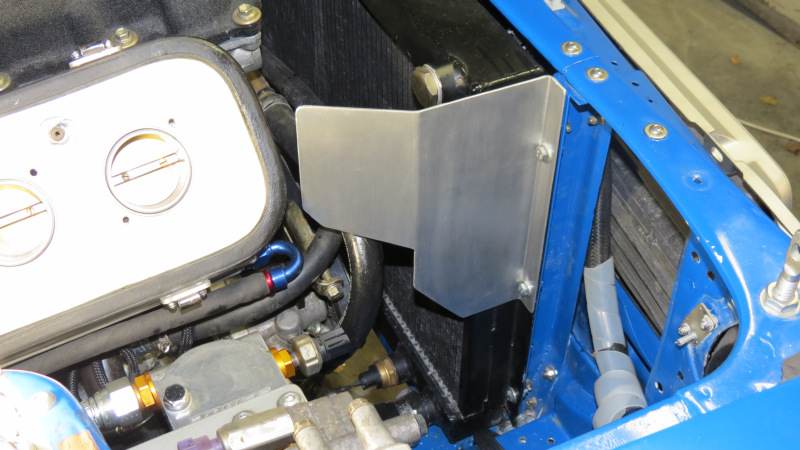


Seeing that Air Temps was quite high the previous time the car was at RAW, I had to bring these down to acceptable numbers, something in the region of 2-5 degrees Celsius hotter than ambient when traveling. Previously the biggest issue causing the high intake air temps was due to the location of the oil cooler directly in front of the air filter.
First things first, I moved the troublemaker away from the air filter for obvious reasons, I'm quit limit with options for mounting the filter. Seeing that I had some space next to the electrical fan in front of the radiator, this was the obvious location.
To further provide the air filter with cold air, a deflector plate was made to bolt to the radiator in order to divert hot air from the oil cooler and radiator away from the air filter. Up till now looking at the logged data from the ECU the results are quit good and the temps stay at +-3degrees from ambient.
Steering Stops
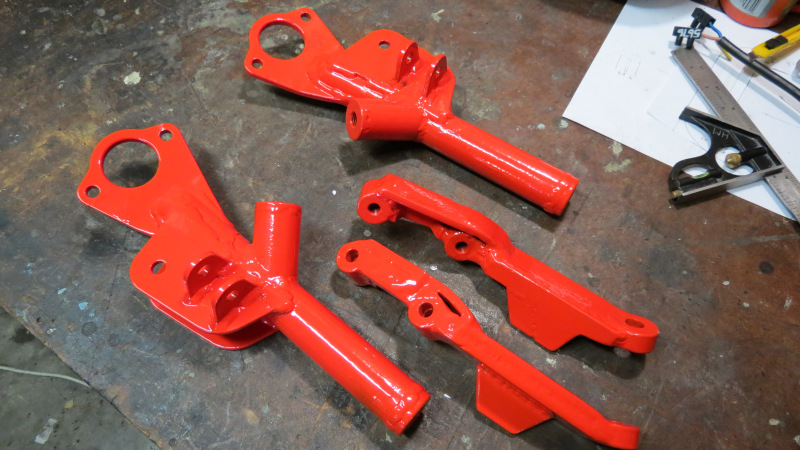

After the first few drives with the new front suspension it became very obvious that I will need to install some sort of steering stops to limit the amount of steering angle as wheels were starting to rub. This was quite easily taken care of with some lathe work and a few pieces of flat iron and tube with a threaded insert to adjust a bolt.
Potential Mud flap Positions
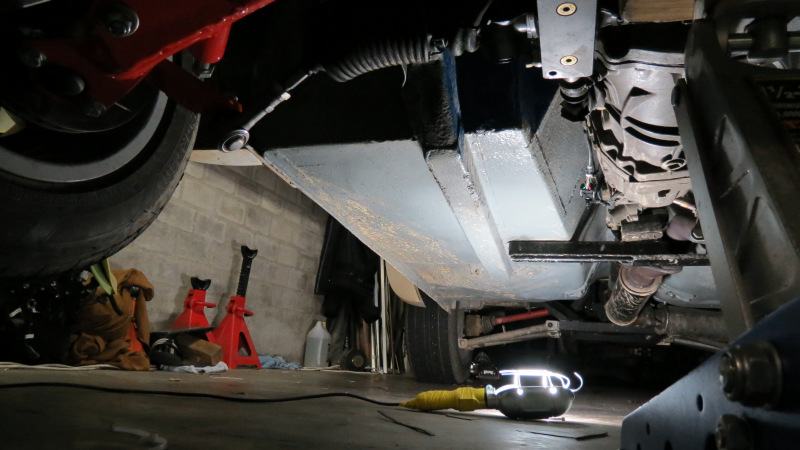
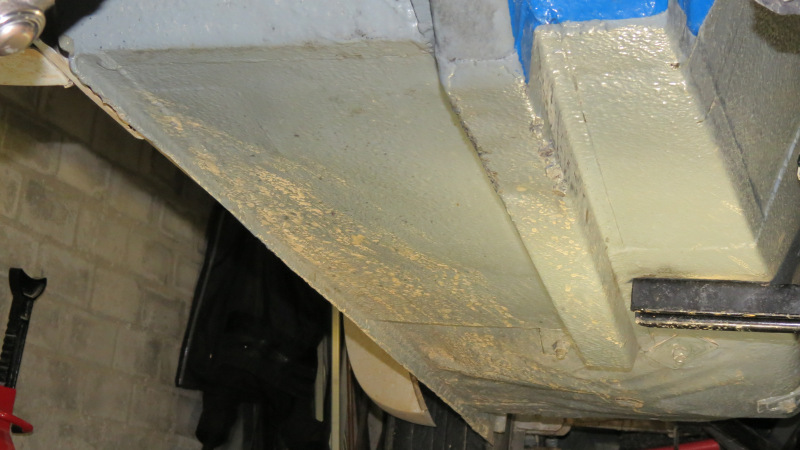
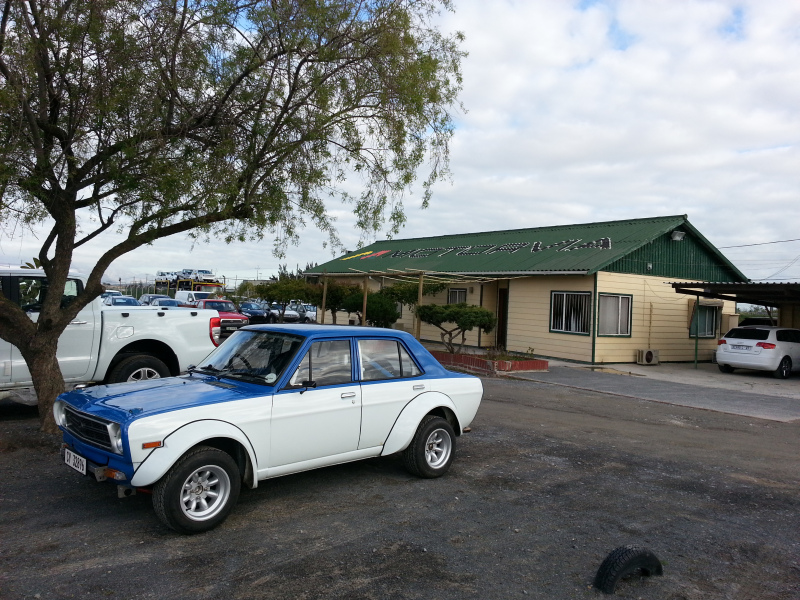
During one of my first drives with the new suspension I decided to drive the car to my parents place about 110km away on a Sunday morning, this would allow the various parts to start settling and provide me with the opportunity to test a few things on the gravel road leading to their home. An added bonus was the fact that it rained the previous evening which left the gravel road with some wet spots which made for the best way to figure out where to fit mud guards in the future as the mud was thrown by the front wheels.
Velocity Stacks


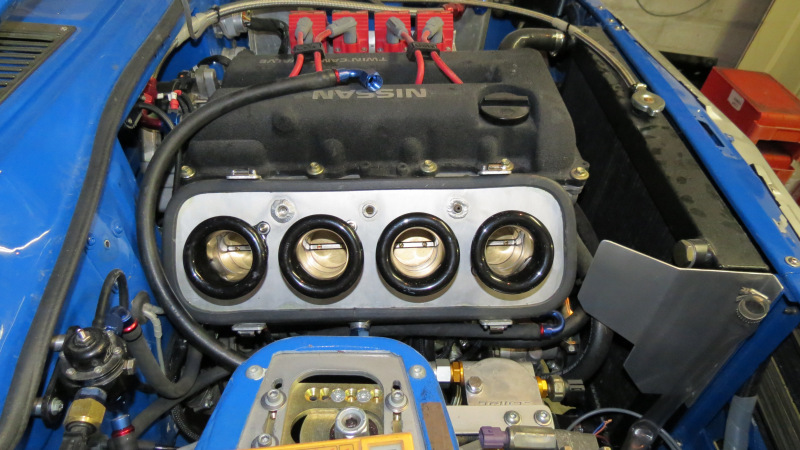

At long last I managed to finish for of these, I either made a mess of the fibreglass work, or destroyed them in the lathe trying to get them supper smooth and the finish perfect, after destroying 2 in a matter of minutes I decided lets go with the operational finish rather that the display finish, at the end of the day they turned out quite nice. After they were bonded to the aluminium backing plates, I took the opportunity to make some retaining clips from thin Stainless Tig wire to keep the air box nicely secured to the backing plate and keep the dust on the outside.
Dash Board & Electronics

Since I had to make some changes to the wiring to add additional switches for the motorsport functions like launch control/traction control and flat foot shifting, it was decided to cut the dash in 3 pieces to make future work allot easier. With the old one piece design it was fine removing the dash, but reinstalling was a nightmare to say the least. Everything was marked and masked before cutting commenced, a piece of aluminium was shaped to act as a big washer behind the dash pieces to hold the rif nuts in place. This new 3 piece design allows me to decide which part I want to re move in order to work behind it, what a joy.
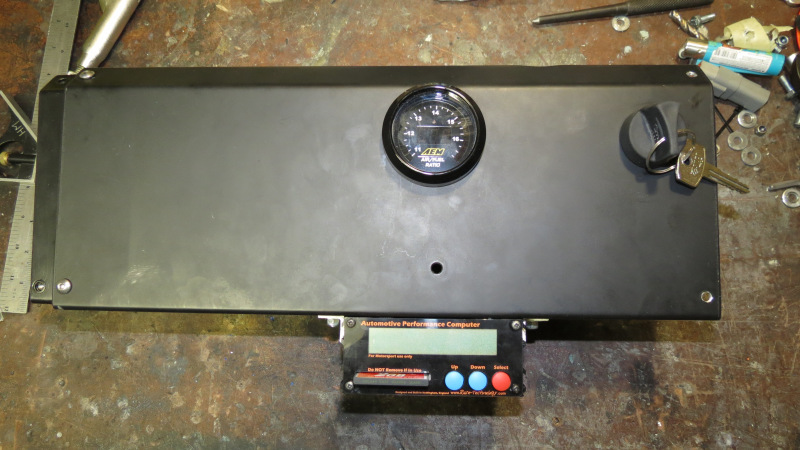
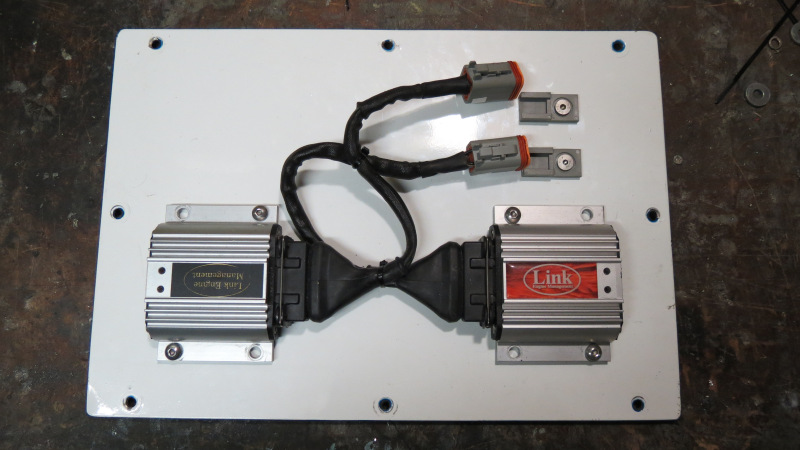
Once the dashboard was done I picked a fight with the sheet metal that fastened below the dash that houses the igniter modules. These were mounted out of view as I hate looking at lights that is not warning me of something dangerous, but reality got the better of me and I decided to ditch the plate completely and mount them on the firewall box cover. In their new location they are slightly in view if you look down, which you should not do when having fun and trying to keep the nose going forward.
Since my madevnology AX22 was laying in the cupboard gathering dust, I decided this would be the ideal time to mount it, just maybe Rezlo from RAW wants to use it for mapping purposes, the AX22 is quite a nifty GPS logger at a very affordable price for what you get, go look at the specifications on the manufacturers site. Another part proudly supplied by RAW.
Coming to think of it, the majority of imported parts on this car was sourced and supplied by Rezlo from RAW (Rezlo Auto Works).
Brake Bias Adjuster

While the dash was out, it allowed me to remove the pedal box to install a smaller 0.625" master cylinder on the rear brakes. The old 0.750" unit was removed due to the weight distribution of the car dictated that more pressure is needed on the rear. Once this was done, I started installing the brake bias adjuster and finish the job off by cutting the adjuster cable to the new length. Once I played with the adjuster I learned with a shock that the car until then only braked on th rear wheels, once the adjuster was set to a a few clicks towards the front the pedal softened slightly and the brakes felt much stronger and balanced. I'm still not happy with the brakes and see a set of 4 pot Wilwoods replacing the current VW units.
Trip to PE to visit RAW

After a few gruelling weeks slaving away on the car to get it ready for its visit to RAW, it was quite a strange feeling of turning my back on the car and walking away from it at the Auto Carriers depot. Besides the exhaust, the car was never too far from me or a close family members eye. This time around it was going to be driven, loaded and transported by a complete stranger. You can imagine the joy when Rezlo phoned me stating the car arrived safely, but then he blew my bubble by stating that the Dash does not showing oil pressure.
Luckily I installed an idiot light for this exact purpose as I still need to setup the dash completely.
At this stage some people may wonder why I would send my car 800km up the road to be mapped by Rezlo, first off because of the ECU chosen for the application, I opted for something that would take care of all the decisions for me, if the oil pressure drops, go into limp mode or cut the motor completely. Let's look at fuel pressure, if for some odd reason the pressure drops completly I want the motor to be switches off completely as a fuel pipe could have burst and could be feeding a fire with fuel. All this sort of things the ECU should control and not me, coupled that to the mans incredible talent and understanding of car tuning the 800km seems irrelevant, just another challenge and some logistics.
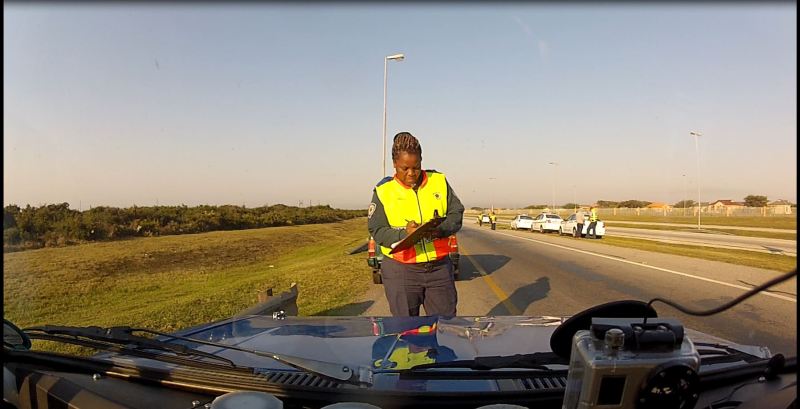

During the whole mapping process I believe Rezlo mapped on a daily bases on the car, even went over and above and did some work at night time and some track work to make 100% sure everything is spot on. During this time Rezlo managed to send me a few photos of the friendly Metro Police letting him continue on his journey and one or two YouTube vids showing the progress. The car spend a total of twee weeks in PE and received all the attention it deserved. We were actually quite luckily timing wise, seeing that the weekend we went to collect the car there was some Regional racing on Aldo Scribante were Rezlo competed, at long last I can see his race car in action, and boy is this combination fast. We drove up to PE the Friday, arrived at Rezlo premises and marvelled at his projects and kept him out of work for a while. The first experience I had with the car was when Rezlo showed me how it starts, this is something wanted from day one, a racing car that starts like a factory car, ignition on, wait for the pumps to prime, make sure the neutral light is ON, turn the key and it starts, all this while standing outside, no throttle pumping or funnies here, just a decent ECU and an operator behind the laptop.
We said our goodbyes and off we went, filled the car with some fuel and headed off to our accommodation, one off the first things that I noticed was the behaviour of the ITB's, I didn't need to throttle the car on pull away, not like a lot of people tried warning me "50mm ITBs on a 2 litre is not going to work, you will lose too much torque and will need to rev the motor to pull away, etc" non-off that. Just comes to show what decent ECU with proper mapping can do to the way a motor delivers power.

I must say I enjoyed every minute off it, after 3 years I think I'm allowed to have some fun, and boy did I until the motor just lost power on a downhill just before Colchester. Seeing that I decided not to back a laptop I was quite stuck, managed to drive the car to the nights accommodation. The next morning my mood was quite shattered, but life goes on, I tried driving the car to Aldo Scribante, managed to get a few kilometres out of Colchester and then the car just started leaning out, stopped next to the road. By this time I was quit shattered and not in the mood to struggle with something I need to take apart to find a problem, hooked the car up to the A Frame an towed it to the track, after exploring the track and watching a few races, Rezlo even tried his magic, but it was definitely not plug related.
After all this I was done, asked my brother and father that accompanied me on the trip if we could leave for Jeffreys Bay as I was in desperate need of some rum and coke. The next morning we left for Cape Town and as lady luck would have it, again we had issues at the Toll Plaza just before Port Elizabeth, they are too shallow to interpret laws issues by the government, they rather follow their own set.


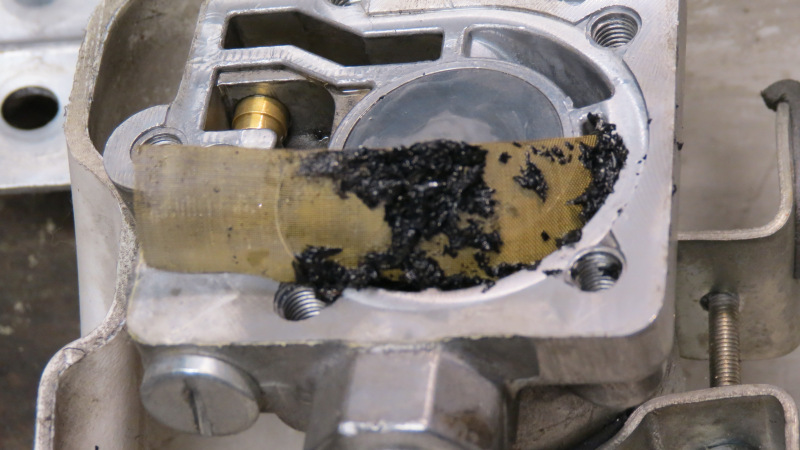
Once home it took us less than an hour to find the problem. Can I just say thank you for onboard Data Logging and in this case LinkECU, if was not for logging I would not have seen that the fuel pressure constantly dropped, until nothing, then it climbs again and starts dropping off again, suggesting some sort of fuel delivery issue. First things first, get the 30 litres off fuel out of the tank in order to strip the system to find the culprit, now the easiest way of doing this is by removing the pipe that returns to the main tank out of the surge tank. Once loosened it is placed in a container and the low pressure pump switched on to drain the main tank, but in this particular case nothing came out. Luckily for me this narrowed down the possible location of the issue. Removed the pipe between the main tank and Holley pump and all that came out was a small trickle of fuel, which is not correct. Looking at the fuel coming out I noticed some black particles, removed the tank and drained it via a pipe thru a piece of cloth and found all sorts of black particles.
Still not 100% sure what the cause was, my brain was starting to put the puzzle together, after collecting the car I filled the tank and noticed the new neoprene gasket between the filler and tank was pushed out more than usual.
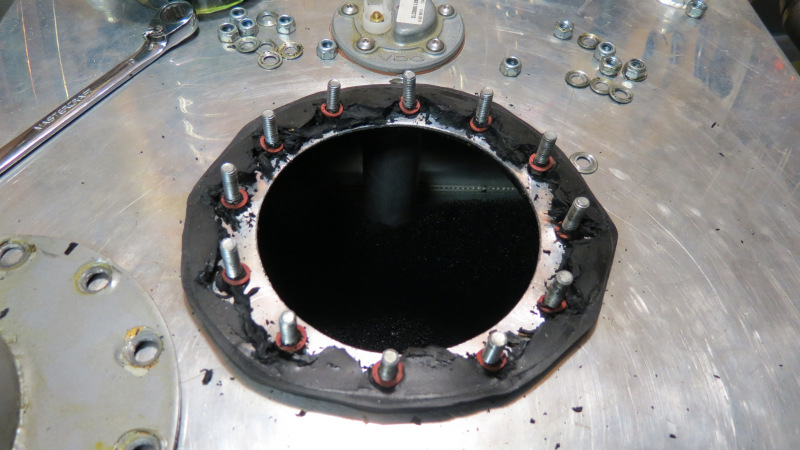


Once I removed the filler the cause was quite obvious, what was sold to me as neoprene was most definitely not, as the fuel attacked this rubber and started breaking it up and smaller chunks and even dissolved some of it.
All of a sudden the puzzle feel in place, strange how the mind works, on our way back from PE the previous day I deceived a plan to fix the filler to tank issue by turning flanges that seals with a o ring, and here I was standing and that plans seems like the only thing needed to solve the issue, besides new filters and a complete flush of the fuel system.
|
|
;)
;)
;)
;)
;)
;)
;)
;)
;)
;)
;)
;)
;)
;)
;)
;)
;)
;)
;)
;)
;)
;)
;)
;)
;)
;)
;)