|
|
| Re: racetech's 1200 SR20VE Project |
Subject: Re: racetech's 1200 SR20VE Project
by racetech on 2014/3/13 10:55:16
December 2013 Rally Prep
Since the car returned from Rezlo in Port Elizabeth, I'm pretty sure the fuel pump circulated more fuel between the two tanks than through the fuel rail. Which is actually quite a pity as the car is so nice to drive, but there is work to be done which take priority over driving.
Fuel Tank
The last month or two I was quite busy with a few things, one being the fuel tank which received a complete redesign. First the top cover was completely cut off to expose the internals, which was nothing more than a piece of foam. With the current worked planned for the tank there were 3 things important that needs attention namely:
1. Fix the leaking remote filler flange that is welded to the tank - this was an easy one, it just needed some welding on the inside which was previously inaccessible.
2. Design and install an internal surge tank, which will eliminate the need for the noisy low pressure pump.
3. Install a separate fuel level tube which will enable me to have more accurate fuel level readings
4. Then slow down the movement of fuel by installing baffles.
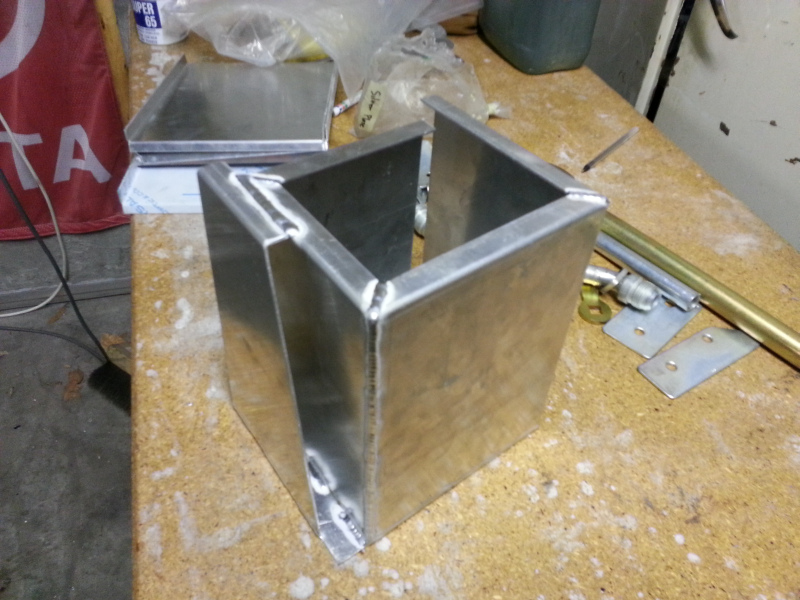


The idea for the internal surge tank came from the LocostUSA Forum one of their members stumbled across the idea after seeing the inside of a Honda S2000 fuel tank, it is basically a maze were the fuel can enter but not exit without following the maze outwards.
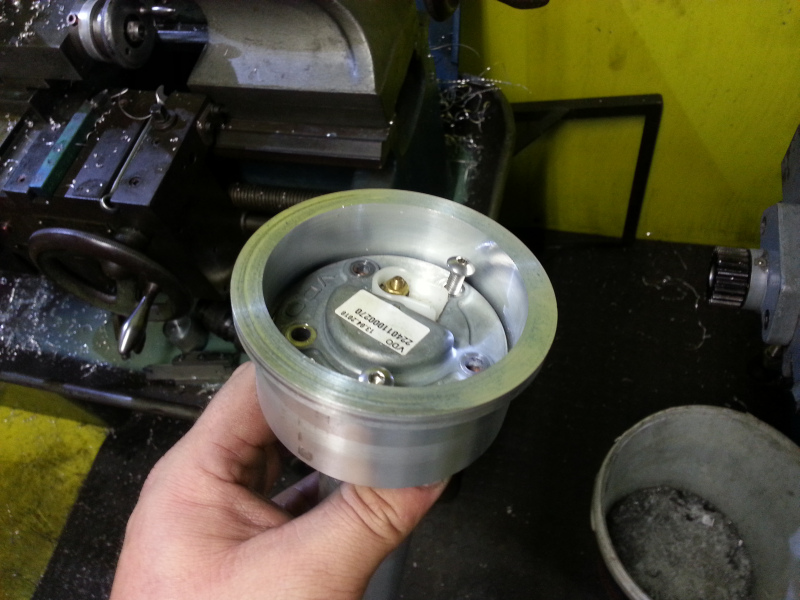
While I was at it, I also decided to remount the fuel sender lower in the tank to read more accurate low levels than full and fit a baffle tube around the sensor with a small hole to be slightly more accurate while the fuel is moving around.
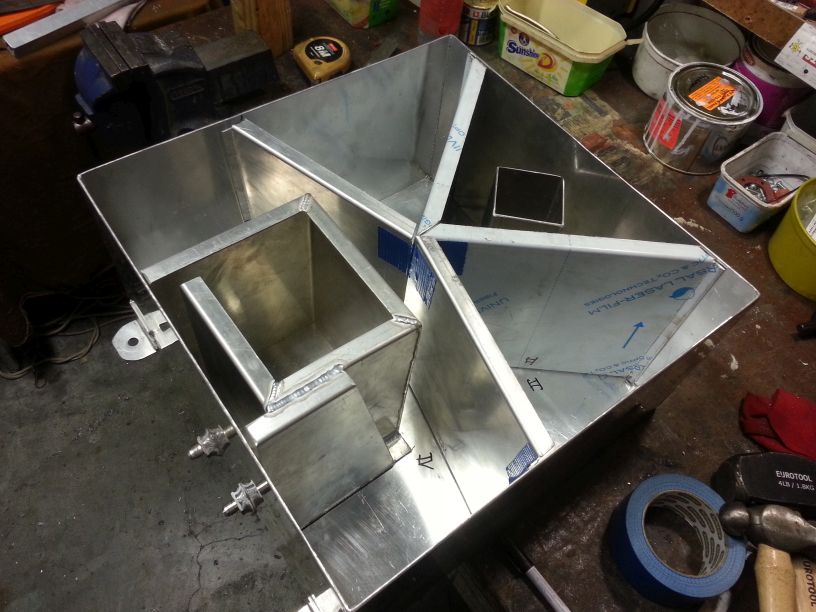
Since the tank was open, I opted to add a few baffles to slow down the fuel movement in the tank.
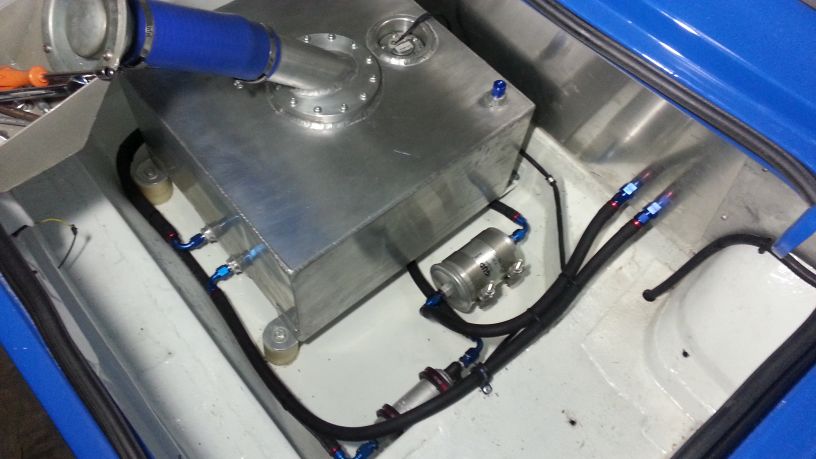

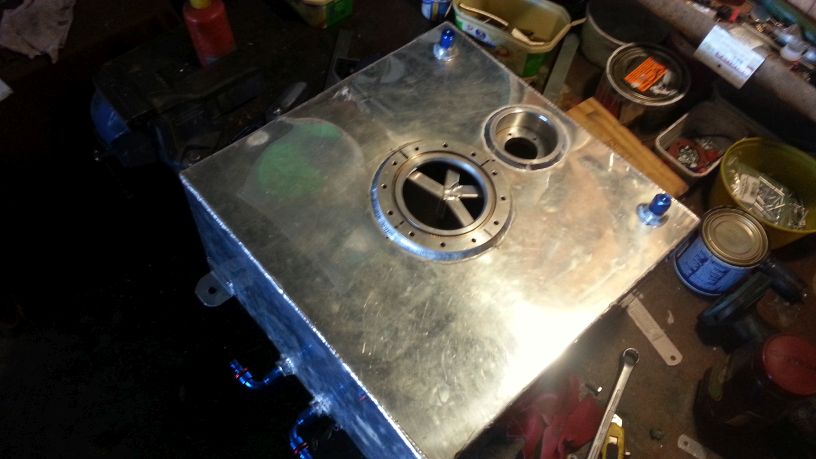
Since the surge tank is now located within the tank, the low pressure pump was removed and the pipes had to be redone, this time around all in AN push lock fittings and pipe. Boy I love these AN fittings, but they do have the tendency to ruin the amount of spending money left. I do like the look of the new design, very clean and tidy.
Hopefully the tanks works well when the fuel is on the low side, otherwise it will be back to the drawing board or re installing the surge tank.
Strut Brace

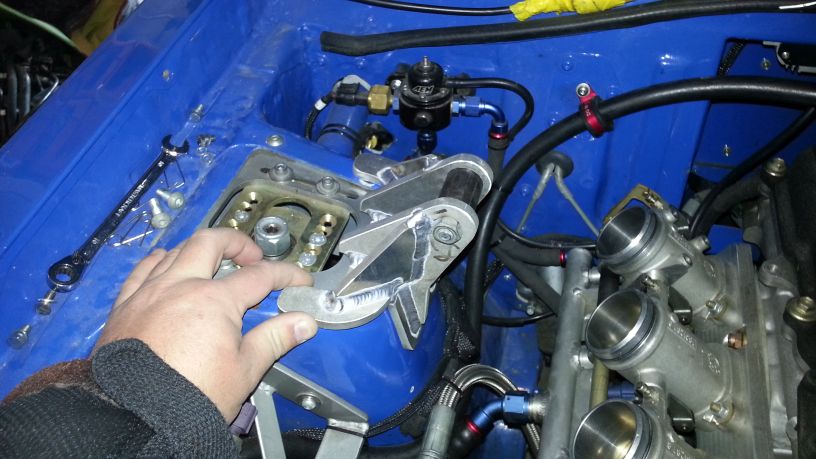
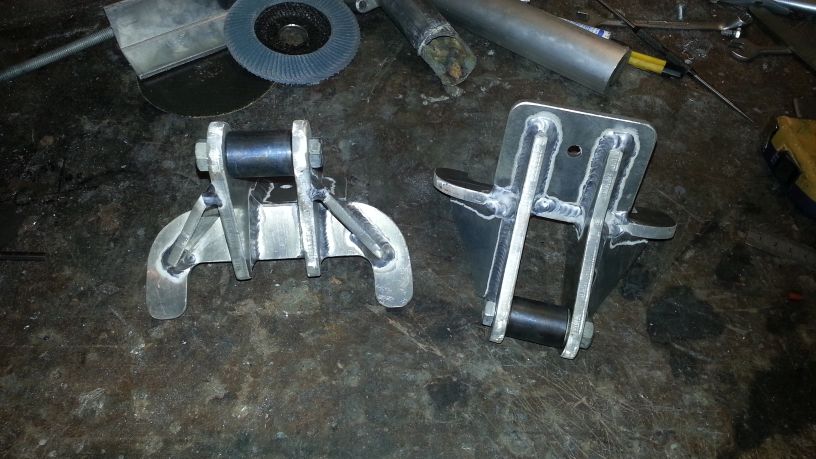
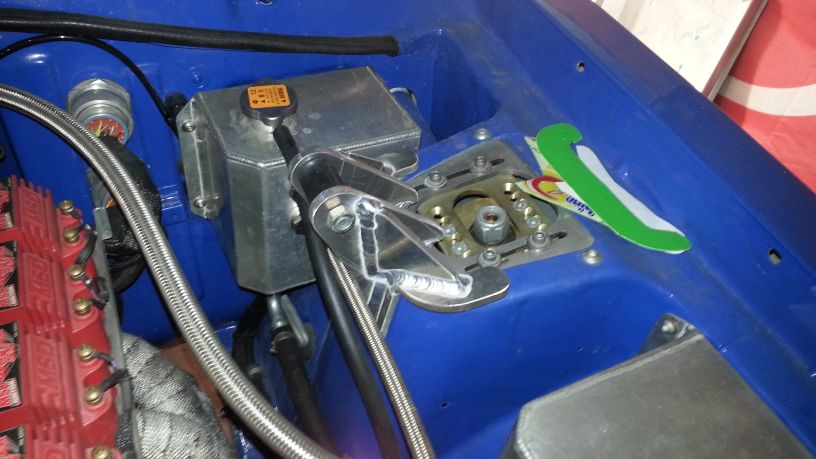
During the design of the fuel tank, I also included the drawings for the strut brace mountings. Quite allot of plastic and paper sheets was sacrificed to get to the final design that would clear the air box and plumbing. The next best thing after billet parts is parts that is welded by an expert and not covered or smoothed away, these are some of them. Some would say they are overkill, but I think they would do the job.
Mud Flaps
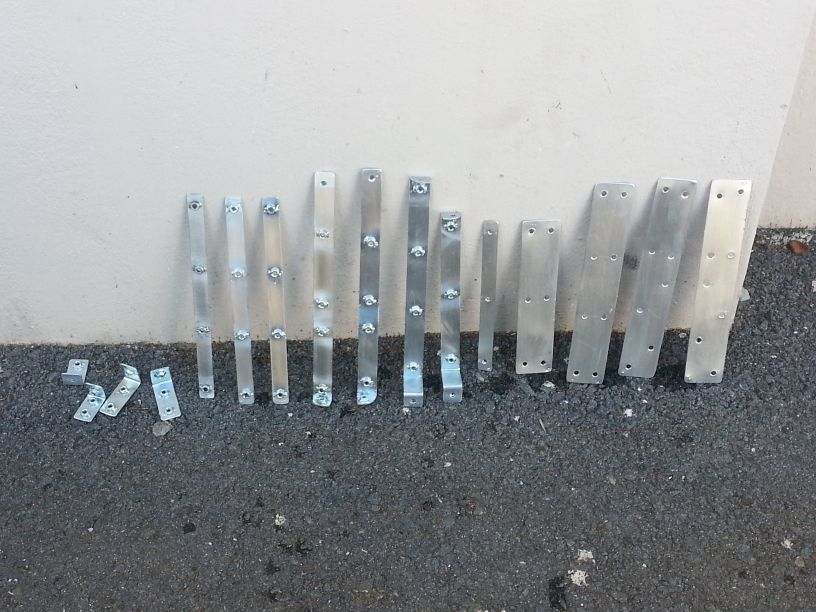

The mud flaps being the most important item on the to do list before rallying the car, work had to start. First I stumbled around with a few ideas of mounting them, had some strips metal cut, and obviously once I started everything changed. At the end f the day I settled for a very simple but effective way of mounting these, I just hope it does not destroy the arches, only time will tell. First I made a bracket that fastens to the arches on the one side and the other on the inside of the wheel arch.
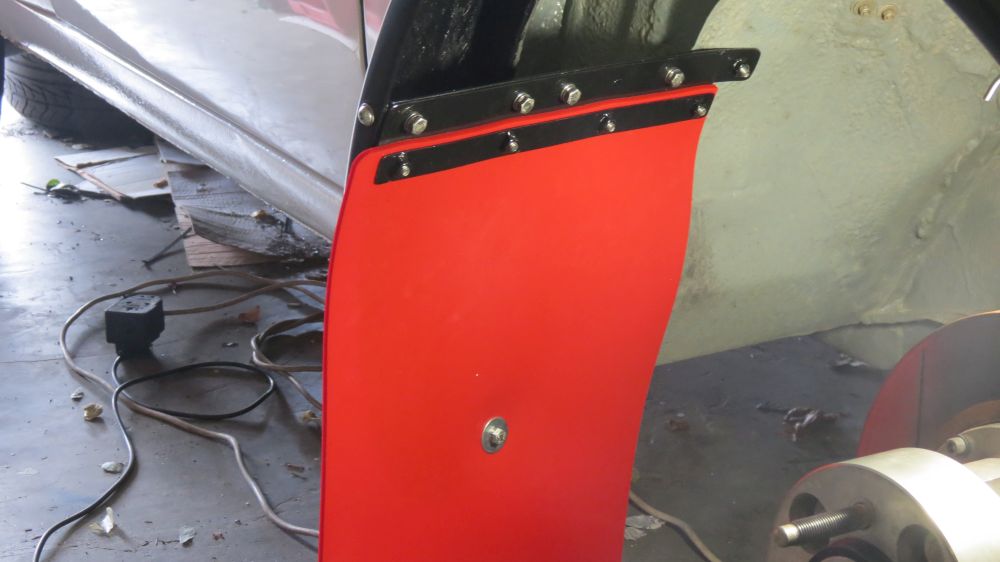


On the mud flap itself I made a mounting bracket to hold on to the flap and then fastens to the bracket a<span style="line-height: 1.5;ttached to the vehicle. This way I can adjust the height of the flaps by just making a new back plate. Then the flap is pulled away from the wheel with a single bolt to not damage them. This is probably going to be the headache area, but we first need to use the car before I can judge.</span>
A few small things
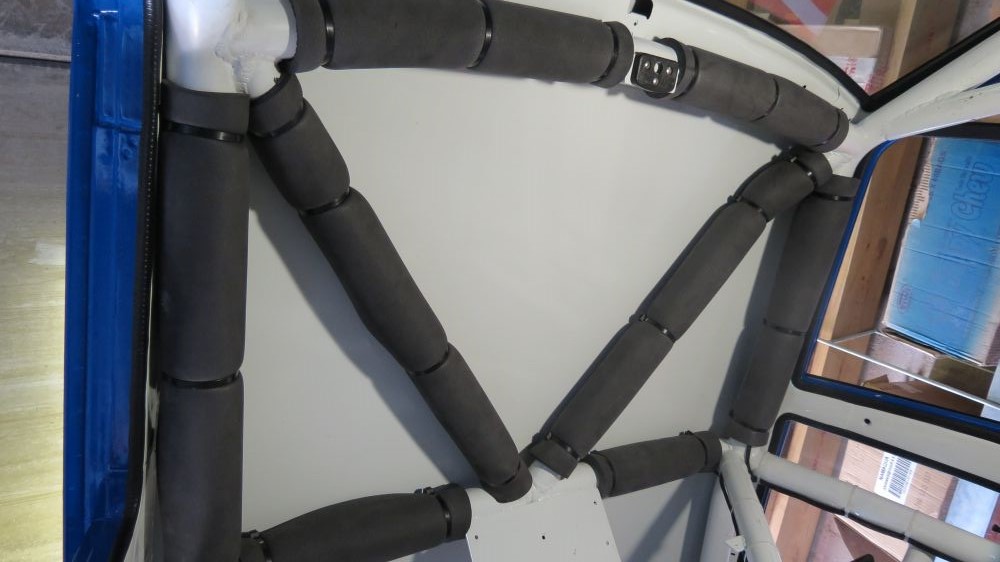
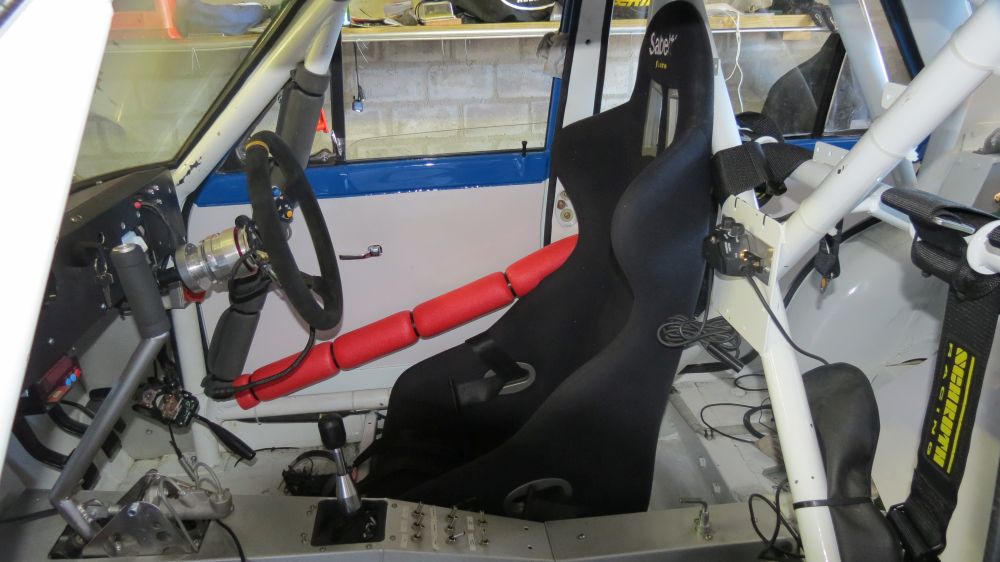
Since head room is a issue, but since the seats are mounted lower it is better, but I'm still not willing to waste space, I found some older roll bar foam which is thinner than the newer designs, these were used everywhere above the head. Finally the rest of the roll cage that could come in contact with body in a accident was covered with the newer design padding.
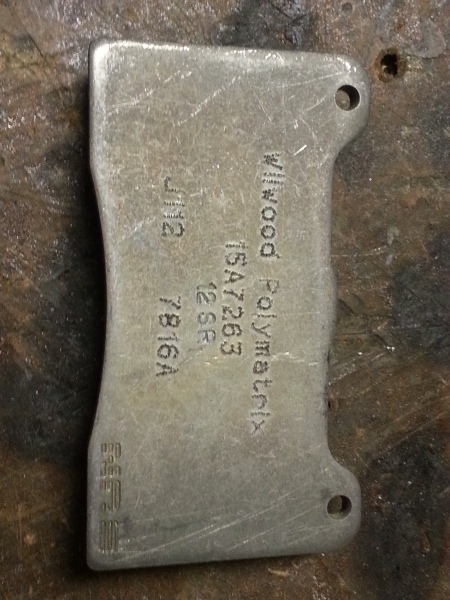
A set of Wilwood Polymatrix A compound racing pads found their way into my hands. Changing pads on these callipers is a joke, it takes longer removing the wheel than swapping the pads. These pads are magic, very good low temperature friction and good high temperature friction with minimal fade, just have a look at the comparison chart from Wilwood: http://www.wilwood.com/BrakePads/Brak ... x?compound=PolyMatrix%20A
WARNING: I do need to warn everyone considering using these stuff, it is a nice pad, but I would not suggest these for non-motorsport use or any usage were a helmet and balaclava is not used as they squeal very badly, so bad you will not know when they are worn out as it sounds like metal on metal constantly while braking. Imagine you stand on a train platform and the train stop, take that squeal, times x 3 and you have an idea how bad these are.
Maybe another way of bedding them in will help, but I'm not convinced.


I also had a navigators footrest bend, this piece would have a double purpose, one being to provide my navigator with a nice even surface to keep his feet on and the other to form the basis to mount a cover over the fuse/relay box. But from the pictures I can see that the right support is going to become a challenge.
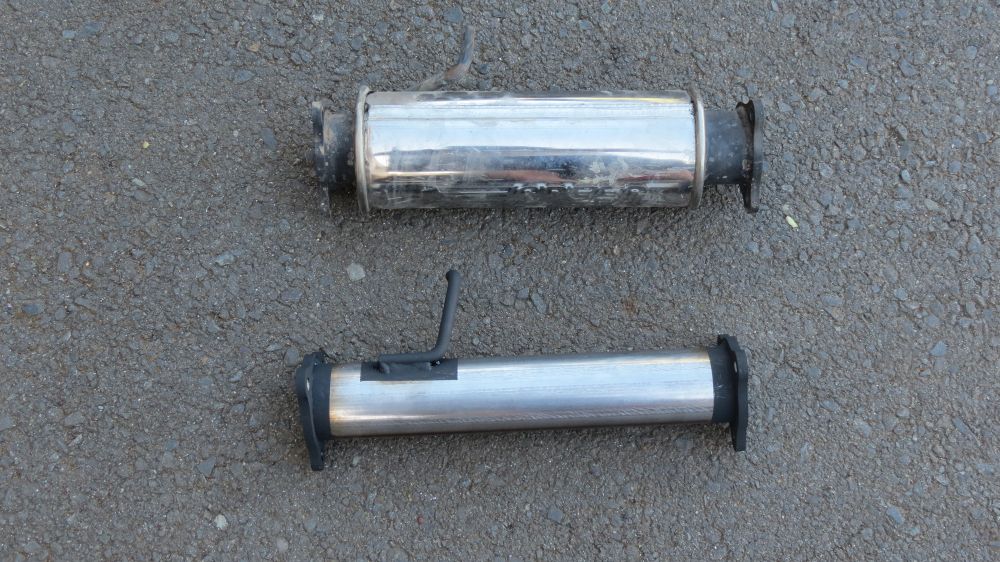
My brother also told me the one day that the car is way too soft. I decided to remove one of the 3 exhaust boxes, since I had spare flanges cut a while ago it was just a matter of removing the box and make a pipe up that replicated the old box. I must say, even with this box removed the car is still very soft.

I also managed to mount the tow hooks for that difficult situations.
|
|
;)
;)
;)
;)
;)
;)
;)
;)
;)
;)
;)
;)
;)
;)
;)
;)
;)
;)
;)
;)
;)
;)
;)
;)