31 July 2010 – Rear Suspension – Phase IIOn arrival I had a cup of coffee and moved down to the workshop where me and my father started the planning as he was scheduled to be away for the weekend, this provided me with a unique opportunity to pre make some metal pieces that will be used for the rear suspension. it took us quite a while to get everything measured up. Luckily we already knew exactly how we wanted to do it.

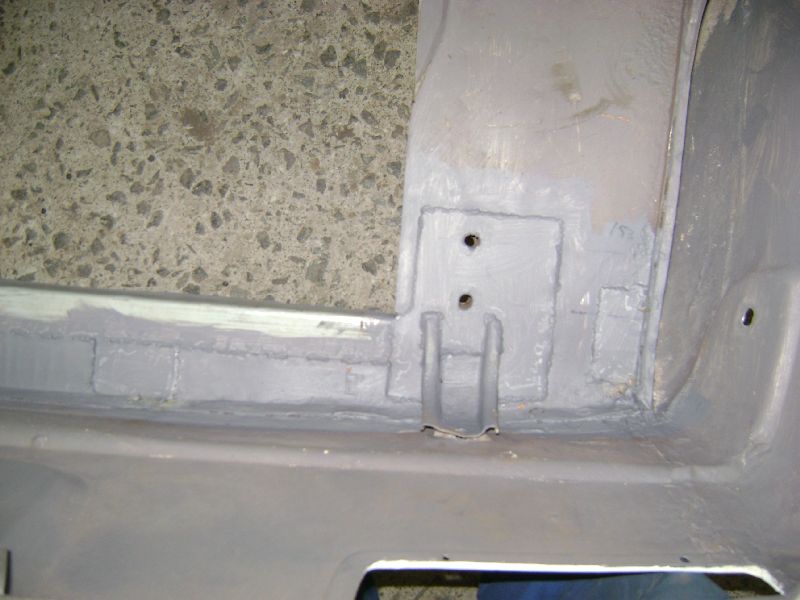

Saturday morning started early for me as I wanted to get all the work done and enable me to do some sealing on the Sunday. First off all I grinded the welds in the boot to remove all the sharp edges and proceeded to paint it.

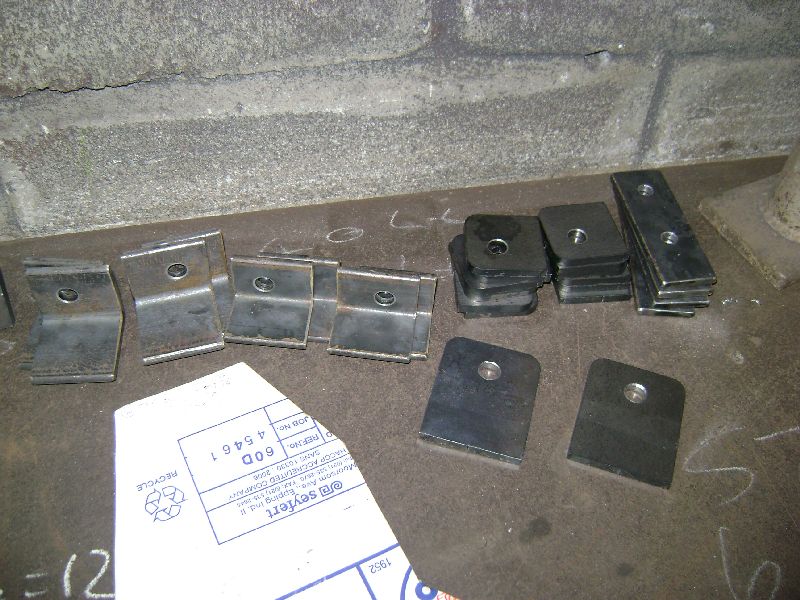
The real work started, making all the wishbone brackets for the lower differential frame and the uprights for the lower wishbones. These pieces will be welded on to the uprights for fastening the wishbones and on the lower sub frame, but on the lower frame we will make these brackets to be full adjustable, this will enable me to adjust suspension in such a manner to get rid of the imperfections or to adjust Toe. I even went as far with these brackets to use a brand new cut off disc to do the cutting, I wanted these brackets to have 100% 90degree cuts.
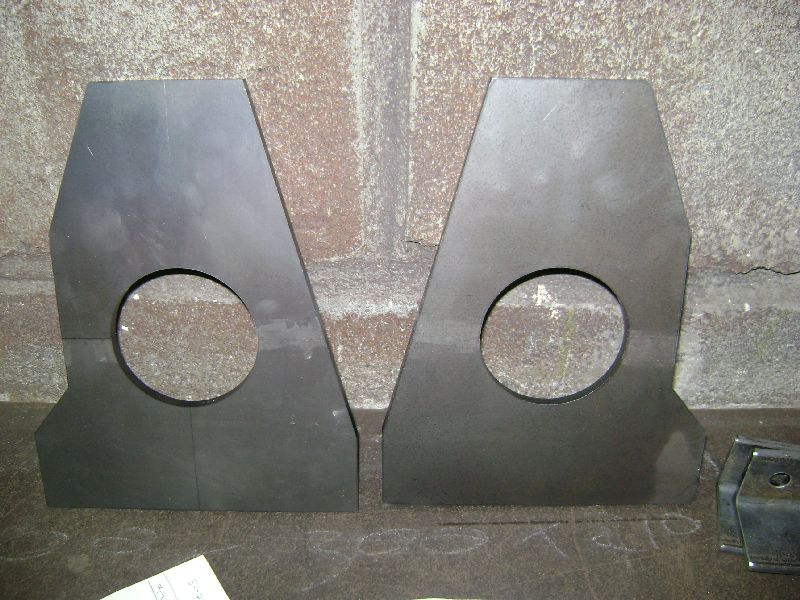
The previous weekend we designed the upright and I had that lazercutted, as well some brackets that had to be from flat iron. From the picture you can see the scribe lines that will be used to drill the holes for the hub carriers and brake calipers.
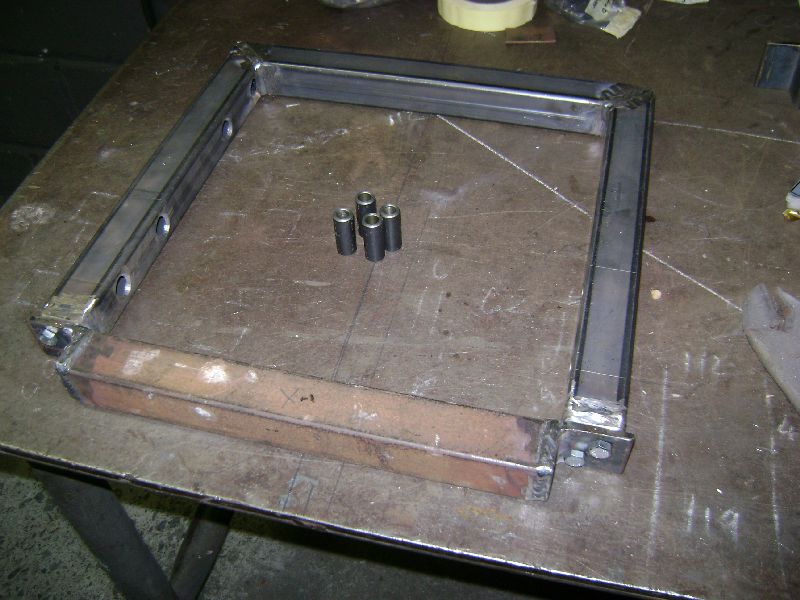

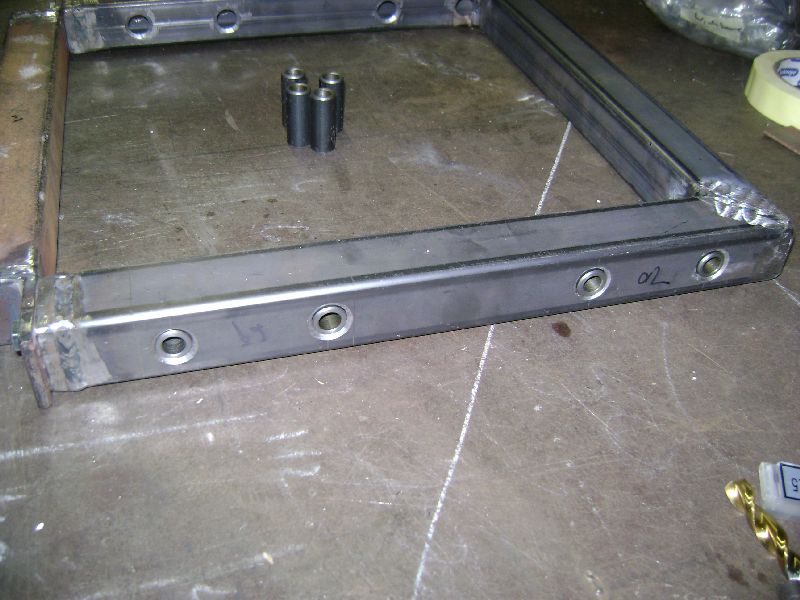
During the week my father welded together the lower sub frame and drilled the holes for the wishbone mounting brackets. Holes were drilled to 16mm diameter and I had to make same bushes to insert in the holes and weld on, this will add strength and ensure that the tubing used will not bend when fasting the bracket. The frame was designed in such a way that it has a removable rear section which will ease the removable of the diff.

My next 5hour shift in front of the lathe began, it was my task to make all the bushes, wishbone and sub frame, total 29 of them. Luckily the previous week I bought myself some cutting liquid to aid the hole drilling, Rocol RTD, this is black magic in a bottle. Started off with cutting the inner wishbone bushes with the cut off machine and proceeded to the lathe to machine them down to size and inner and outer chamfers, the same with the lower sub frame bushes, drilled the holes, luckily only holes had to be drilled in sub frame bushes as these was made from solid metal.
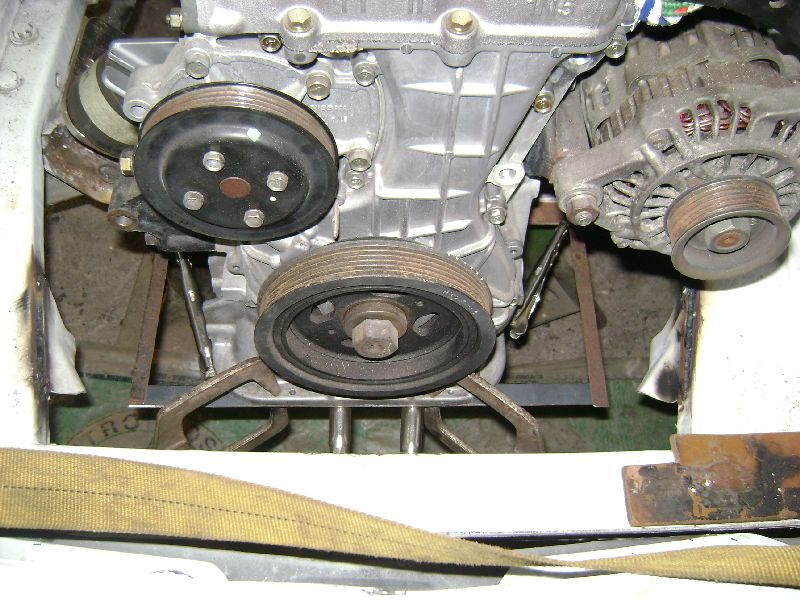
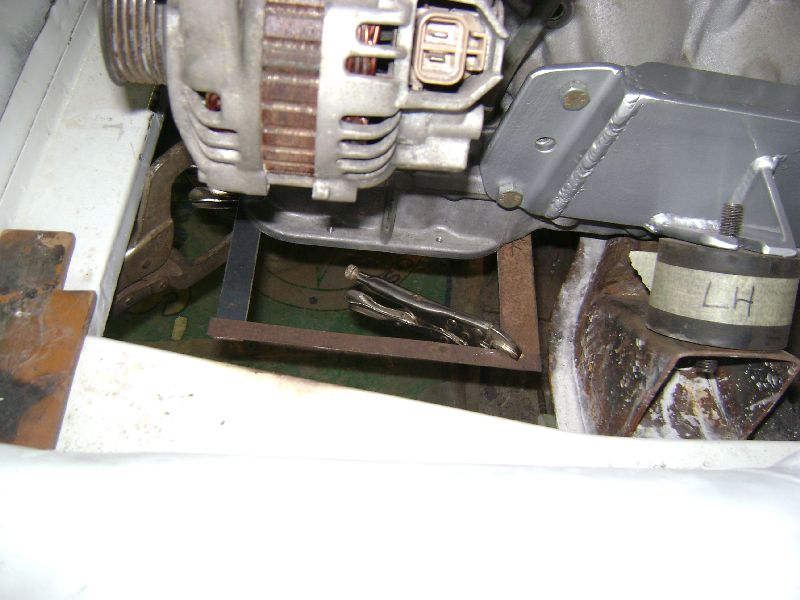
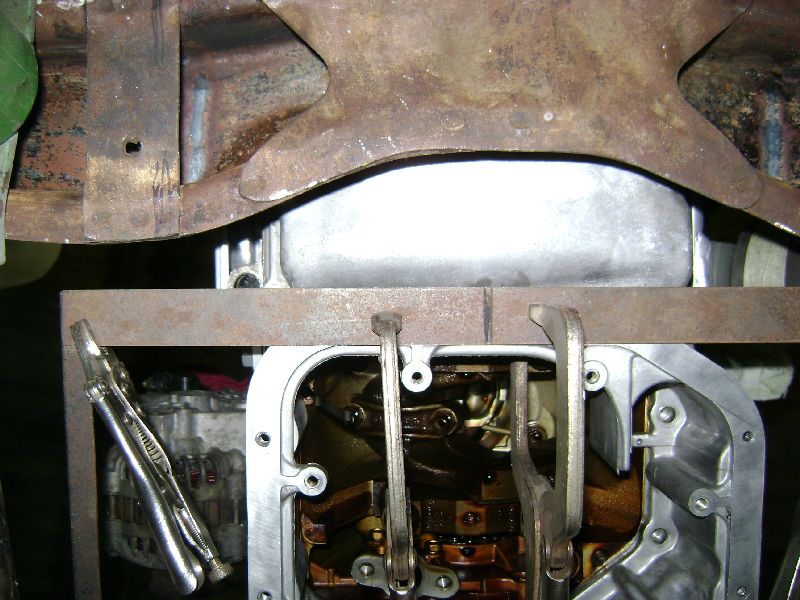
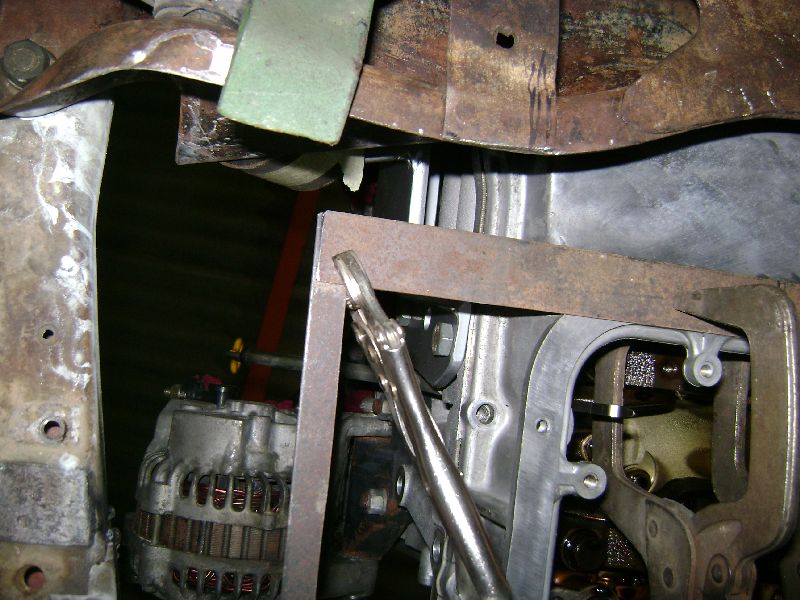
Started designing the new sump, a nice job after standing for 5 hours on your feet, lying on your back measuring a sump is then fun. Made a rough mockup from pieces of scrap metal to determine clearances between the cross member. Just before I had my final design done, I realized that I did not allow enough clearance for a anti roll bar.
Sunday morning up nice and early and started with sealing some of the inner seams, what a job this is turning out to be, looking back I'm quite angry that I ever thought of the idea to seal all the seams, but I'm pretty sure at the end of the day I will look back and not even be able to lay a finger on it and say hell that was a crappy thing to do.

My father arrived back home and at last I had some one that could help me to hold the old anti roll bar in place for me to see if it will still be usable, as expected no, another item that will be added to the list of custom made parts.
I can't wait to get home to assemble the uprights on the next visit, at last something will be done that you can look at.


 Transfer


