User Login    
 + Register
  • Main navigation
Login
Username:

Password:


Lost Password?

Register now!
Fast Search
Slow Search
Google Ad


Browsing this Thread:   1 Anonymous Users


« 1 ... 12 13 14 (15) 16 17 18 ... 20 »


Re: wagon body work
No life (a.k.a. DattoMaster)
Joined:
2002/6/14 7:24
From Sydney
Group:
Registered Users
Posts: 2598
Offline
Is it not an option to completely remove the dash for better access? From memory 4 bolts, 2 on top and 2 on the side underneath. [plus steering column 2 bolts]

Posted on: 2020/2/5 3:55
_________________

-----------------------------------------
1971 B110 Sedan GX Spec
1970 KB110 Coupe Track Car
1970 KB10 Coupe
-----------------------------------------
S13 caliper b...
Transfer the post to other applications Transfer


Re: wagon body work
Home away from home
Joined:
2011/1/31 2:06
From melbourne
Group:
Registered Users
Posts: 805
Offline
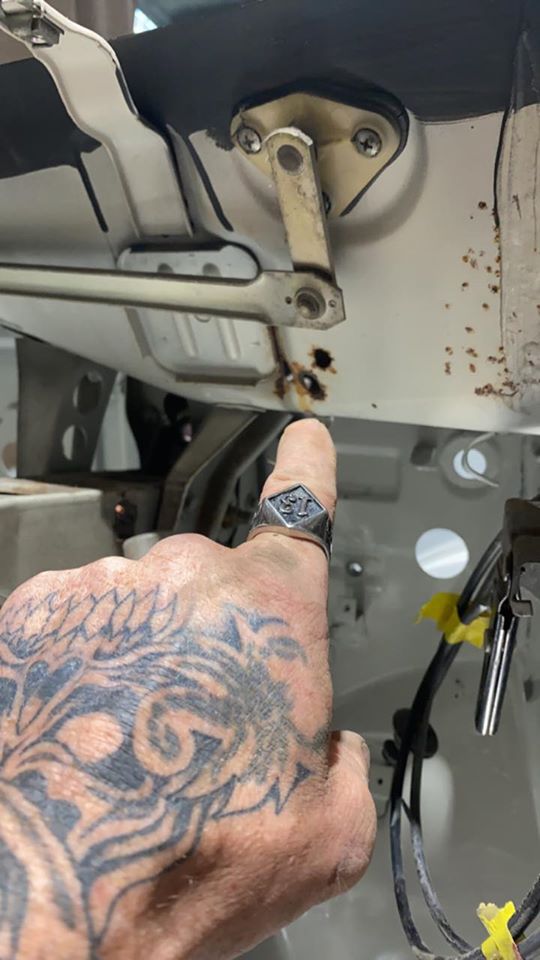
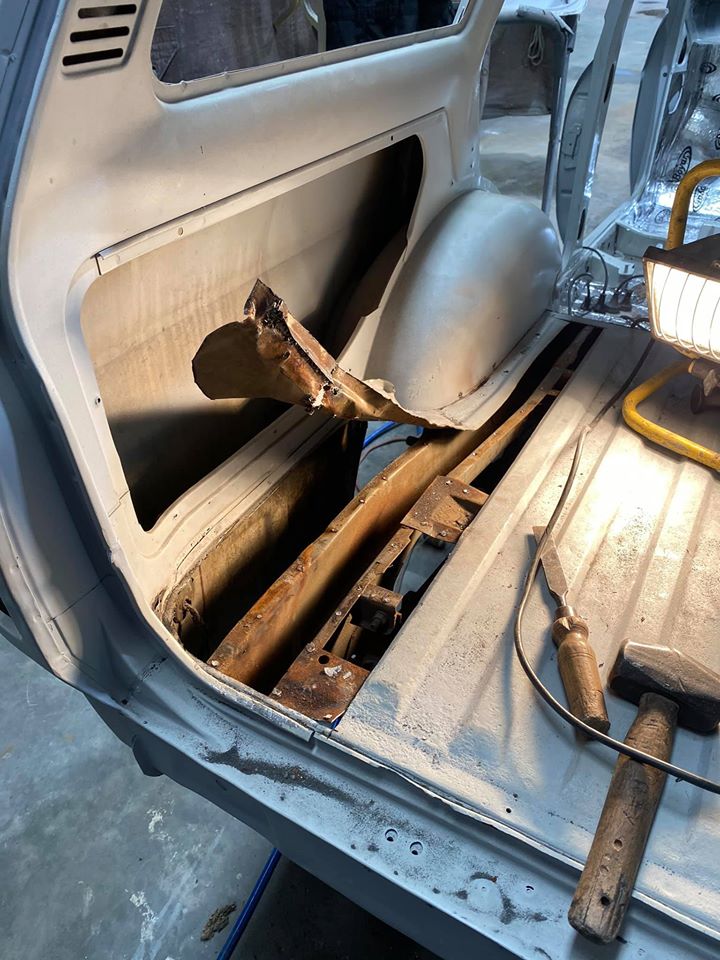
Unfortunately as suspected , the rust is also along the corner seam on the inside under the sill. Yes had to remove dash frame to have a closer look. Plus it gives me a good chance to sand blast and fill behind / between the sheets and down the pillar with wax to prevent further chances of rust. This I want done properly the 1st time.
I feel guilty about the cheaper option for the rear cargo floor , but the way it is done , I can easily and cheaply replace the the flat sheets with original ribbed floor when I find a donor wagon.
There,s about 450 hrs work done so far

Posted on: 2020/2/5 4:26
Transfer the post to other applications Transfer


Re: wagon body work
Home away from home
Joined:
2011/1/31 2:06
From melbourne
Group:
Registered Users
Posts: 805
Offline
What options do I have ??
I am in search of rear tailgate window rubber and rubbers for the side glass on cargo area.
There was a place in Oakleigh that did custom rubbers but long gone now.

Posted on: 2020/2/5 4:47
Transfer the post to other applications Transfer


Re: wagon body work
Home away from home
Joined:
2011/1/31 2:06
From melbourne
Group:
Registered Users
Posts: 805
Offline
The 3 holes arnt the issue , the seam on the right is soft when you push on it

Attach file:


jpg  237.jpg (67.93 KB)
14887_5e3a4acb2bd0f.jpg 540X960 px

Posted on: 2020/2/5 4:56
Transfer the post to other applications Transfer


Re: wagon body work
No life (a.k.a. DattoMaster)
Joined:
2007/6/15 10:47
From MOOROODUC. Victoria
Group:
Registered Users
Posts: 1471
Offline
Scott's old rubber. He now trades online including ebay

Posted on: 2020/2/5 10:29
_________________
Red 1200 Coupe (Build: DEMAC's 1200 Coupe)
Blue 1200 Ute, CA18DE Auto (Build: DEMAC's 1200 Ute)
Green 1200 Sedan (Build: Kermit the beat up sedan)
Green Sedan #2 (Current build: DEMAC's 1200 Sedan)
Brown 4 door AUTO Sedan for sale...
Transfer the post to other applications Transfer


Re: wagon body work
Home away from home
Joined:
2011/1/31 2:06
From melbourne
Group:
Registered Users
Posts: 805
Offline
Thx Demacoz

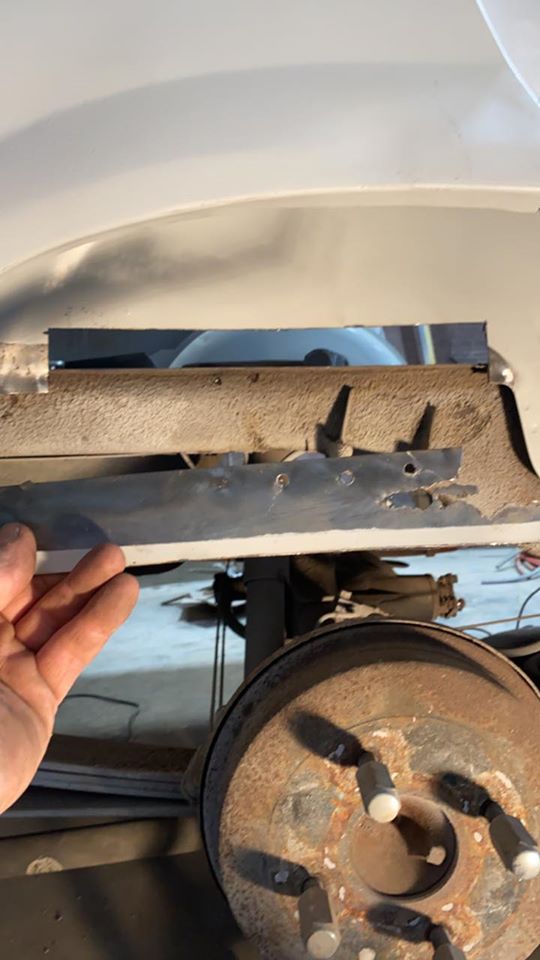
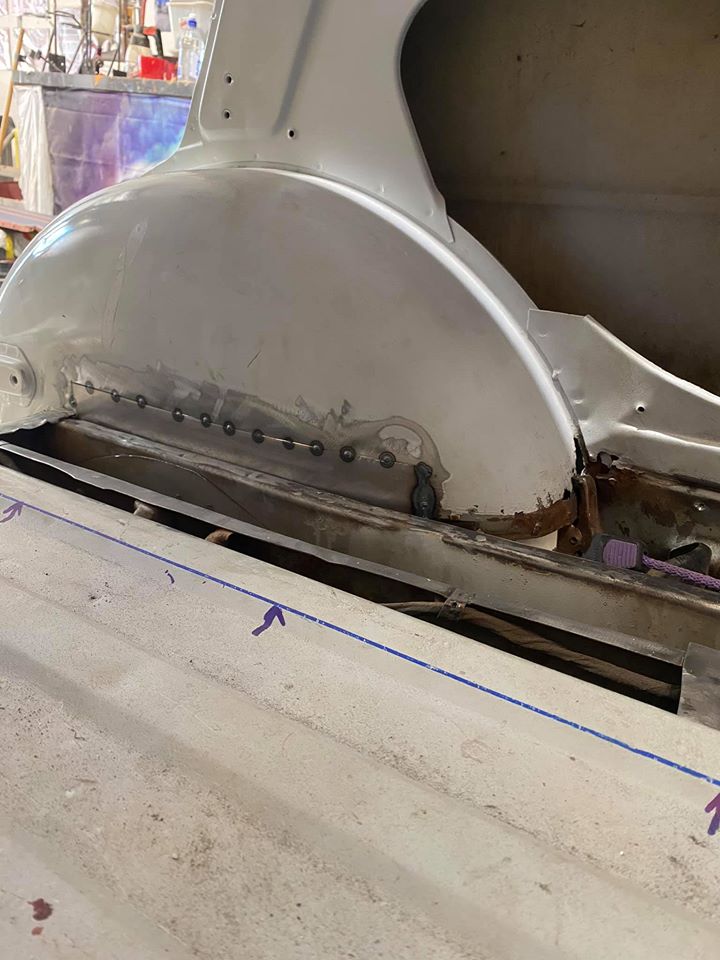
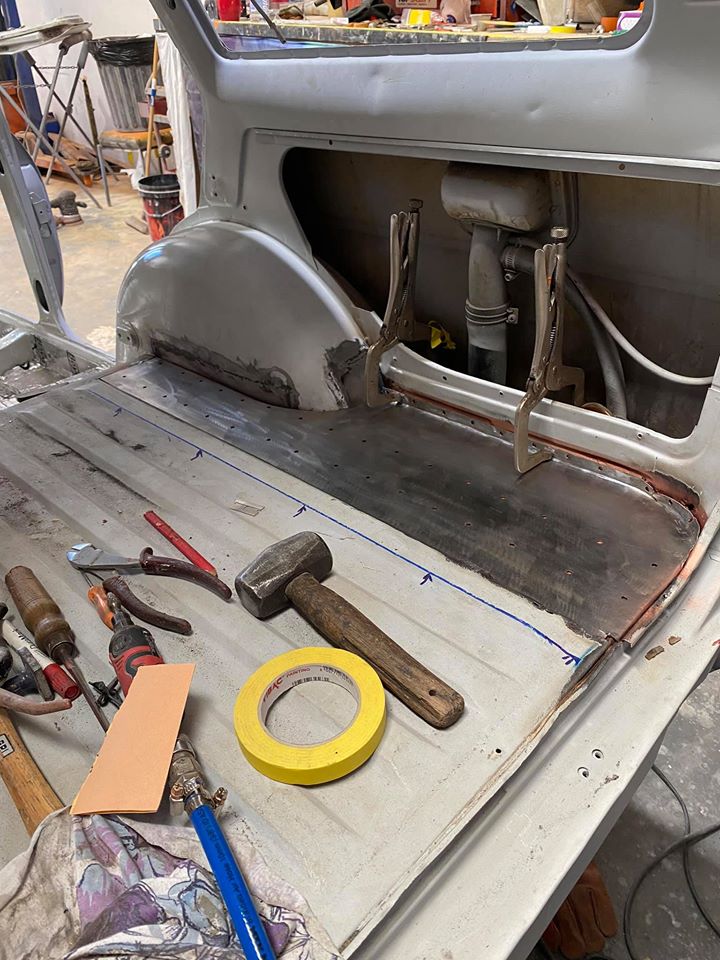
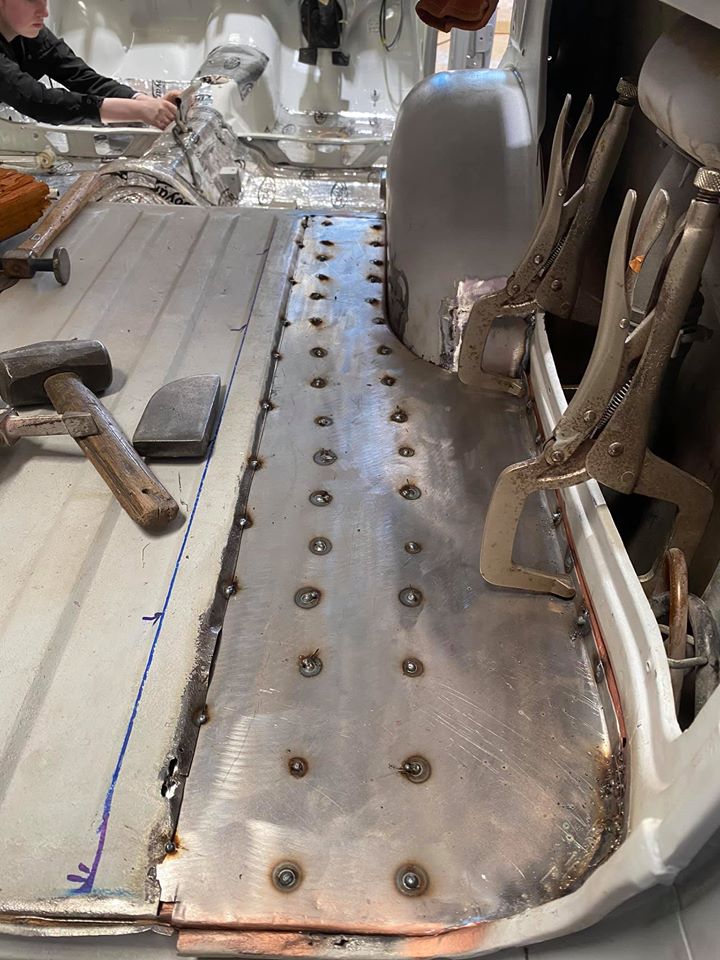
Cut n welding inner wheel arch
And drilled the rear cargo plate ready to weld / tack on
Under the floor seems pretty good

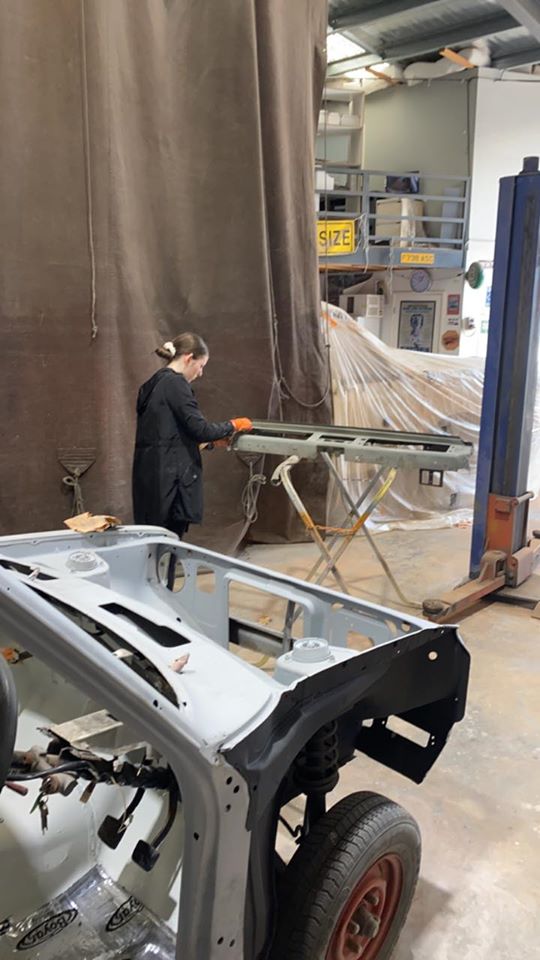
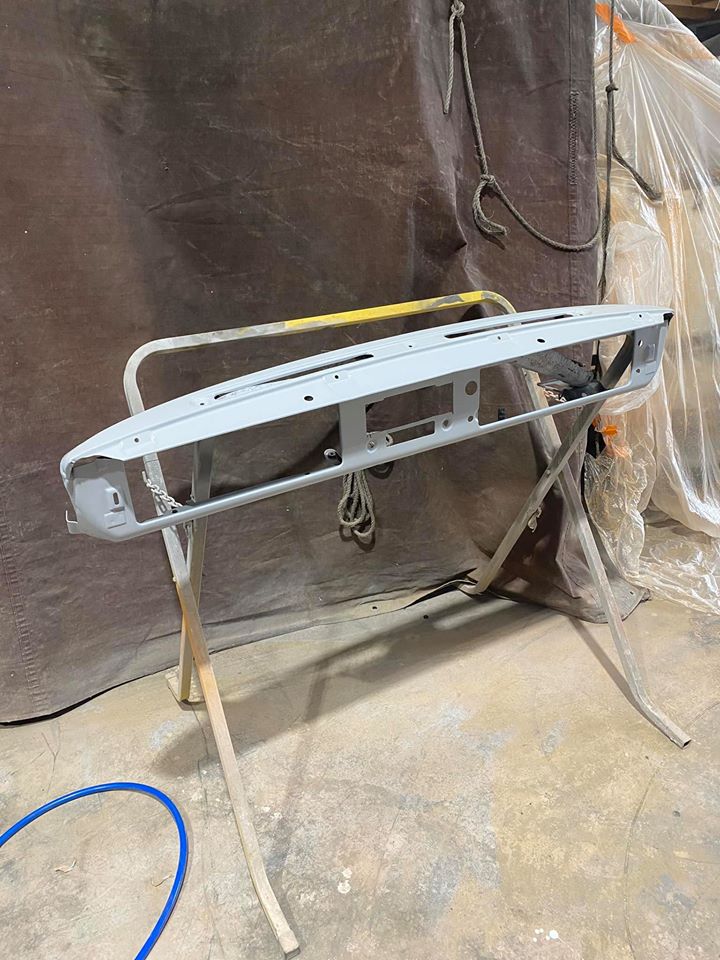
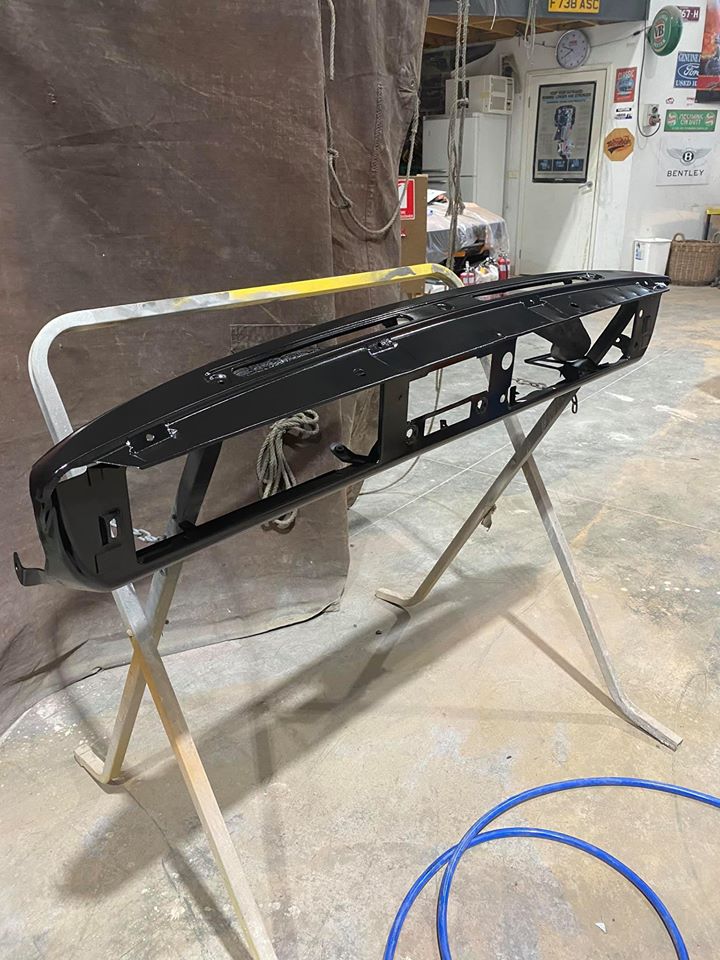
Jades sanding down the dash frame because its out , so may aswell paint it.

Attach file:


jpg  239.jpg (62.80 KB)
14887_5e3b8cdd314ad.jpg 540X960 px

jpg  242.jpg (92.01 KB)
14887_5e3b8d0064ec4.jpg 720X960 px

jpg  238.jpg (121.31 KB)
14887_5e3b8d23b7d80.jpg 720X960 px

jpg  243.jpg (131.82 KB)
14887_5e3b8d3858b42.jpg 720X960 px

jpg  240.jpg (76.75 KB)
14887_5e3b8d57d2685.jpg 540X960 px

Posted on: 2020/2/6 3:52
Transfer the post to other applications Transfer


Re: wagon body work
Home away from home
Joined:
2011/1/31 2:06
From melbourne
Group:
Registered Users
Posts: 805
Offline
patch work done on side and end of wheel arch
just needs a bit of a grind and epoxy now

Attach file:


jpg  246.jpg (133.78 KB)
14887_5e3bc2a6036bd.jpg 720X960 px

jpg  247.jpg (123.38 KB)
14887_5e3bc2d1308b3.jpg 720X960 px

Posted on: 2020/2/6 7:39
Transfer the post to other applications Transfer


Re: wagon body work
Home away from home
Joined:
2011/1/31 2:06
From melbourne
Group:
Registered Users
Posts: 805
Offline
Not too much happening today
About to start on left side rear cargo floor

Decided to opt for the battery to be placed in the pocket and have 2 options.
Either way a the panel needs to be boxed out to fit 1 large battery or not as much
to fit 2 smaller and narrower battery's . Think will opt for 2 smaller so doesnt jut
out as much . Will need to get 2 lithium battery's for measurement first.

Question !!
I know ive had the insulation laid over the gearbox tunnel
Will my Dellows Celica box fit in or do I need to cut n split the tunnel ??
As I dont want to later on get a Auto tunnel.

Attach file:


jpg  209.jpg (51.54 KB)
14887_5e3ce7c6f1868.jpg 540X960 px

jpg  253.jpg (166.13 KB)
14887_5e3ce7e61f92b.jpg 720X960 px

jpg  251.jpg (125.10 KB)
14887_5e3ce7fae729d.jpg 720X960 px

Posted on: 2020/2/7 4:31
Transfer the post to other applications Transfer


Re: wagon body work
Guest_
.

Posted on: 2020/2/11 3:31

Edited by unfamilia on 2020/3/29 11:46:20
Transfer the post to other applications Transfer


Re: wagon body work
Home away from home
Joined:
2011/1/31 2:06
From melbourne
Group:
Registered Users
Posts: 805
Offline
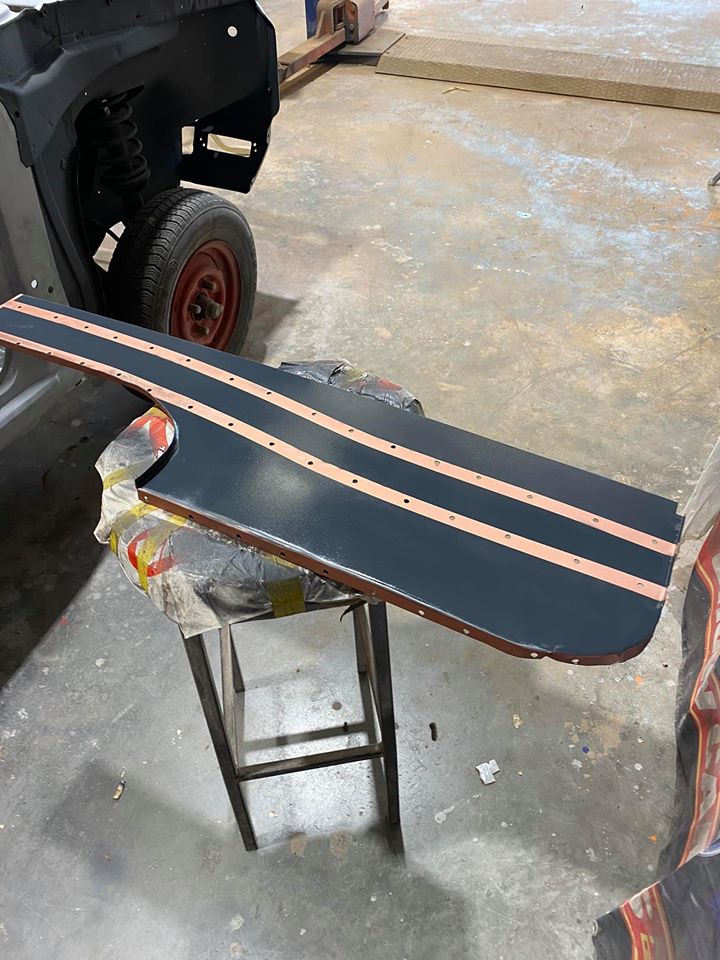
Been a slow start to the week due to another small job that came in

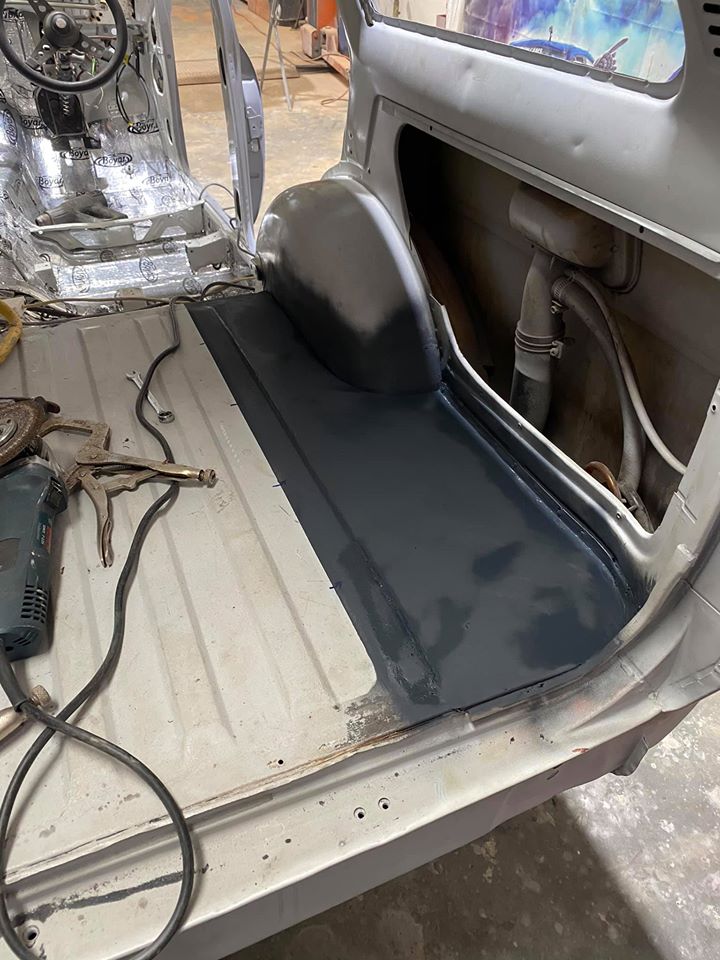
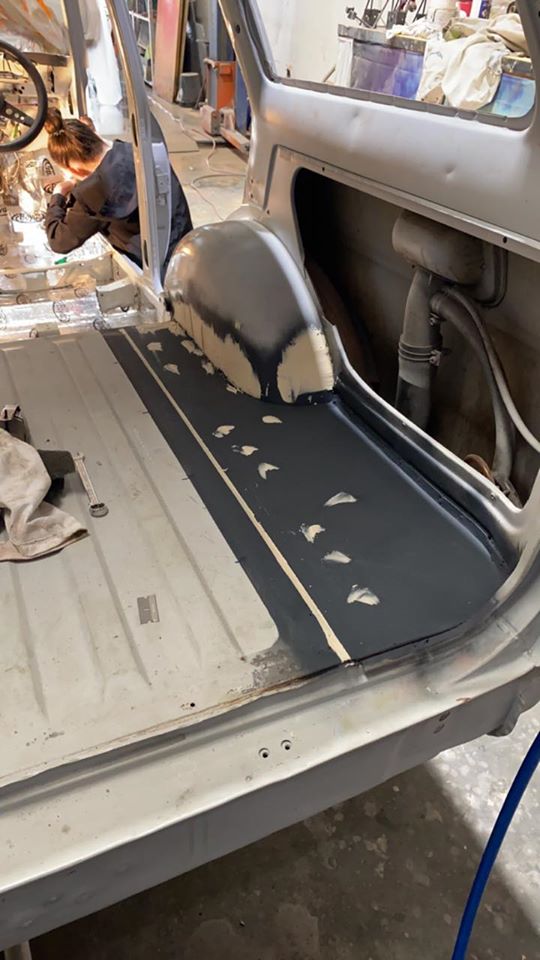
Right side cargo floor done and now moving onto the left
Right side wheel arch done , dash tidied up

At the point whether to keep going or into storage .

Attach file:


jpg  259.jpg (129.68 KB)
14887_5e42b9e67c0ce.jpg 720X960 px

jpg  257.jpg (114.84 KB)
14887_5e42ba1894bbb.jpg 720X960 px

jpg  260.jpg (76.11 KB)
14887_5e42ba2ce08ea.jpg 540X960 px

jpg  261.jpg (126.70 KB)
14887_5e42ba3befdd4.jpg 720X960 px

Posted on: 2020/2/11 14:29
Transfer the post to other applications Transfer


« 1 ... 12 13 14 (15) 16 17 18 ... 20 »


You can view topic.
You cannot start a new topic.
You cannot reply to posts.
You cannot edit your posts.
You cannot delete your posts.
You cannot add new polls.
You cannot vote in polls.
You cannot attach files to posts.
You cannot post without approval.

[Advanced Search]