![[Datsun 1200 encyclopedia]](/wiki/upload/wiki.png)
| Revision as of 17:20, 5 February 2024 ddgonzal (Talk | contribs) <- Previous diff |
Current revision ddgonzal (Talk | contribs) |
||
| Line 1: | Line 1: | ||
| + | {{BackTo|Console|B210}} | ||
| + | |||
| B210 came with two different factory consoles (small and large) which are similar to the equivalent B110 [[console]]s, but lower-profile and more streamlined/rounded. | B210 came with two different factory consoles (small and large) which are similar to the equivalent B110 [[console]]s, but lower-profile and more streamlined/rounded. | ||
| Line 54: | Line 56: | ||
| This one appear to have been cut to shorten it? | This one appear to have been cut to shorten it? | ||
| <br>{{Photo!|b211c1.jpg|wiki}} {{Photo!|b211c2.jpg|wiki}} {{Photo!|b211c3.jpg|wiki}} {{Photo!|b211c4.jpg|wiki}} | <br>{{Photo!|b211c1.jpg|wiki}} {{Photo!|b211c2.jpg|wiki}} {{Photo!|b211c3.jpg|wiki}} {{Photo!|b211c4.jpg|wiki}} | ||
| + | |||
| + | == Option 3 == | ||
| + | {{UploadPost|174_65c2d3773d820.jpg|498276}} | ||
| + | |||
| + | = Two Gauge = | ||
| + | Dual-gauge was stock in the long console for [[PB210|Excellent GL]] | ||
| + | |||
| + | {{SeeEx|see=Main|B210_Gauges#Ammeter_.2B_Oil_Pressure|Ammeter + Oil Pressure Gauges}} | ||
| + | |||
| + | Also available as an option for all B210 | ||
| + | <br>{{UploadLinkH|Sunny_Genuine_Option_Parts#Gauges|174_65cc5db438b15.jpg|OPTION Catalog|height=}} | ||
| + | |||
| + | PB210 option DX, GX | ||
| + | 21 74982-H5927 MASK KIT-console box with screw (Brown) | ||
| + | 22 24870-H5500 GAUGE-oil pressure | ||
| + | 23 24845-H5500 METER-ampere | ||
| + | 24 25070-89901 UNIT-oil pressure gauge | ||
| + | |||
| + | = Overhead Console = | ||
| + | {{UploadLinkH|B210_Option_Parts#Overhead_Console|174_65713a3748449.jpg|Installation|height=}} | ||
| = North America = | = North America = | ||
| Line 59: | Line 81: | ||
| For USA Coupe, the long box was standard, though the short box was an option. In Canada, coupe console was an OPTION. | For USA Coupe, the long box was standard, though the short box was an option. In Canada, coupe console was an OPTION. | ||
| + | |||
| + | == Amco == | ||
| + | Official Datsun Accessory by Amco was this nice padded armrest. It provided a pocket tray, the hinged armrest, and a compartment under the armrest. It perfectly fit the early console. If you had the nice Coupe long console, installation called for cutting it. | ||
| + | |||
| + | {{UploadPost|174_68db0ff1d8bd3.jpg|499072}} {{UploadPost|174_68db10138b9fd.jpg|499072}} {{UploadPost|174_68db101e7e69d.jpg|499072}} {{UploadPost|174_68db1029d17b1.jpg|499072}} {{UploadPost|174_68db1034ba478.jpg|499072}} | ||
| + | |||
| + | <div style="width:400px; font-size:12px;"> | ||
| + | INSTALLATION INSTRUCTIONS | ||
| + | DATSUN B 210 (1974) CONSOLE | ||
| + | |||
| + | 1. Remove the four (4) sheet metal screws on late model Consoles and | ||
| + | only the two (2) rear screws on early model consoles. Untie shift | ||
| + | boot ties on late model console only. | ||
| + | |||
| + | 2. Early model consoles do not need to be removed. To remove the late | ||
| + | model console: pull emergency brake all the way up, put gear shift | ||
| + | in third gear and put seats all the way back. Lift back end of | ||
| + | console up, swing back end over seat cushion and remove. | ||
| + | |||
| + | 3. On late model consoles only, cut end of console off as show in | ||
| + | illustration. | ||
| + | |||
| + | 4. Re-position cut off console in vehicle and install only the front | ||
| + | two sheet metal screws. | ||
| + | |||
| + | 5. For early and late model consoles, install the custom extended | ||
| + | console as shown in illustration. Install the two remaining | ||
| + | (previously removed) sheet metal screws through front holes on | ||
| + | extended console and through rear holes of factory console. | ||
| + | |||
| + | 6. With a 1/8" (.125) drill, drill two holes in floor hump using rear | ||
| + | holes of extended console as a guide. Install sheet metal screws | ||
| + | provided. | ||
| + | |||
| + | NOTE: Be sure not to drill through emergency brake cable on right | ||
| + | hand side of floor hump. Do not drill through hydraulic | ||
| + | lines located on underside of floor tunnel. | ||
| + | |||
| + | A275 AA #367 | ||
| + | </div> | ||
| + | |||
| + | {{UploadPost|174_68db11ac87386.jpg|499072}} | ||
| = Comparison To B110 Consoles = | = Comparison To B110 Consoles = | ||
Current revision
<-- back to Console
B210 came with two different factory consoles (small and large) which are similar to the equivalent B110 consoles, but lower-profile and more streamlined/rounded.
Contents |
Overview
NOTE: Does not fit the 1200 well
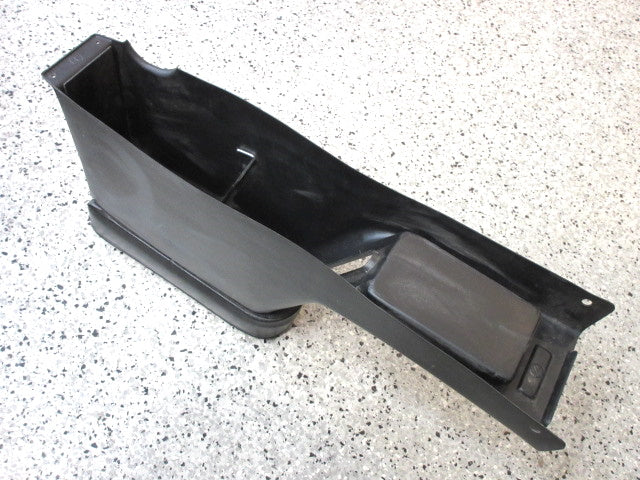
B210 came with two different factory consoles:
These are similar to the equivalent B110 consoles, but lower-profile and more streamlined/rounded.
Short Type | Long Type
A12/A14/L14
H50 DX,V  short type
H51 GL,GX long type
L14/L16
H59 GB210 black or brown
* with pocket and coin tray
* with clock
* with twin gauges
Short
The short or small-type does not extend back between the seats.

74598-H5000 is this for the console? Or is it a jack mounting bracket?


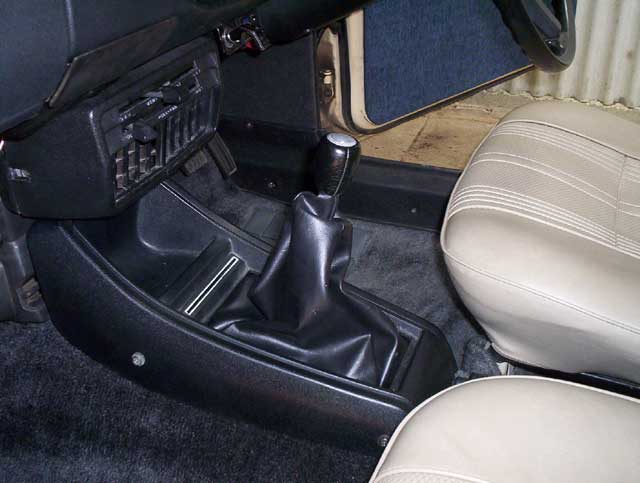
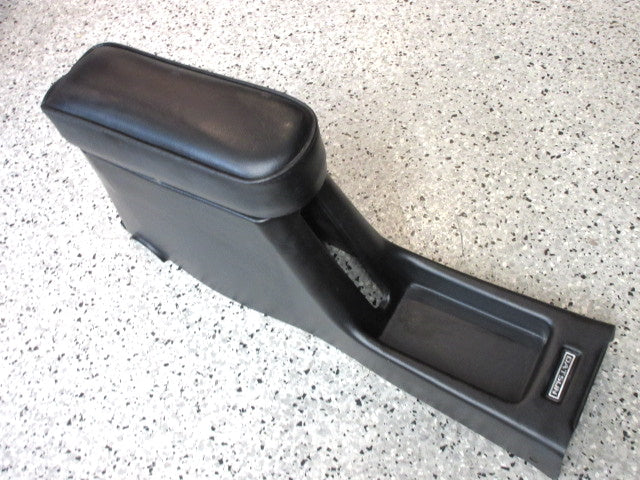
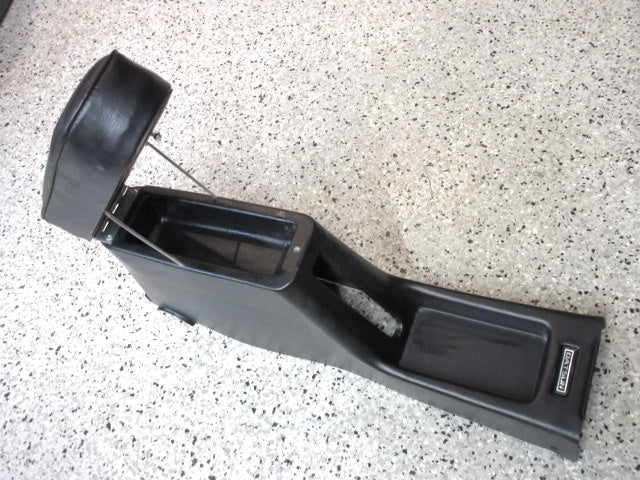
Long
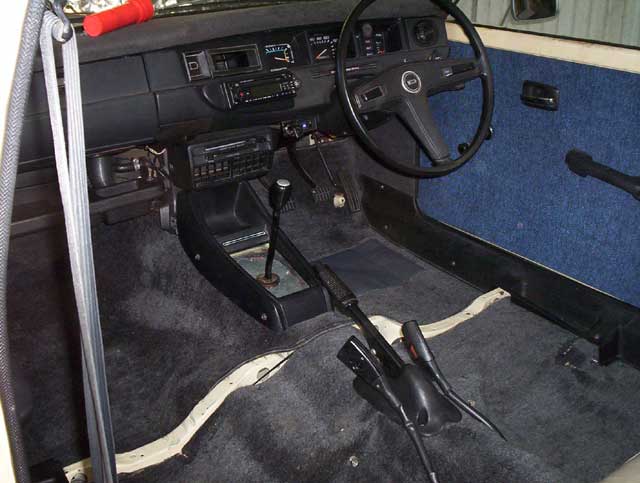
Standard "large type" for JDM GX & GL, Option for DX & Van
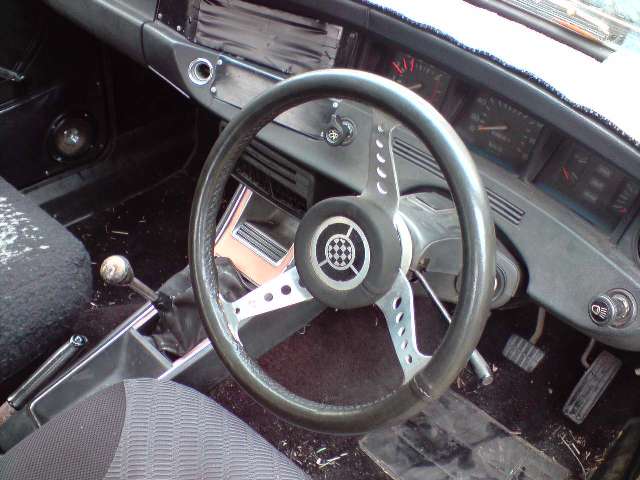
GL sedan with OPTION steering wheel
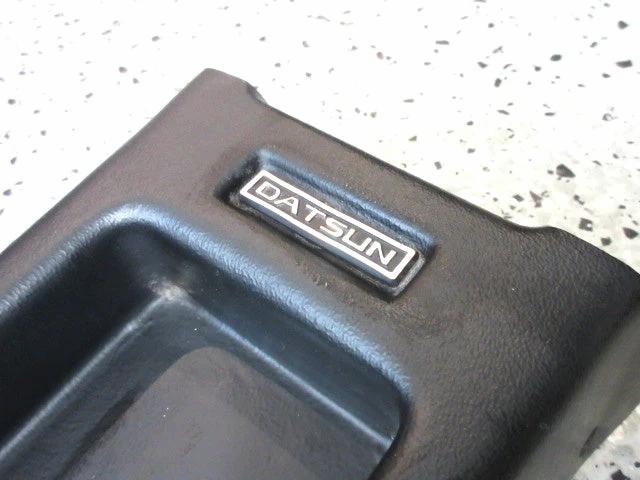
GL Coupe
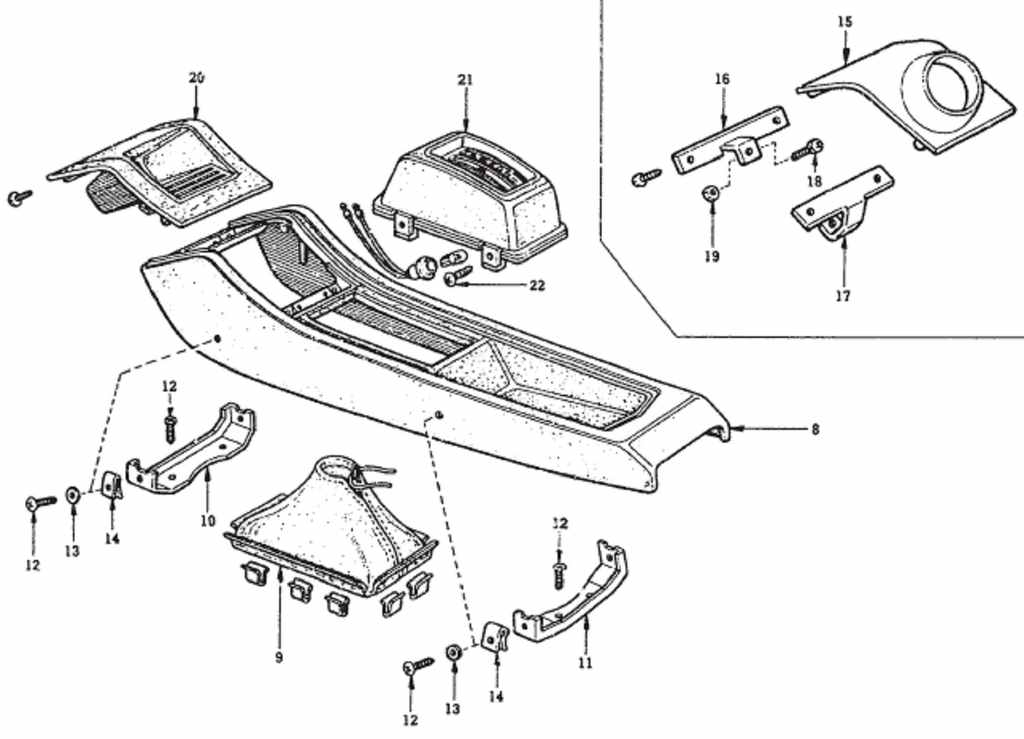


Modified for use with shifter of long gearbox

This one appear to have been cut to shorten it?


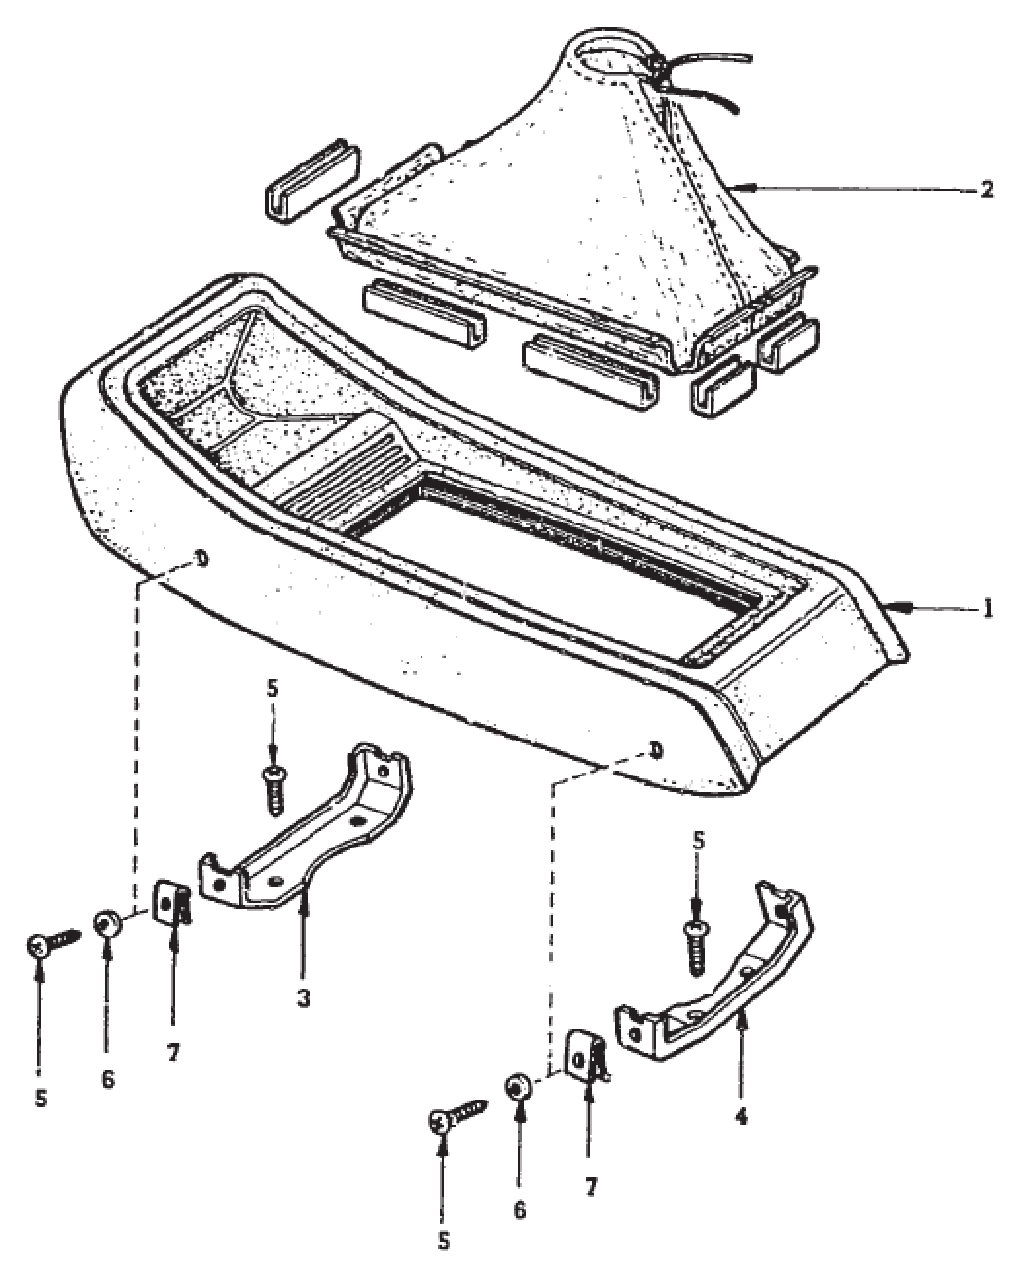
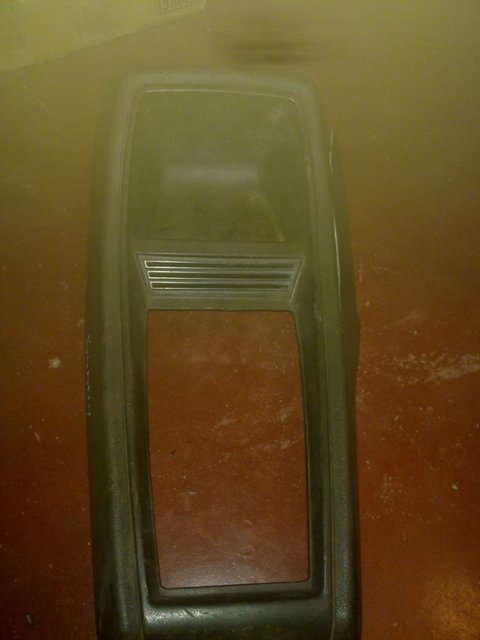
Option 3
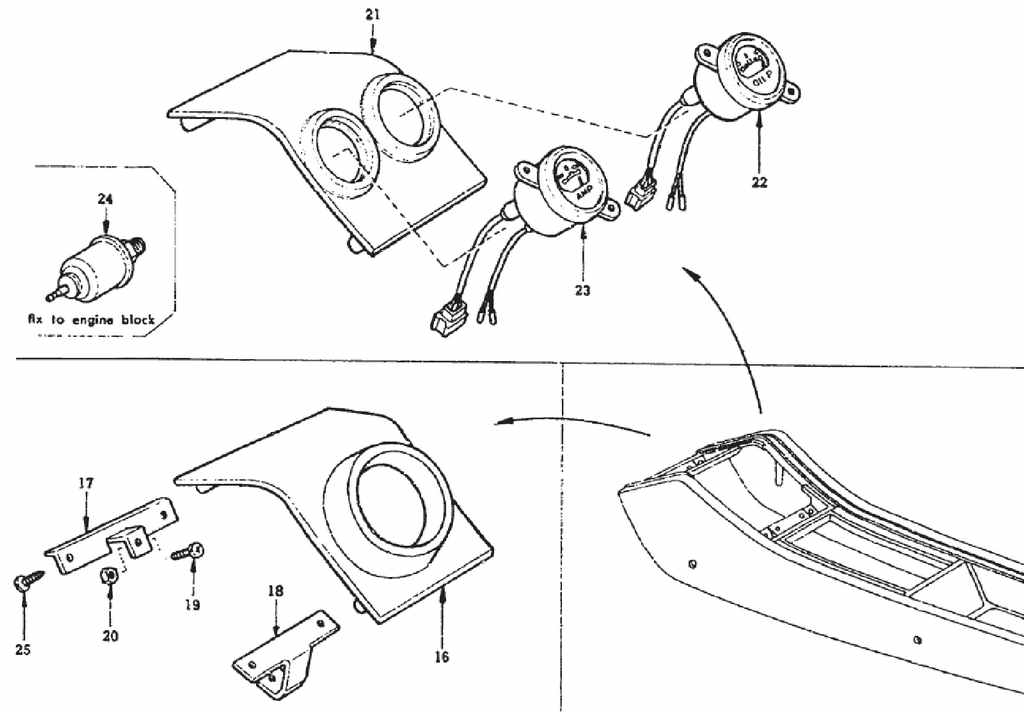
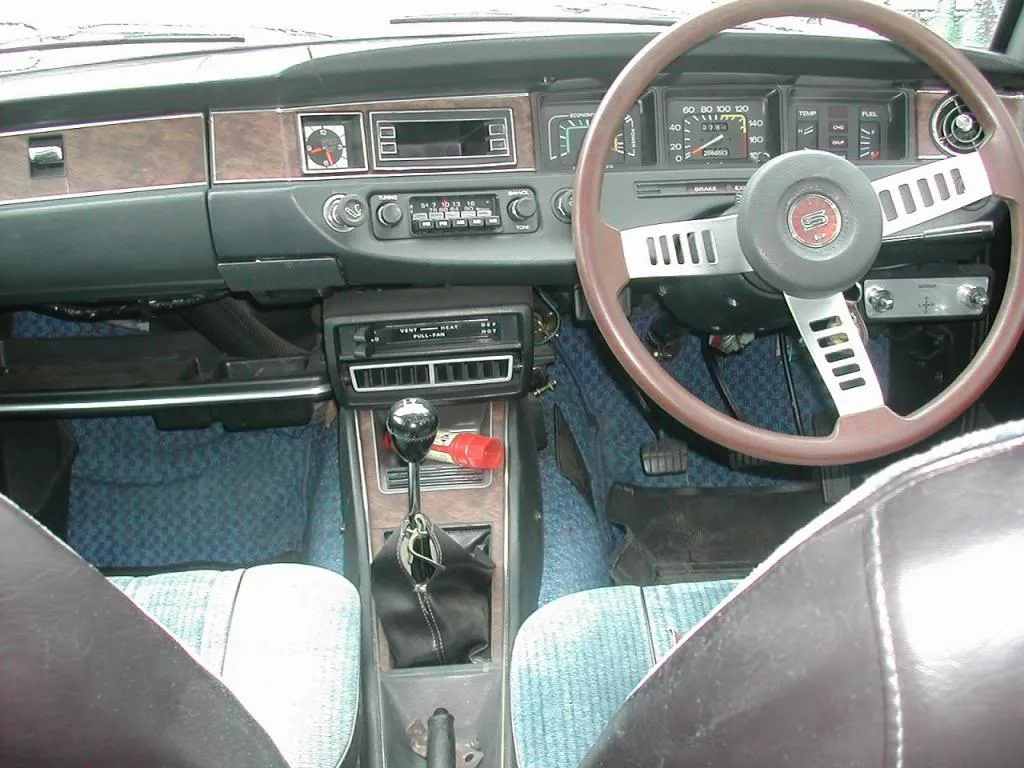
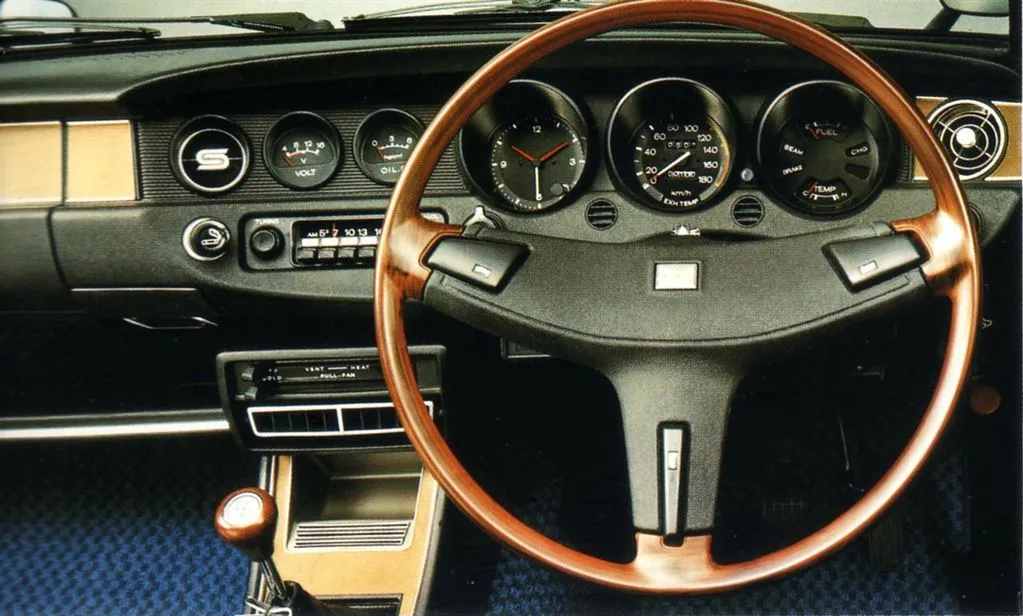
Two Gauge
Dual-gauge was stock in the long console for Excellent GL
Also available as an option for all B210

PB210 option DX, GX
21 74982-H5927 MASK KIT-console box with screw (Brown)
22 24870-H5500 GAUGE-oil pressure
23 24845-H5500 METER-ampere
24 25070-89901 UNIT-oil pressure gauge
Overhead Console

North America
For sedan, console only available as OPTION for the last year '78, so very rare.
For USA Coupe, the long box was standard, though the short box was an option. In Canada, coupe console was an OPTION.
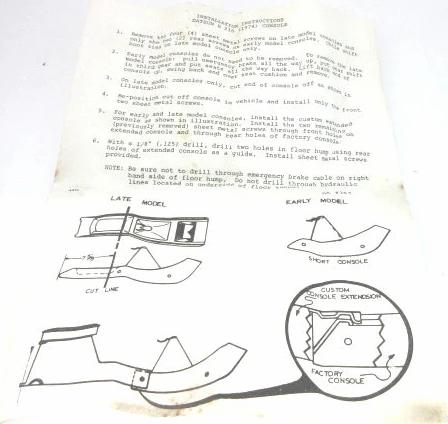
Amco
Official Datsun Accessory by Amco was this nice padded armrest. It provided a pocket tray, the hinged armrest, and a compartment under the armrest. It perfectly fit the early console. If you had the nice Coupe long console, installation called for cutting it.

                     INSTALLATION INSTRUCTIONS
                    DATSUN B 210 (1974) CONSOLE
1. Remove the four (4) sheet metal screws on late model Consoles and
   only the two (2) rear screws on early model consoles.  Untie shift
   boot ties on late model console only.
2. Early model consoles do not need to be removed.  To remove the late
   model console:  pull emergency brake all the way up, put gear shift
   in third gear and put seats all the way back.  Lift back end of
   console up, swing back end over seat cushion and remove.
3. On late model consoles only, cut end of console off as show in
   illustration.
4. Re-position cut off console in vehicle and install only the front
   two sheet metal screws.
5. For early and late model consoles, install the custom extended
   console as shown in illustration.  Install the two remaining
   (previously removed) sheet metal screws through front holes on
   extended console and through rear holes of factory console.
6. With a 1/8" (.125) drill, drill two holes in floor hump using rear
  holes of extended console as a guide. Install sheet metal screws
  provided.
  NOTE: Be sure not to drill through emergency brake cable on right
  hand side of floor hump. Do not drill through hydraulic
  lines located on underside of floor tunnel.
A275 AA #367
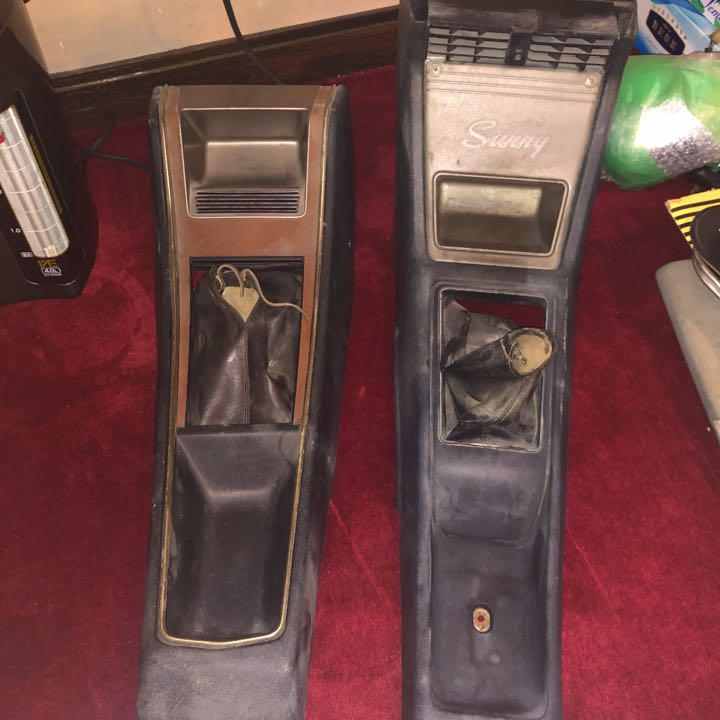
Comparison To B110 Consoles
The B210 consoles are similar to the equivalent B110 consoles, but the newer units are lower-profile and more streamlined/rounded.
- lower profile: does not rise up and cover the heater vent
- less angular, a bit more sleek