![[Datsun 1200 encyclopedia]](/wiki/upload/wiki.png)
Datsun 510 uses headlights that are always hot, but not connected to ground until the Lighting Switch is pulled.
510 Switched-Earth Wiring
Headlights are not permanently grounded as in newer Datsuns
Headlights are permanently connected to HOT via the Fuse Box
Original 1968-1969 6-fuse fuse box
One fuse powers both Headlights
1969-1973 Dual-Fuse Headlight CircuitNew for 1969 8-fuse modular fuse box 'HL' 10A RL Power to Left Headlights 'HR' 10A R Power to Right Headlights
Relay switches ground on for either
* High beams (all 4 lights)
* Low beams (2 outer lights)
Relay does not switch the 12V HOT side
Relay switches the GROUND wires
Relay Coil is powered by GL wire from Lighting Switch
Relay Coil is switched by BR wire from Dimmer Switch
* ungrounded = Low beams switched to Ground
* grounded = High beams switched to Ground
Dimmer Switch
* Only connects to Ground (High beam position) or disconnected
* No 12V runs through it
Lighting Switch
* controls headlights, park lights, dash illumination lights
* does not control turn signals
* does not control dash pilot lights (OIL, CHG, P.B)
Dash Illumination Lamps (2) are grounded though Pin 2 Black wire.
GW Pin 1 goes to Lighting Switch
OIL pilot lamp is grounded via Oil Pressure switch
G Pin 8 goes to 4-way Flasher Switch
CHG pilot lamp is grounded via Voltage Regulator
G Pin 8 goes to 4-way Flasher Switch
Parking Brake pilot lamp is grounded via Handbrake switch
G Pin 8 goes to 4-way Flasher Switch
Relay
Late relay
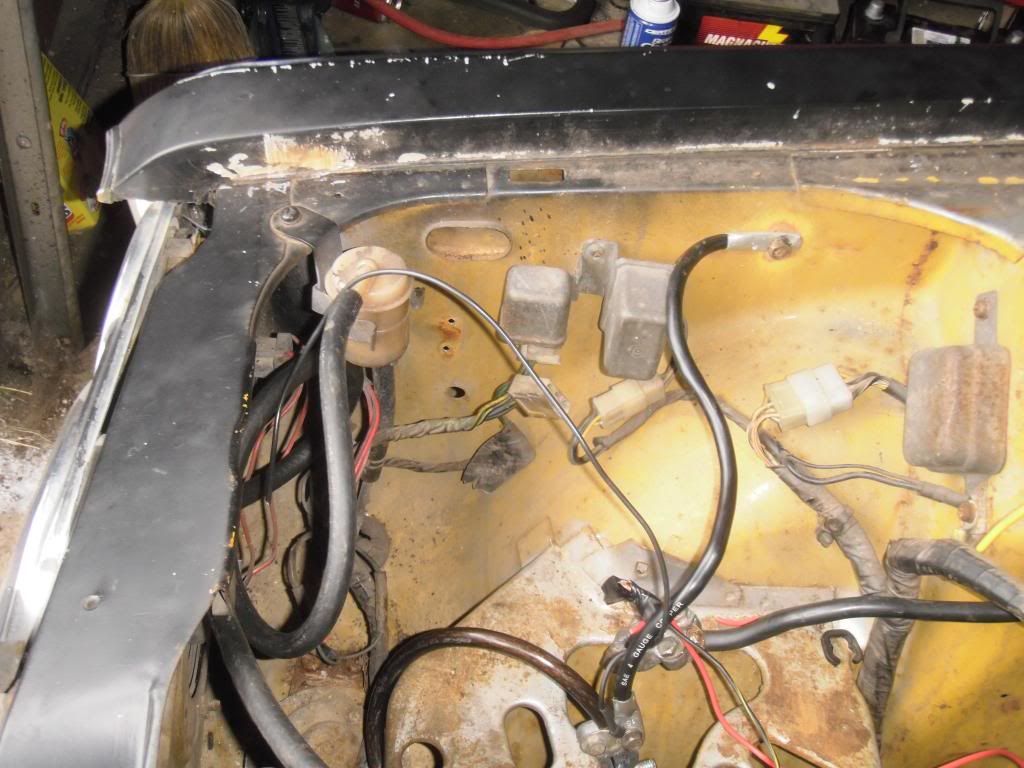
1969-1972: The two relays on the back side of the RH strut tower in front of the fuse box are for the headlights and the horn. The headlight relay has a 6 prong plug, the horn has four individual wires.
1973 relay is on the RH side behind the headlights
Original JIDECO relay

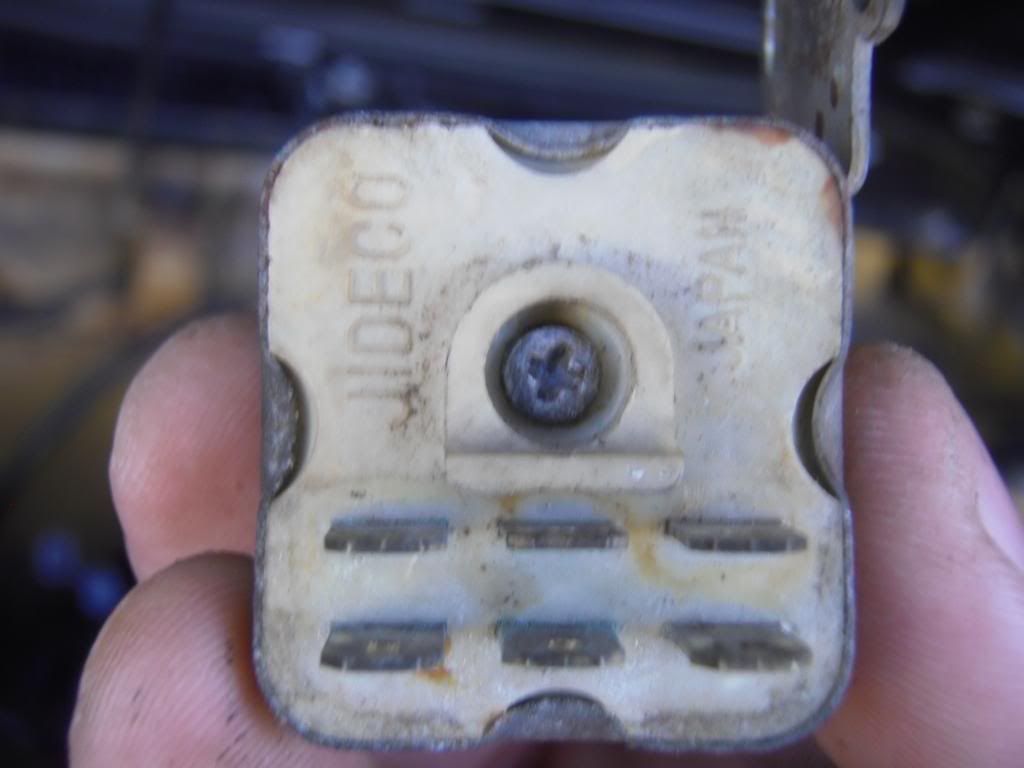
Low Beam Relay
B5230-28000
3-wire horn relay
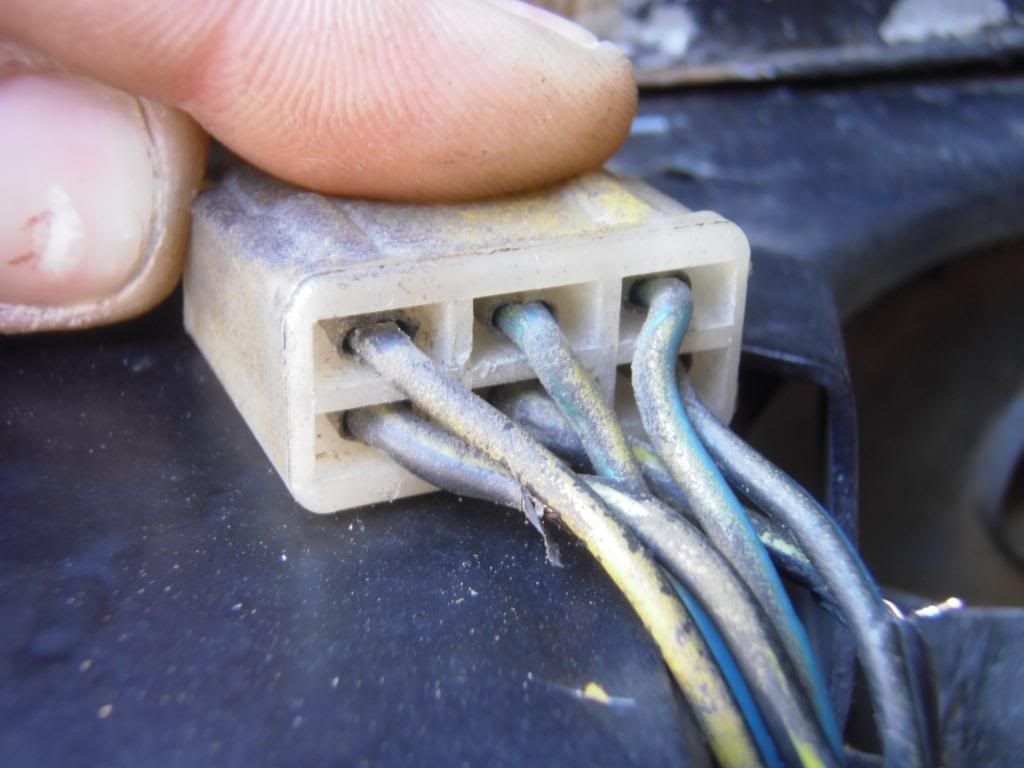
Headlight Relay
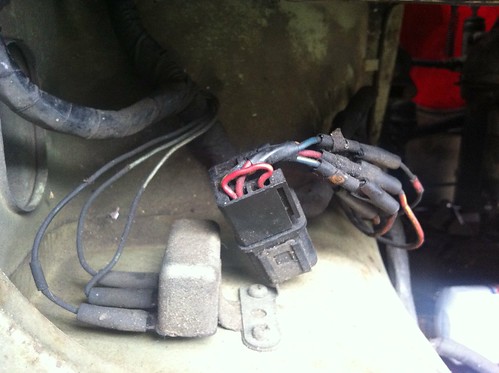
Headlight Relay
B5230-89985
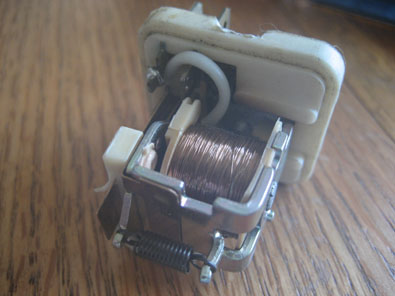
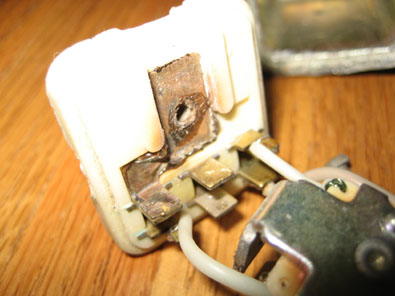
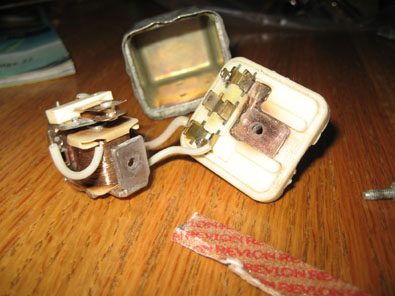
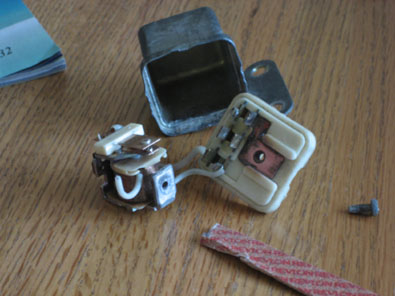
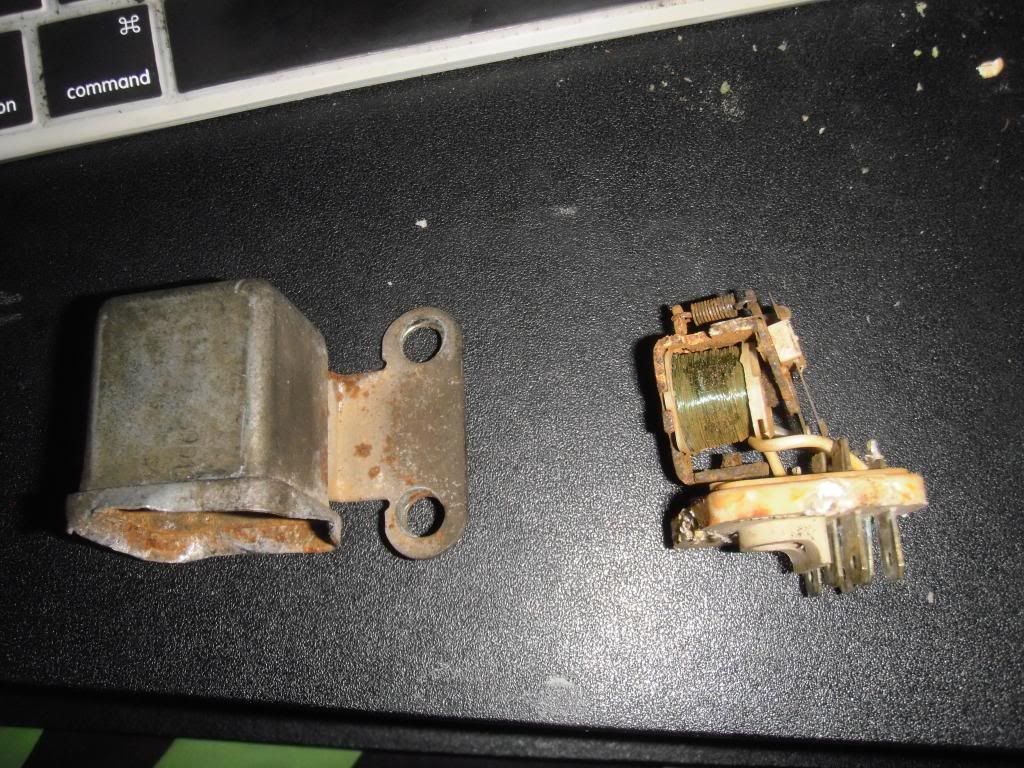
Relay Repair
http://www.510coop.com/completed/HLrelay.htmCarefully pry the cover loose. there are four crimps, one on each side. uncrimp carefully with a screwdriver and remove the cover. Now between the contact on the bottom of the plastic piece is a screw. Remove it and carefully lift the guts away from the base and you should see rust on the bottom. Sand that clean apply so dielectric grease, reassemble and you should have a working relay. It's the rust and corrosion that is interrupting the circuit. Be careful of the wiring in the relay. The unit itself is pretty tough but some of those fine wires can break if you get too rough.
So, that's what I did...and now I have headlights! Thanks Bruce!