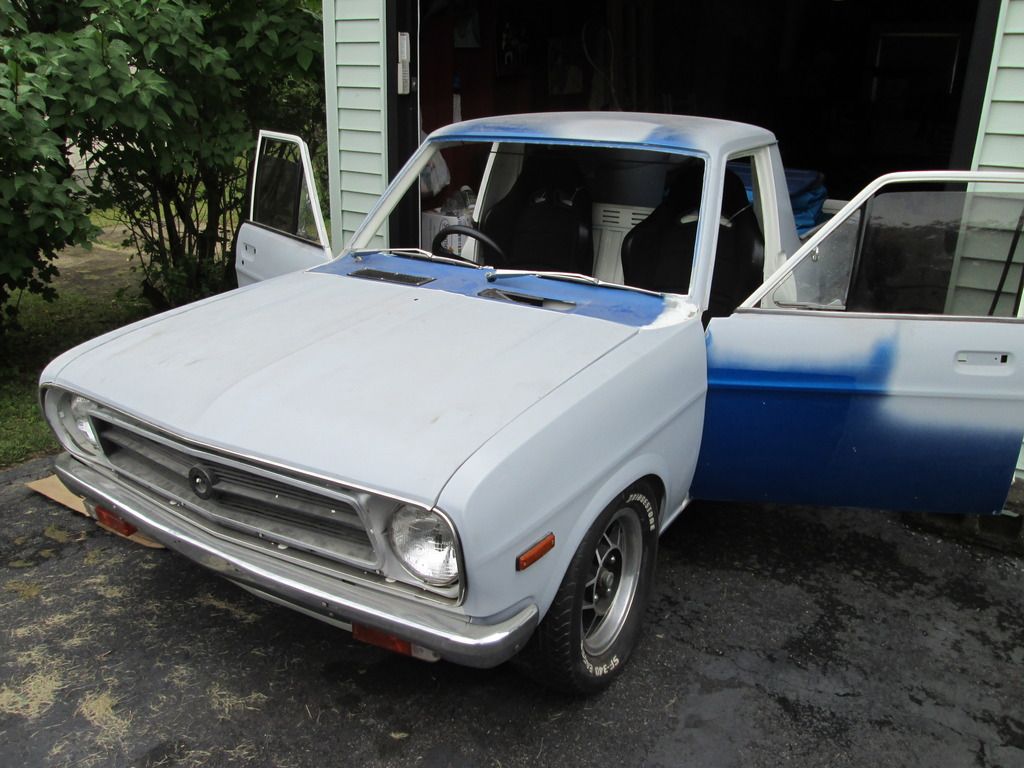
Lots of work done this month so far. Got to air out the ute for the first time in a while. It hasn't seen daylight for at least over a year.
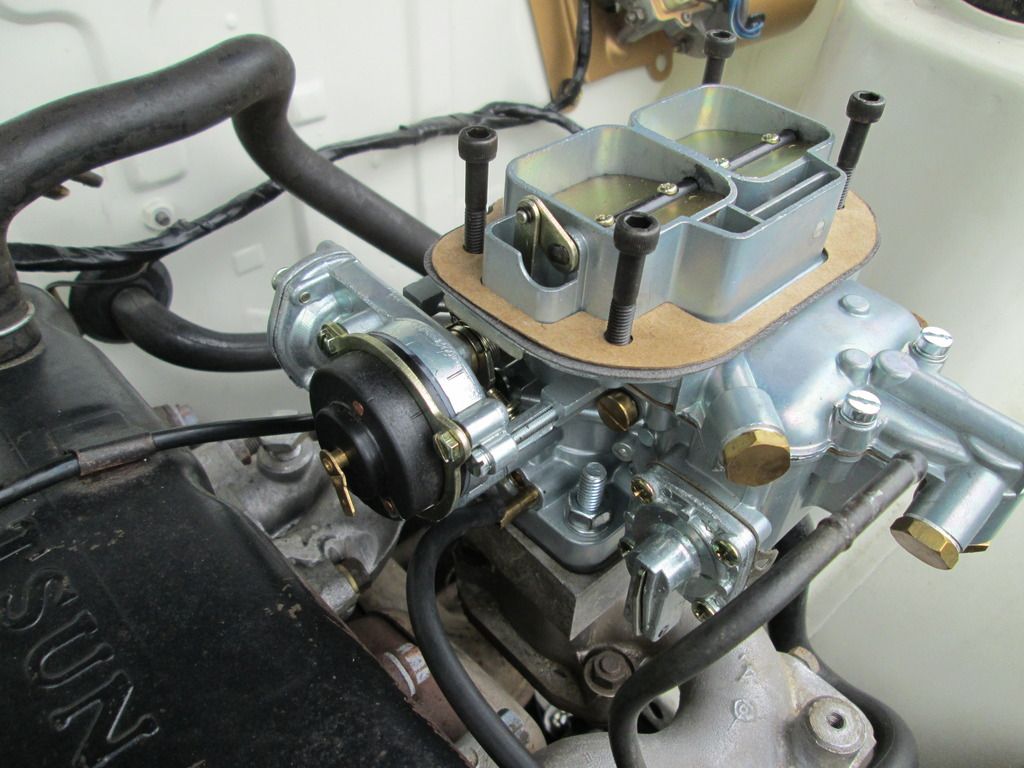
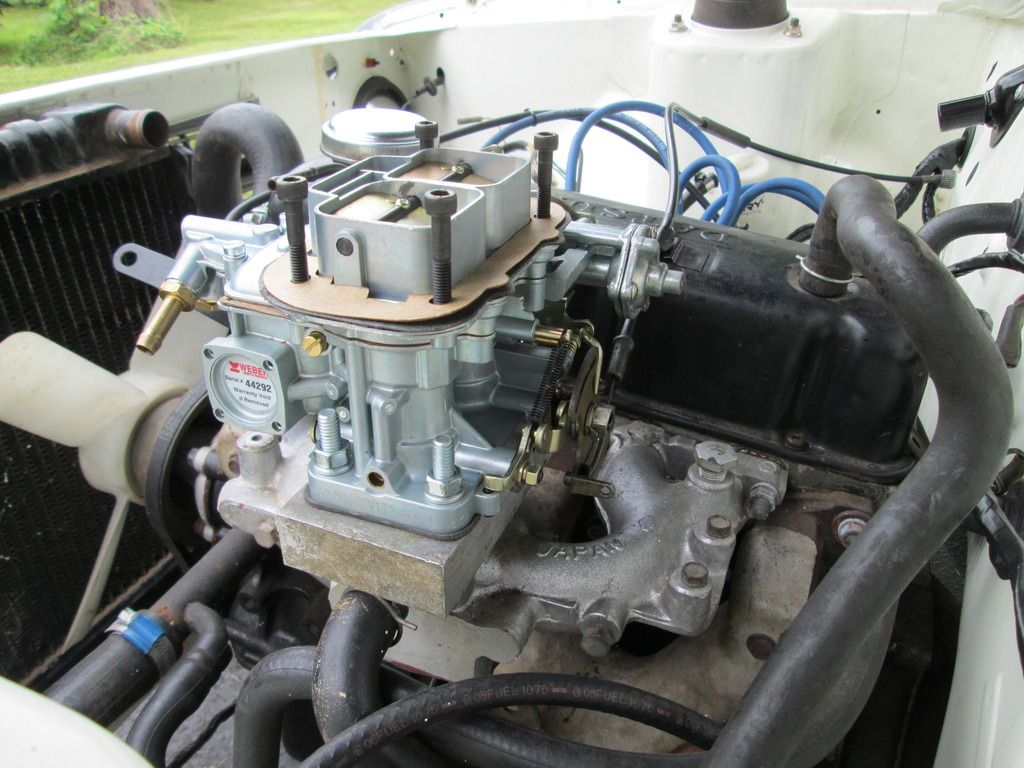
Installed the Weber 32/36 carburetor with the adapter plate on the manifold. I was finally able to get some decent studs from the local NAPA to put onto the adapter plate. The existing gasket from the old Hitachi carb was in poor shape. It was worn and had high and low groove marks in it so I decided instead of reusing it I coated the manifold base with high temp Permatex sealant and fit the adapter on top. The nut for the carb base closest to the driver's seat was such A PAIN to tighten. I had to dissamble the rocker cover to get access to the nut and even then it was difficult. I did not want to attempt to take the automatic electric choke off the carb (this was the part in the way) as I did not know how easy or difficult it was to put back on the carb.
Noted that my current engine head is a H75.
I am not sure how to run the fuel line to the carb. It seems to be on the wrong side of the carb. (maybe more suited for LHD model?)
Also the vacuum line from the distributor will NOT go on the damn carb not matter how hard I try. Any tricks here?
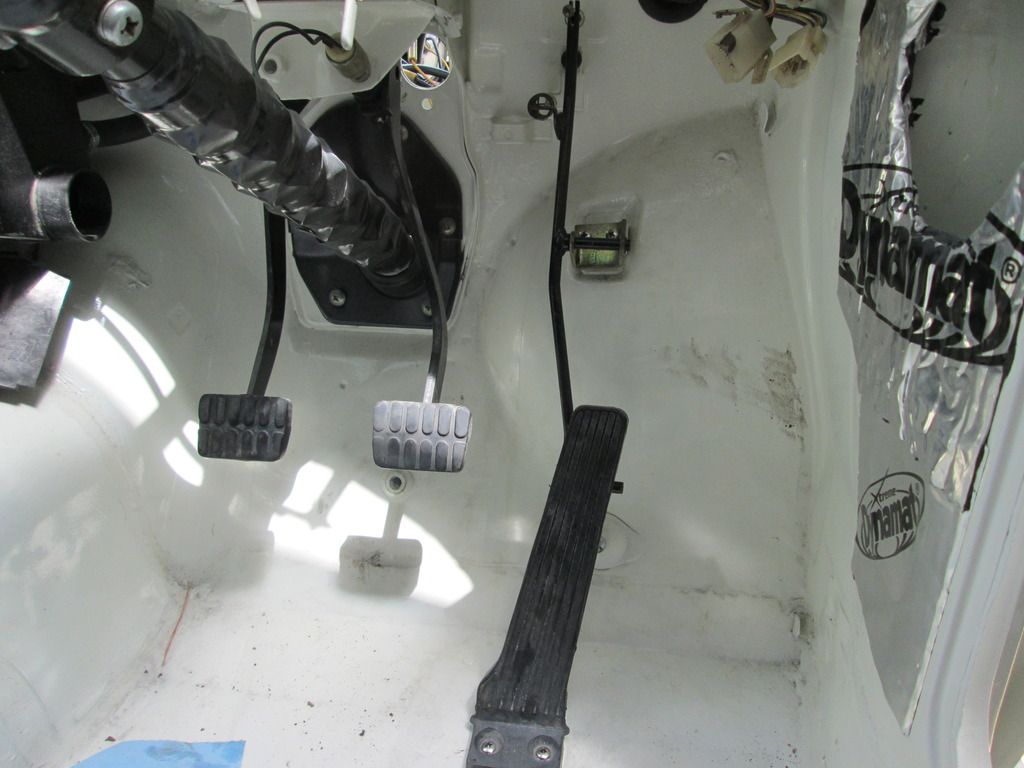
Installed the accelerator pedal and cable. The cable is very slack at the moment. I will need a way to tighten the cable. Hopefully the chrome rocker cover (see a few pages back) with the stop tab welded on will help to take up the slack in the cable.
I found the grooved round connector at the driver's side end for the accelerator cable very difficult to tighten. I used a pair of pliers to get it as good as I could but it still has a little bit of slack at that end.
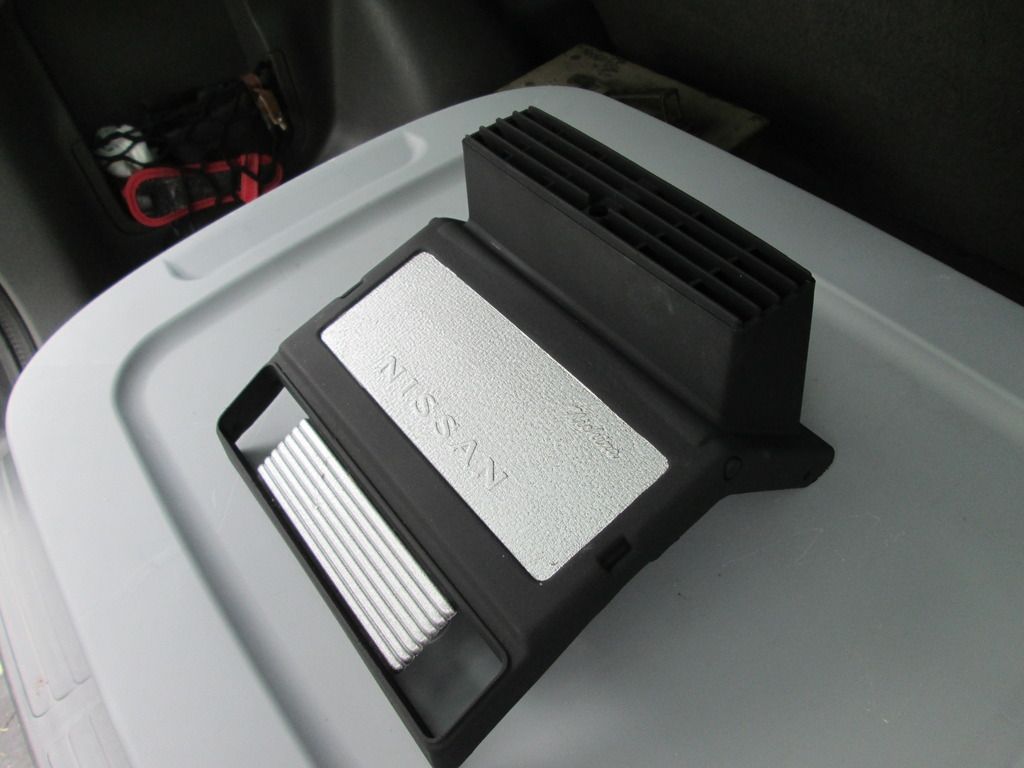
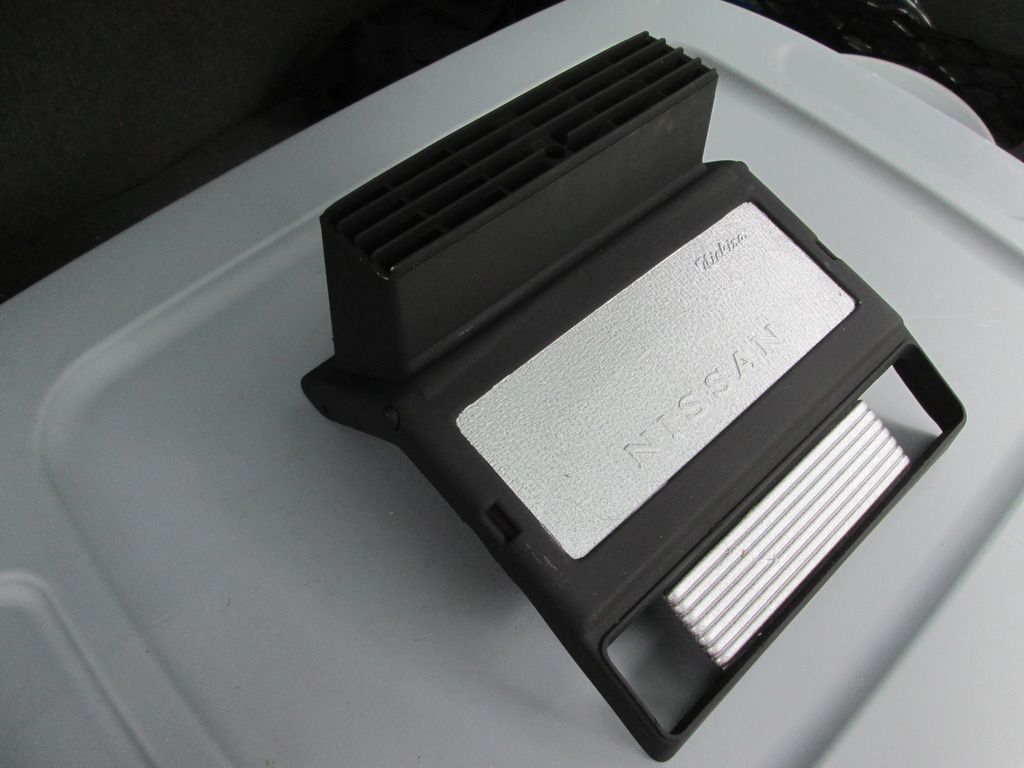
Painted my poo brown heater cover a trick silver/black combo. Never seen anyone attempt this before and I think it came out awesome and will match my interior theme.
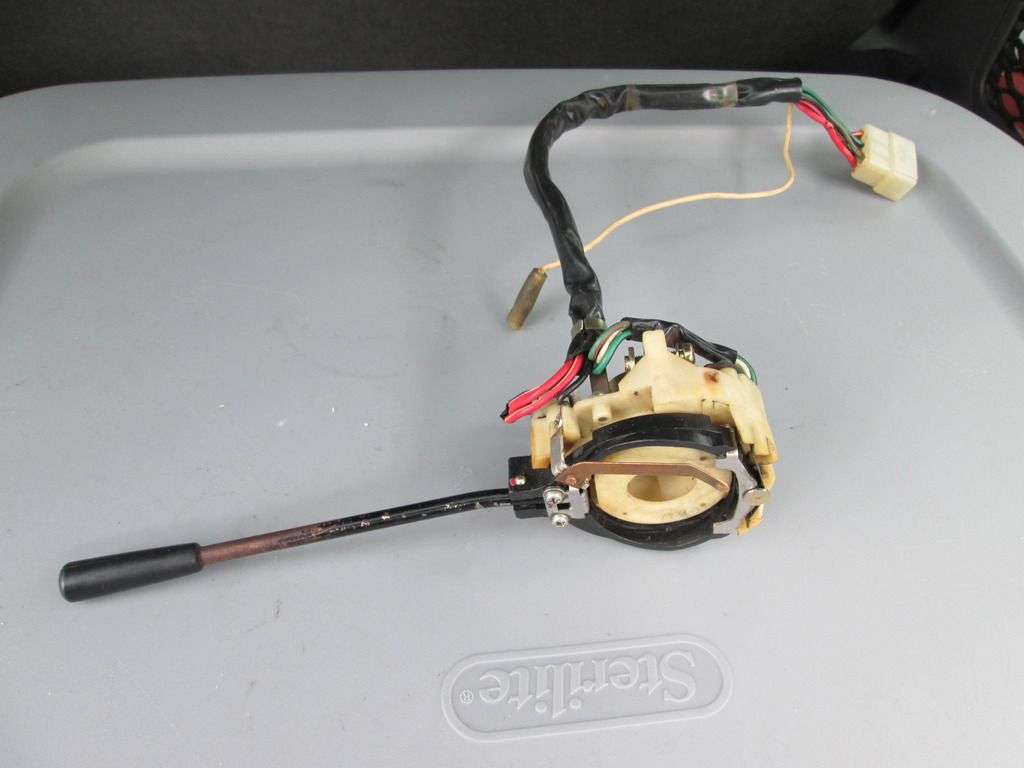
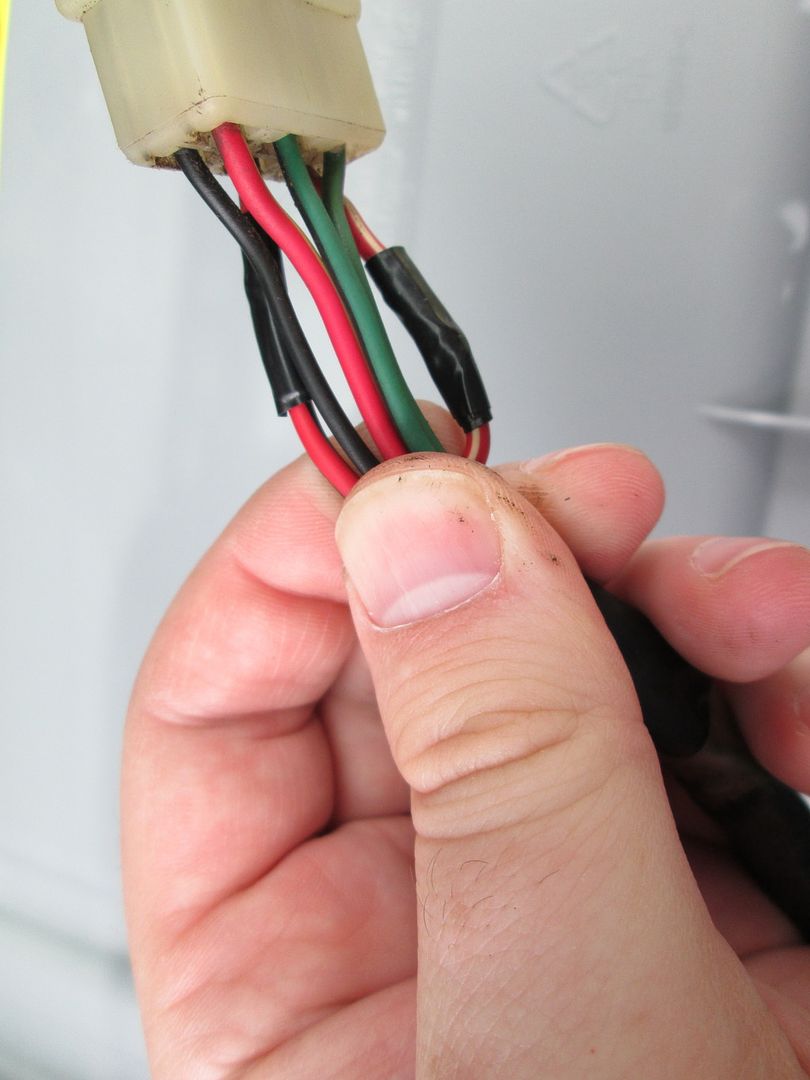
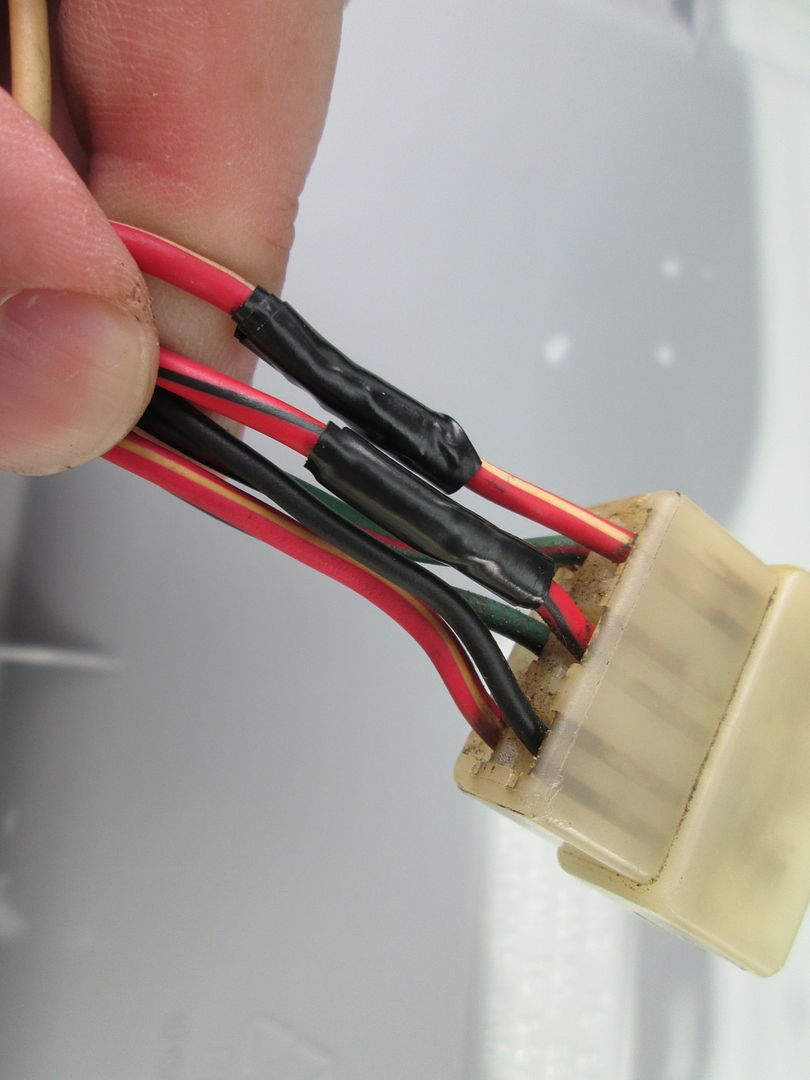
Also found a few "scotch" tabs or whatever they are called tapped into the indicator stalk wiring and I had to remove those and repair the wiring. Hoping it functions okay still.
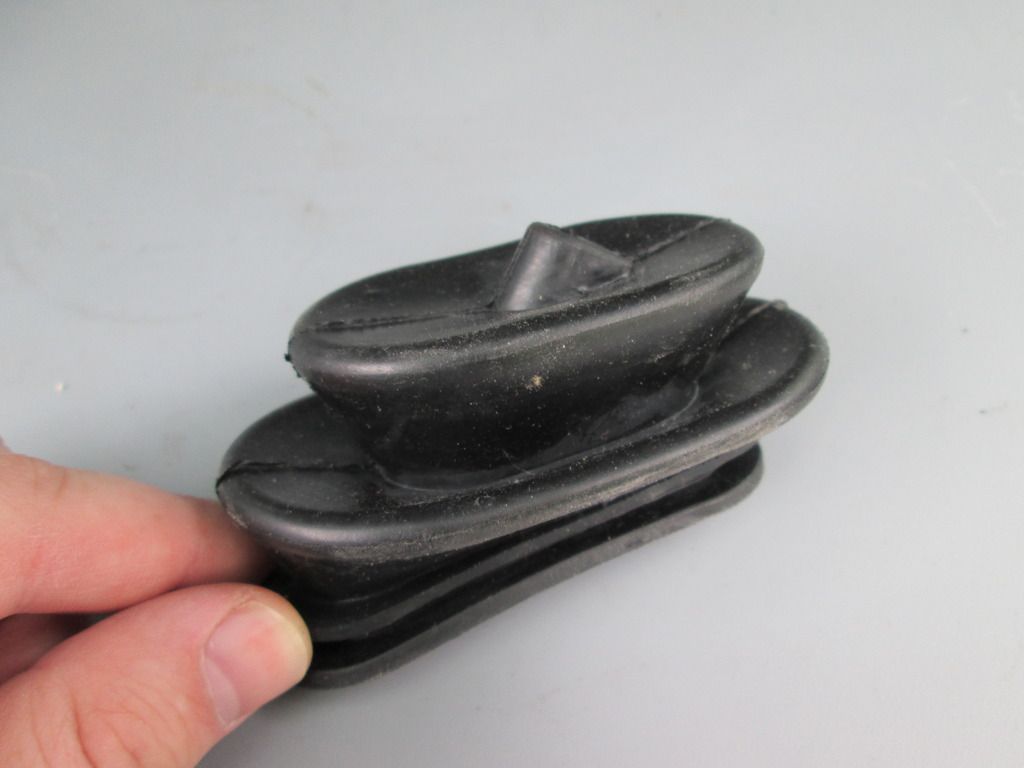
Also received my shift lever rubber boot from Australia. Not sure if i mentioned before.


;)
;)
 Transfer


 gearbox.jpg (177.98 KB)
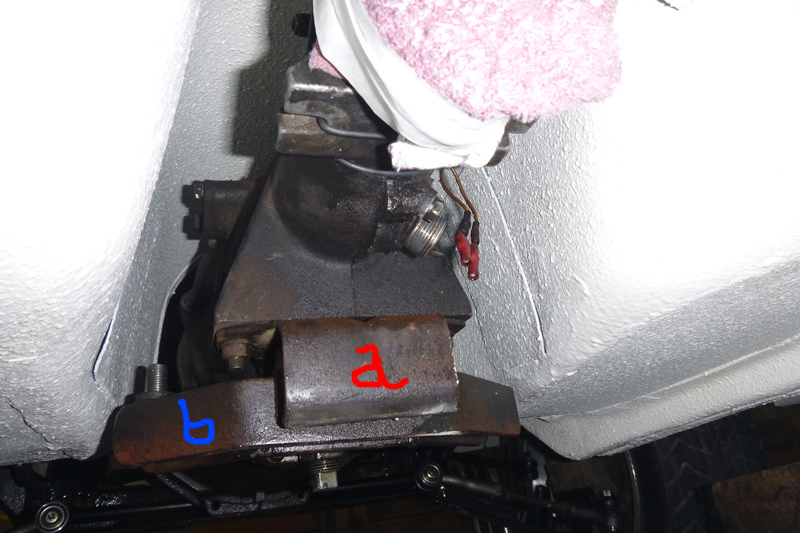


;)
;)
;)
;)
;)
;)
;)
;)
;)
;)
;)
;)
;)
;)
;)
;)
;)
;)
;)
;)
;)
;)
;)
;)
;)
;)
;)
;)
;)
;)
;)
