User Login    
 + Register
  • Main navigation
Login
Username:

Password:


Lost Password?

Register now!
Fast Search
Slow Search
Google Ad


Browsing this Thread:   1 Anonymous Users


The Resurrection of a Classic
No life (a.k.a. DattoMaster)
Joined:
2007/1/22 23:06
From East New Britain, Papua New Guinea
Group:
Registered Users
Posts: 6981
Offline
The Resurrection of a Classic - an exercise in automotive repair & photographics.

I owe it to this car........After a succession of negligent owners I've finally mustered up the effort to reverse the years of damage. It's a 2dr B110 shell that has had a very hard life. A couple solid kilograms of body filler and the weight to match in rust this car has somehow managed to keep my interest for a very long time, not for the obvious reasons of being such a rare body type (in this hemisphere) but more so because it has had a terrible run and I can't bring myself to join the list of previous owners who failed to give it a new life.

The succession of photo's to follow are to document the repairs in what will hopefully be a successful project (to completion). For the record, none of this work is my profession, especially body repair work. The plan??..... is to take it one step at a time. I will have some help along the way from a very good, long-time friend.

Begin, the process of sandblasting and priming;

This is the material I specifically go for when blasting car bodies. It has gone through the blast at least two times and is quite fine, you must watch the dust levels though when blasting this fine. A couple of bags of new material mixed into this helps to produce a good cut.


Open in new window


Open in new window


Open in new window


Open in new window


Open in new window


The image below depicts the ideal finish after blasting, clean uniform and showing an approach perpendicular to the surface.

Open in new window


This is the most common defect, rusting out from the inside. The outside will be primed and the panel removed for blasting on the inside, then the areas repaired and panels re-fitted for painting.

Open in new window


Open in new window


Open in new window


Open in new window


Open in new window


Open in new window


Open in new window


Open in new window


Open in new window


All the threads must be painted. Too much paint will make it difficult to bolt into so just the right amount is required

Open in new window


See the bolt & nut, every small area missed will be the first spots to rust.

Open in new window


This image below depicts the sort of 'key' I am after in the surface of the material, a good base to take a high solids prime coat. Nevermind the runs in the holding coat, this primer is so good to work with, surface defects like runs will rub straight out.

Open in new window


Not sure what they were trying to do to the tunnel, it has been butchered. I will repair this once the shell is rust free.

Open in new window


The over-blast has taken some of the primer off so a light coat to seal over is required.

Open in new window


Don't you hate it when people don't remove the wiper gear before starting this sort of work! On a serious note, the sheen you see on the holding primer is because it is wet. When dry you want a nice matte finish which means the surface is prime for taking the primer coat. A holding coat that is shiney normally indicates too much was applied, I am trying to avoid this.

Open in new window


Open in new window

Posted on: 2015/8/15 11:03
Transfer the post to other applications Transfer


Re: The Resurrection of a Classic
No life (a.k.a. DattoMaster)
Joined:
2002/6/14 7:24
From Sydney
Group:
Registered Users
Posts: 2598
Offline
Looks like you certainly have a challenge on you hands Chris, but if anyone up for it, you have been around Datsuns long enough now, you will give it top shelf crack...

Posted on: 2015/8/15 11:28

Edited by benny on 2015/8/15 14:15:20
_________________

-----------------------------------------
1971 B110 Sedan GX Spec
1970 KB110 Coupe Track Car
1970 KB10 Coupe
-----------------------------------------
S13 caliper b...
Transfer the post to other applications Transfer


Re: The Resurrection of a Classic
Home away from home
Joined:
2008/3/30 12:52
From RSA
Group:
Registered Users
Posts: 387
Offline
Hey mate just had a look at the shell and your shell looks the same as my one.The rust is in the same place only i was blessed with a little bit extra [driver side floor also rusted] You have done a great job with the shell so far but it's bit much for me as i'm just gonna use it to mess around.Anyway keep going i'll be watching the progress.

Posted on: 2015/8/15 13:35
Transfer the post to other applications Transfer


Re: The Resurrection of a Classic
Home away from home
Joined:
2003/11/27 13:29
From Melbourne
Group:
Registered Users
Posts: 905
Offline
I'll be keeping an eye on this build. Keep the pics coming

Is that an epoxy seal coat your putting on first or is it the good old red oxide primer?

Will you be keeping this one stock or modifying?

What color are you planning for the top coat?

Posted on: 2015/8/15 17:41
Transfer the post to other applications Transfer


Re: The Resurrection of a Classic
No life (a.k.a. DattoMaster)
Joined:
2007/1/22 23:06
From East New Britain, Papua New Guinea
Group:
Registered Users
Posts: 6981
Offline
Challenge is an understatement benny, it's in very poor condition....

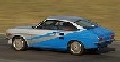
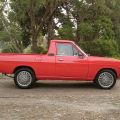
Yes the shell is in bad nick nismo1, I didn't realise the 2dr was a common model in SA, I know the coupe, 4dr and truck are common but only saw a couple images of SA 2dr sedans.

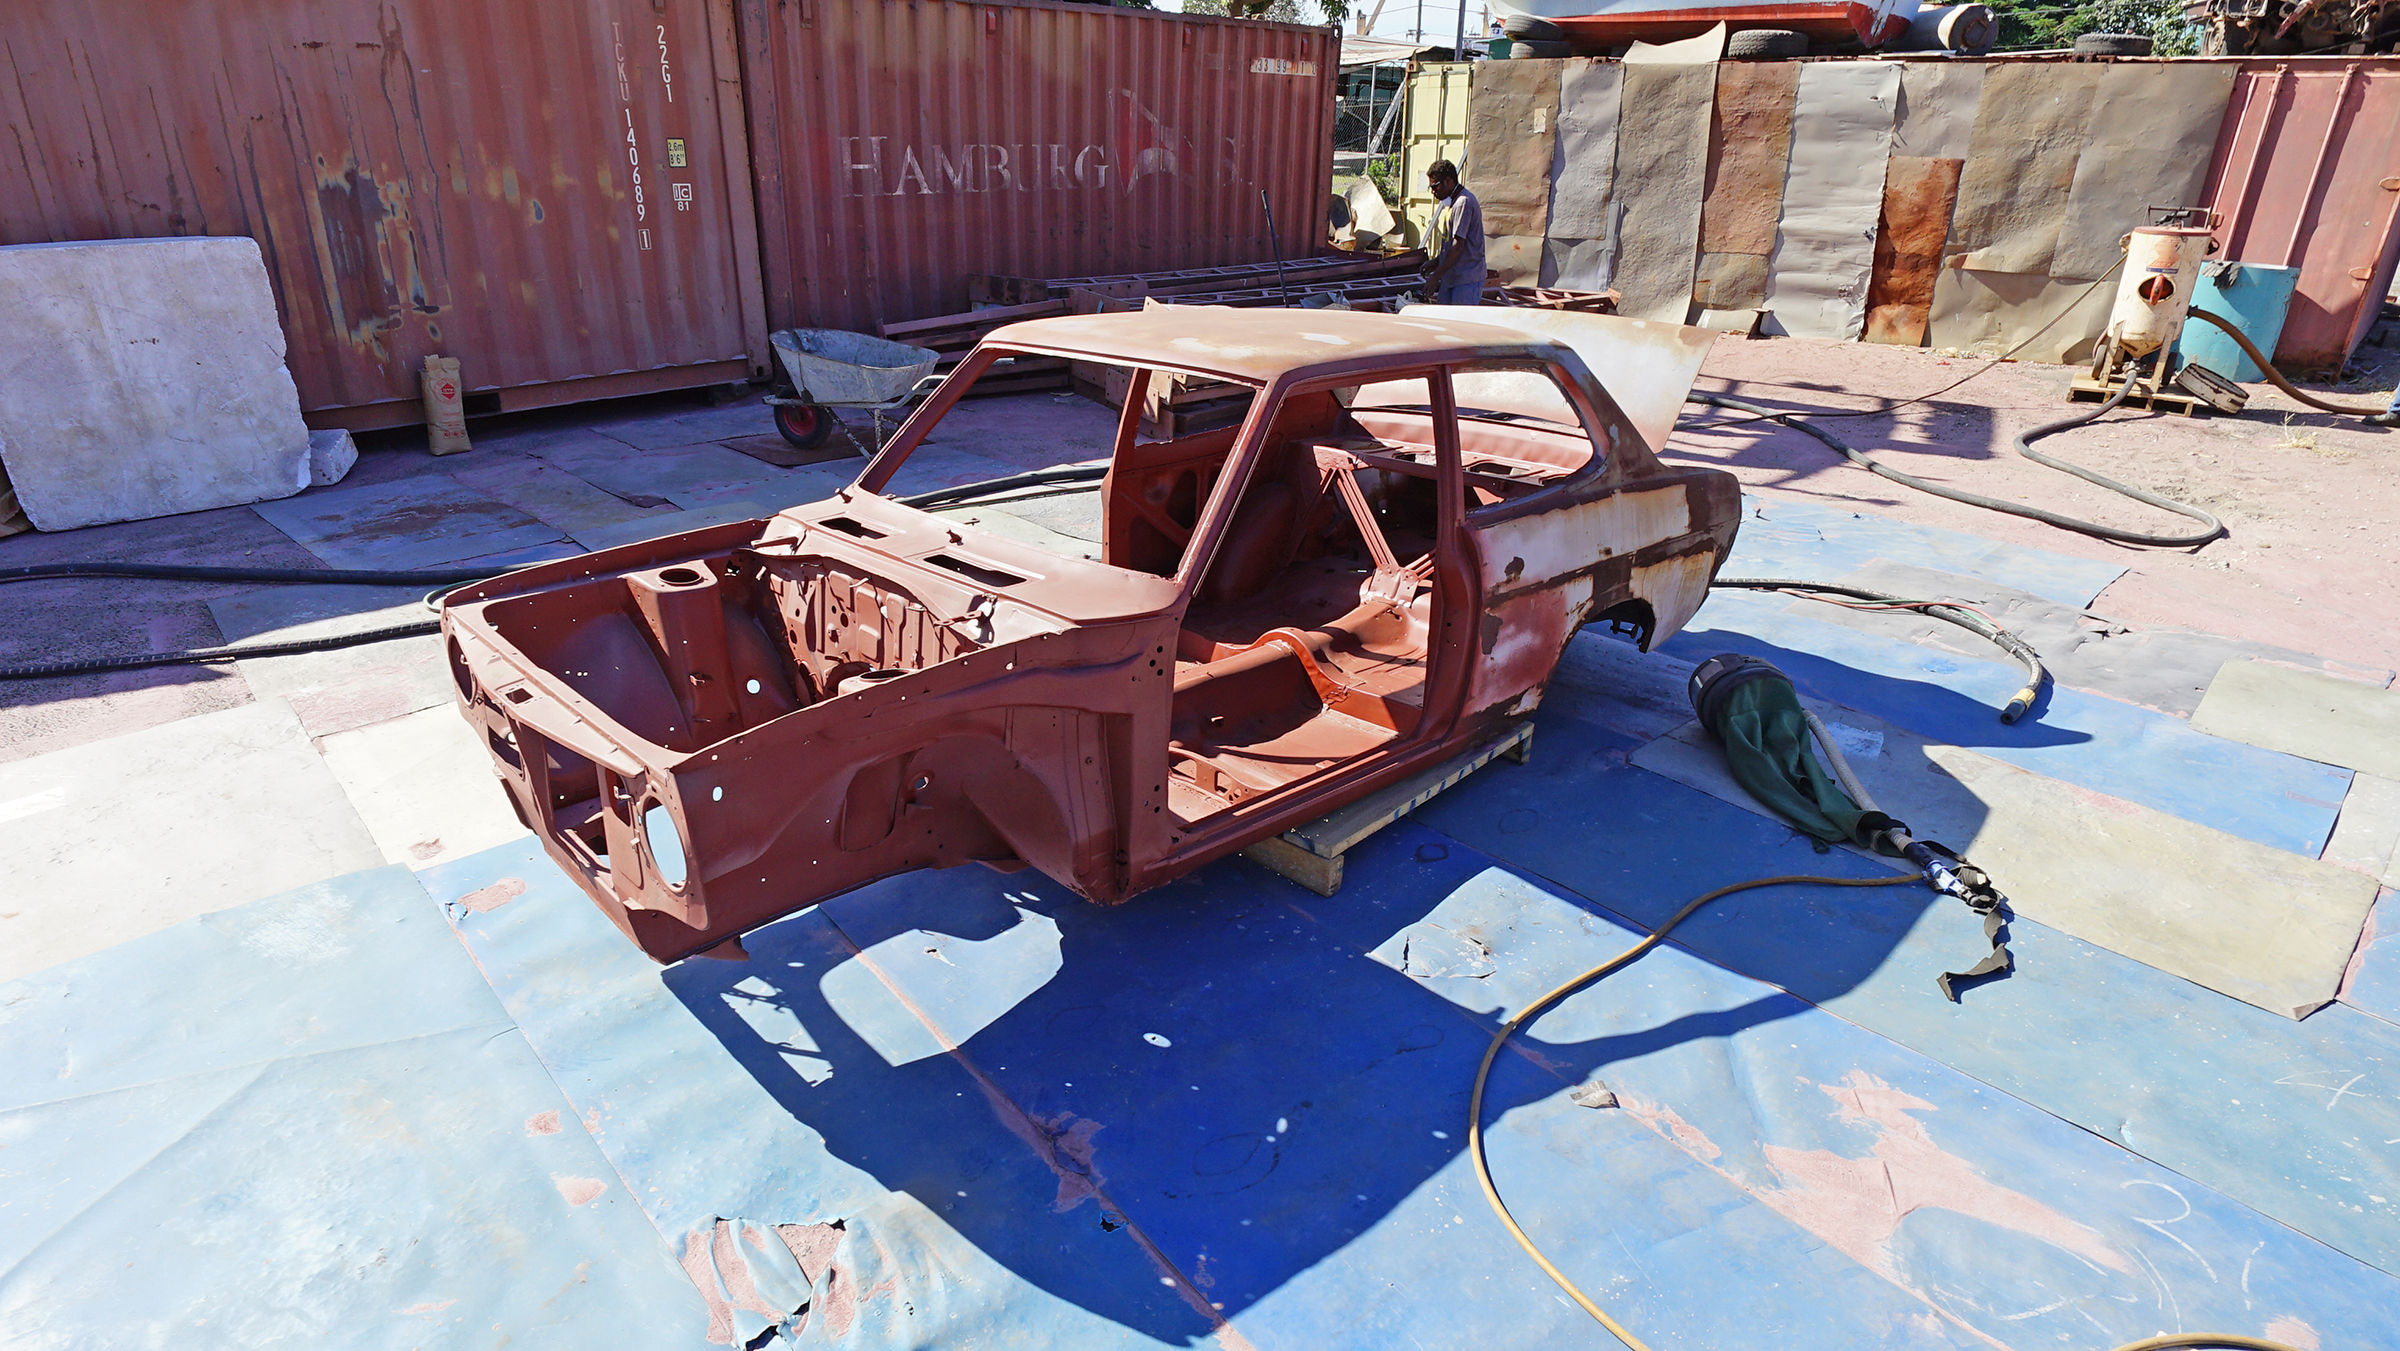
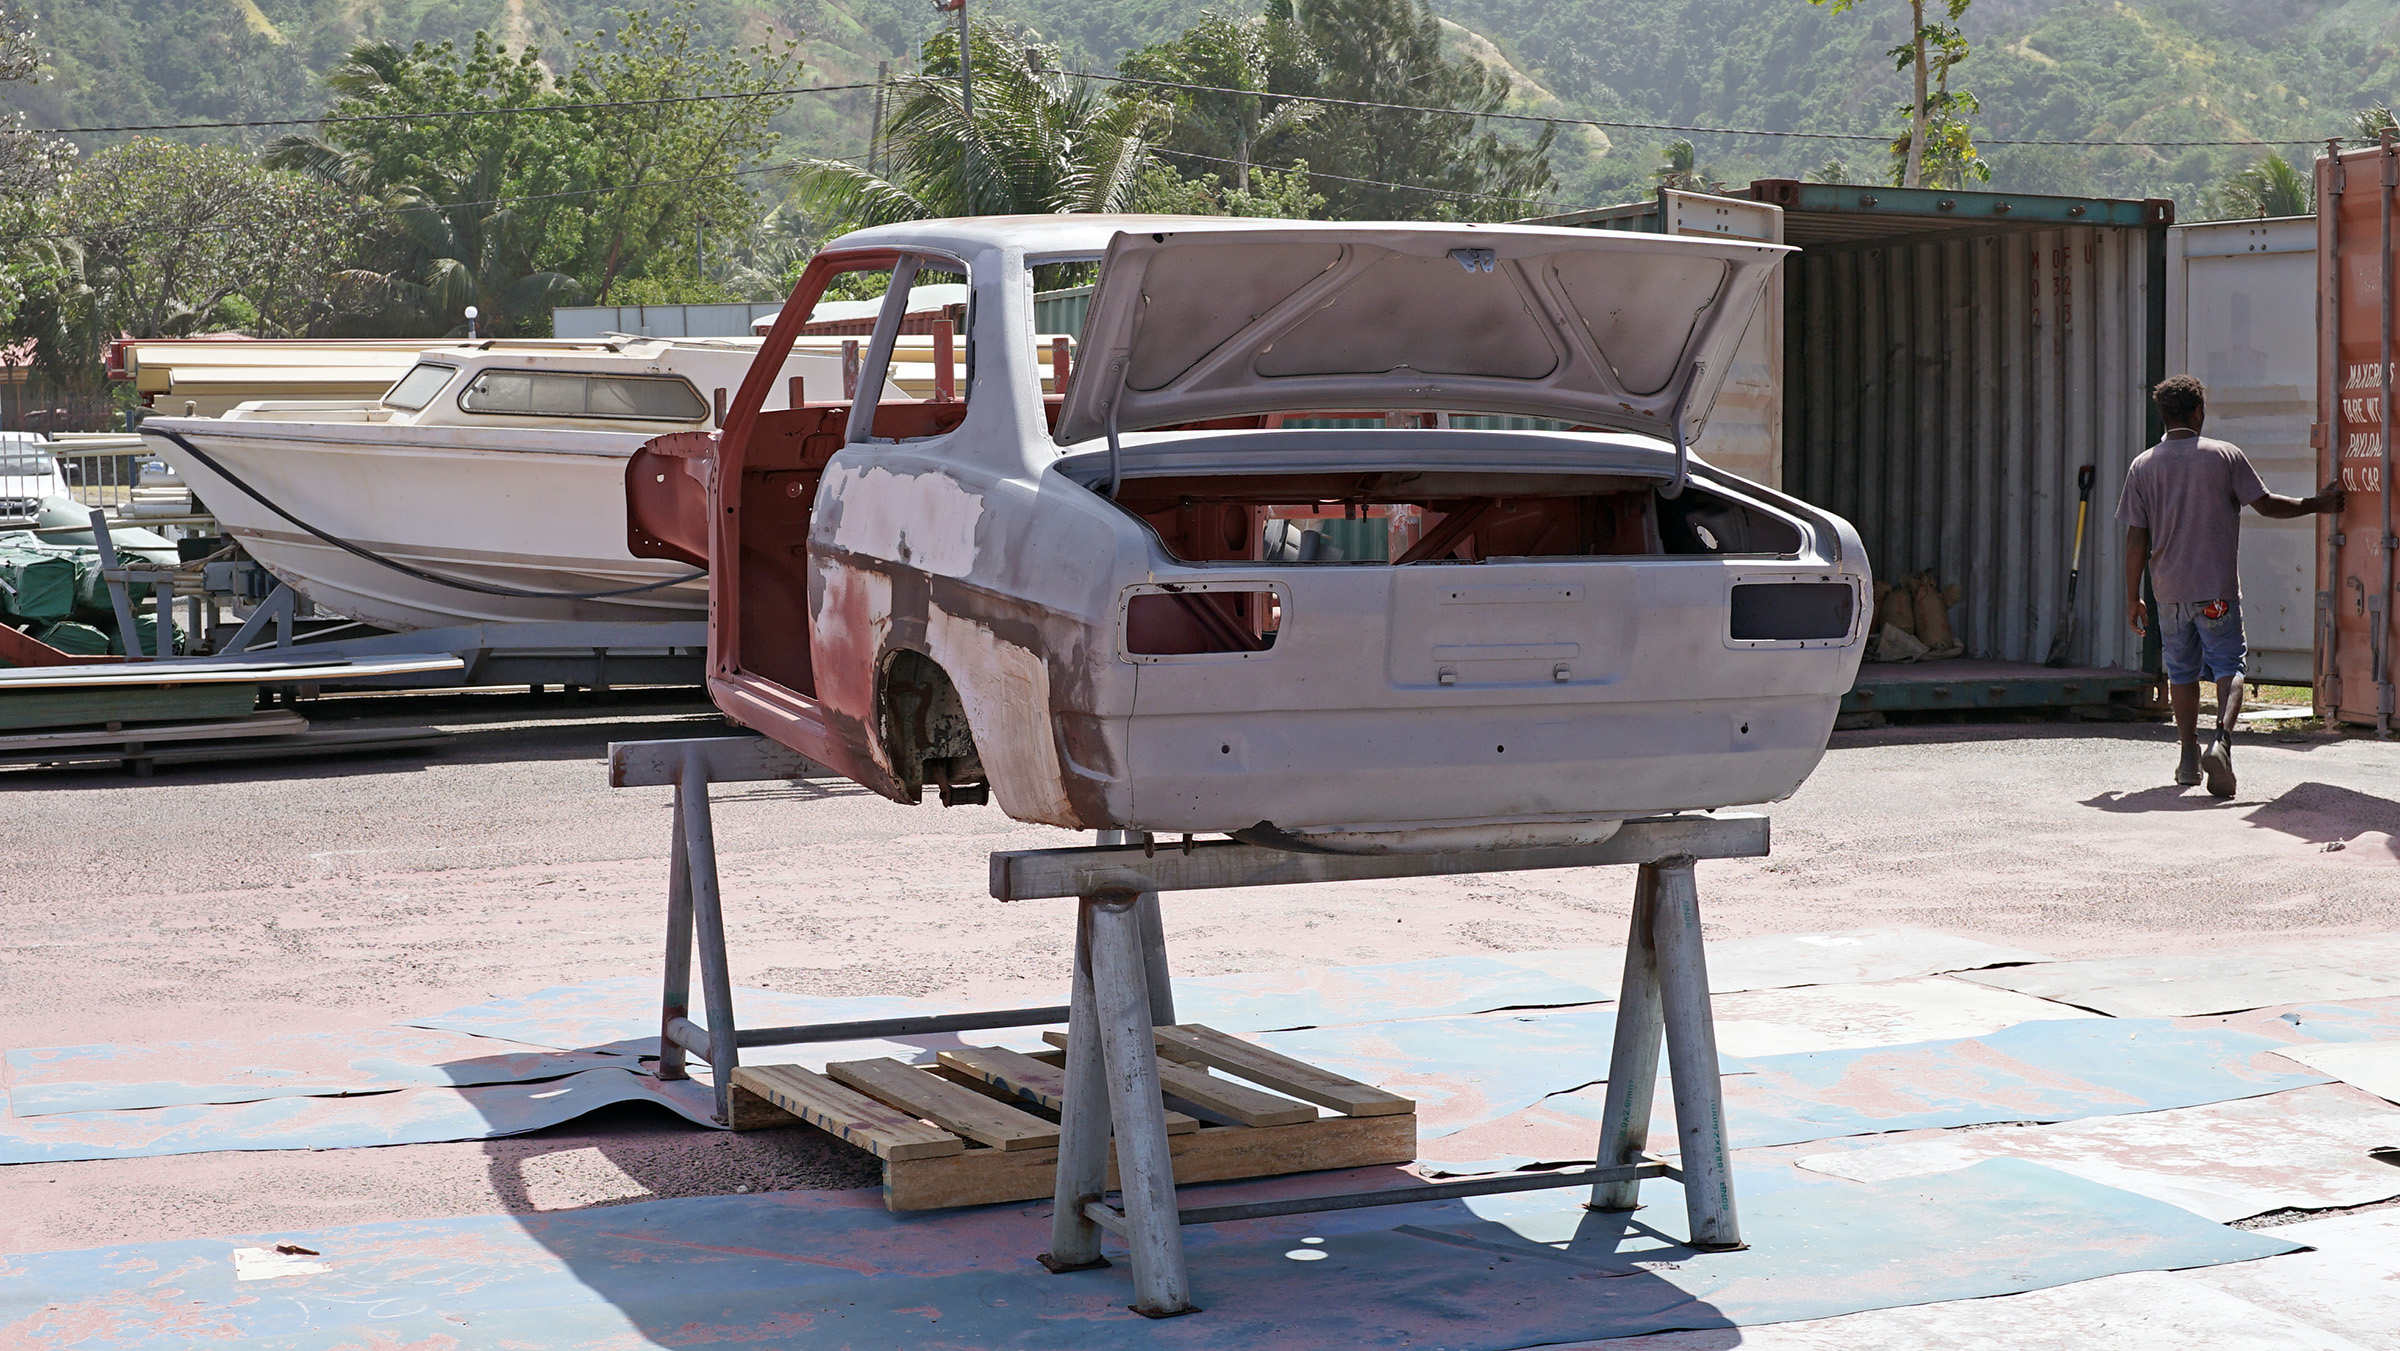
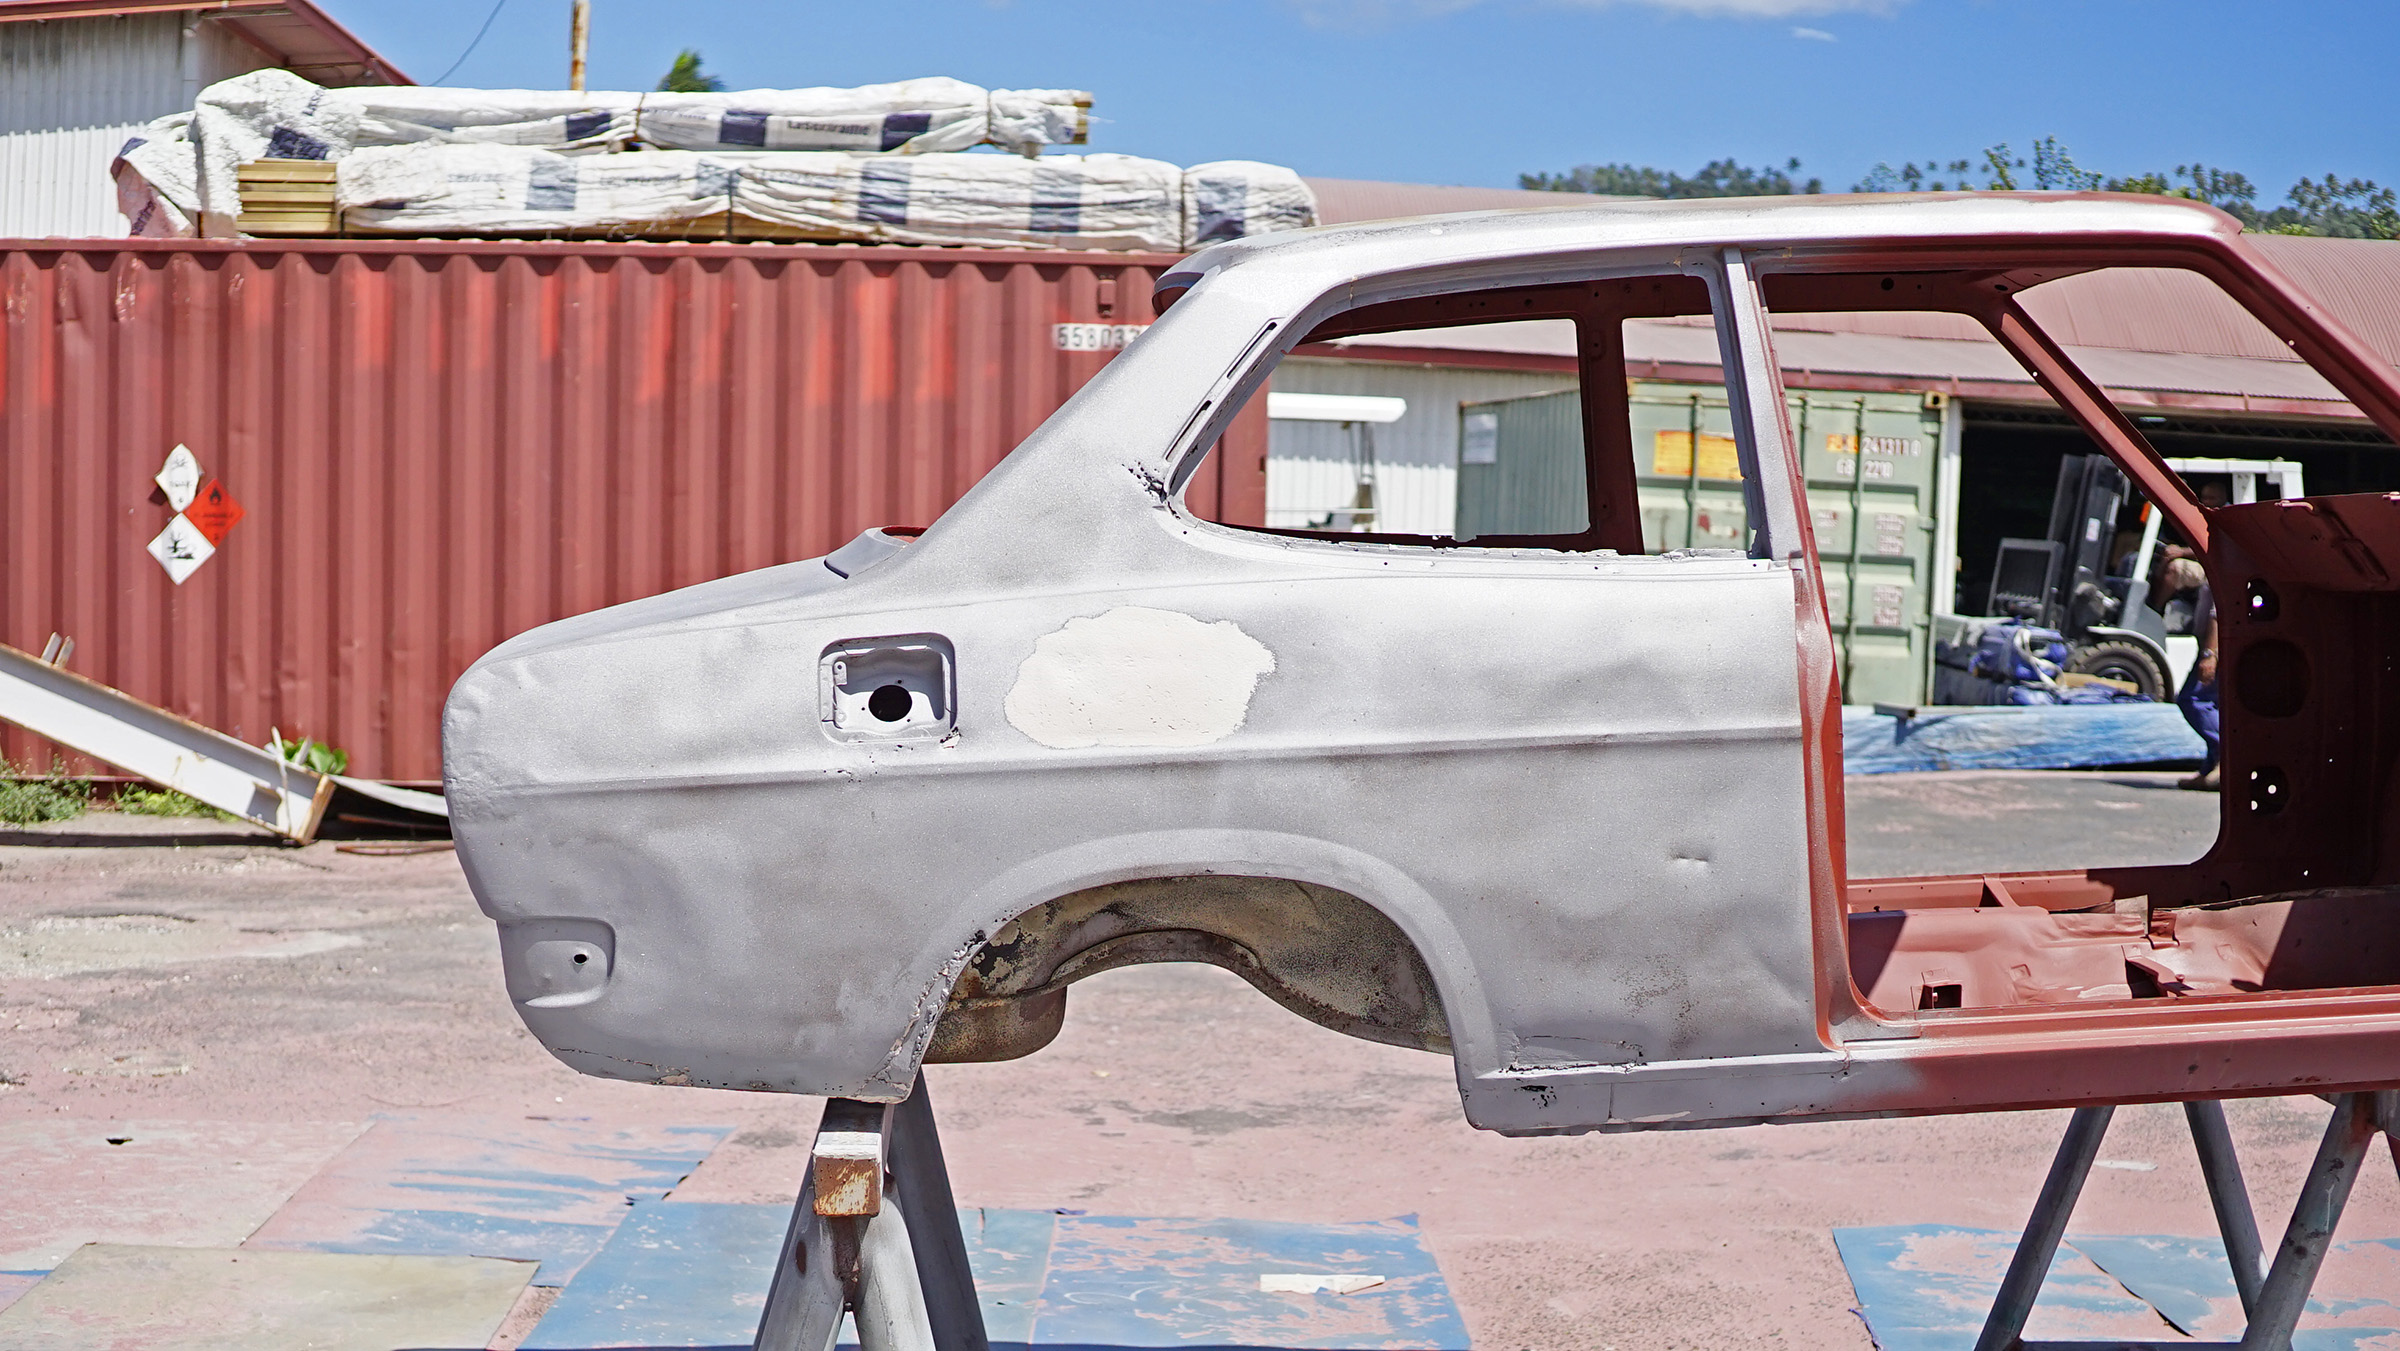
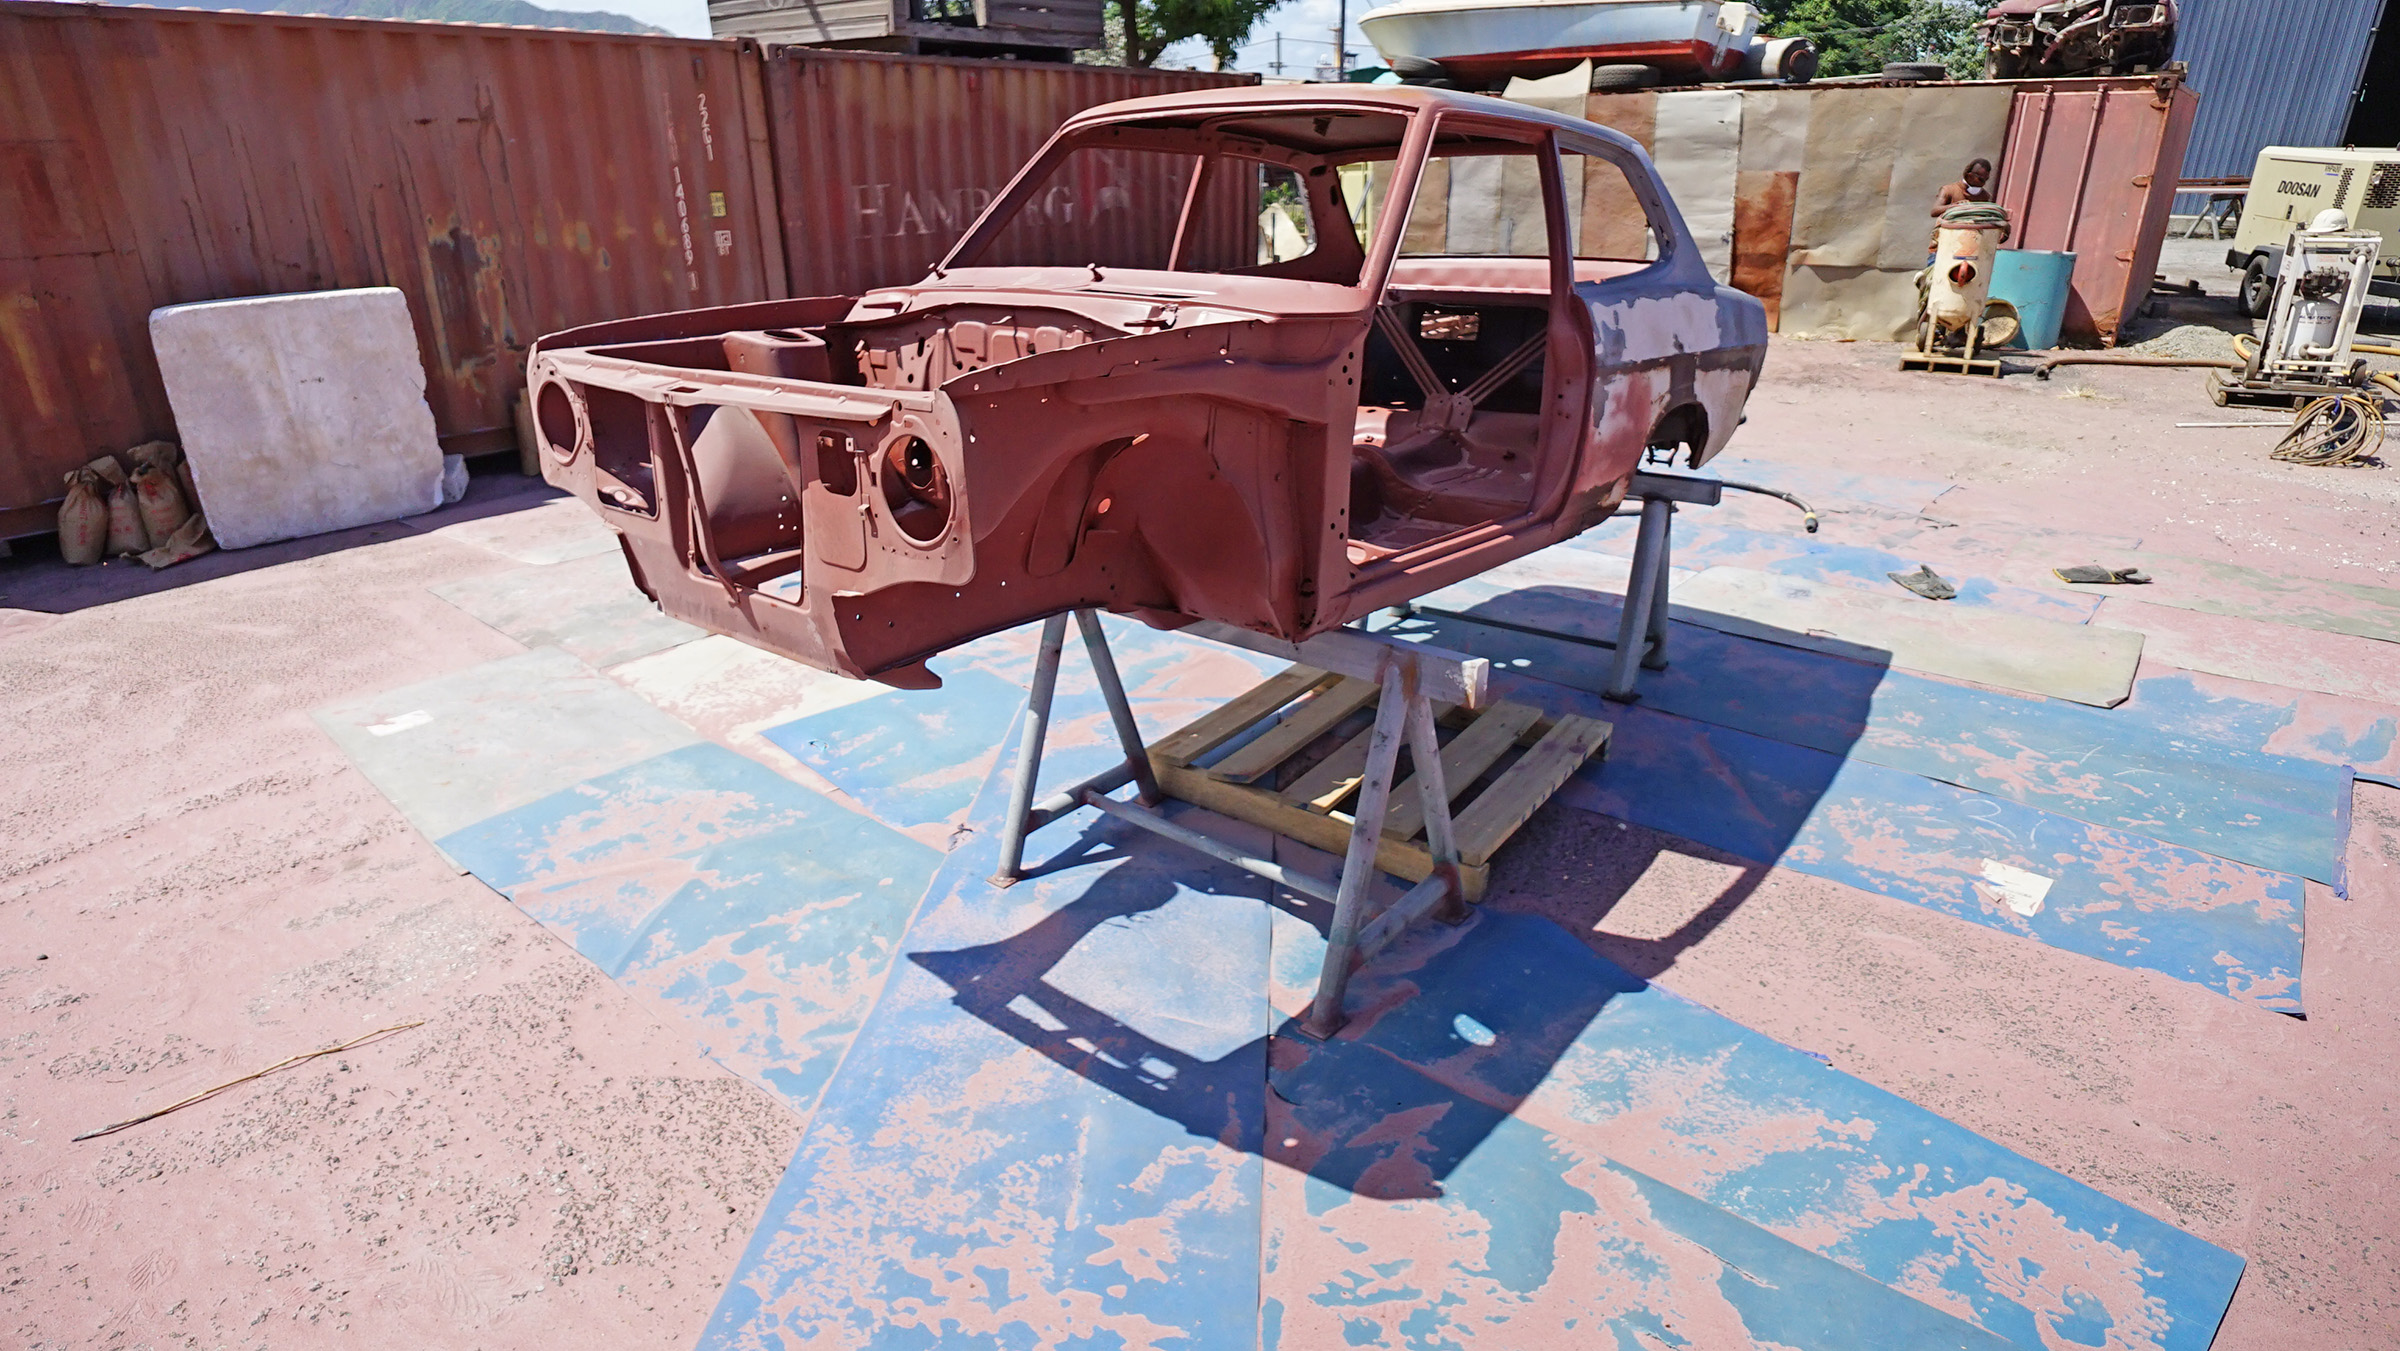
cadet1200, yeah spot on there, this is Intergard 269 (International Paints) and is my preferred holding coat. I will be priming with Interseal 670HS which is a high solids base. No idea on the colour, as for the engine, I'm not sure...... definitely A-Series, probably naturally aspirated which is my favourite format.

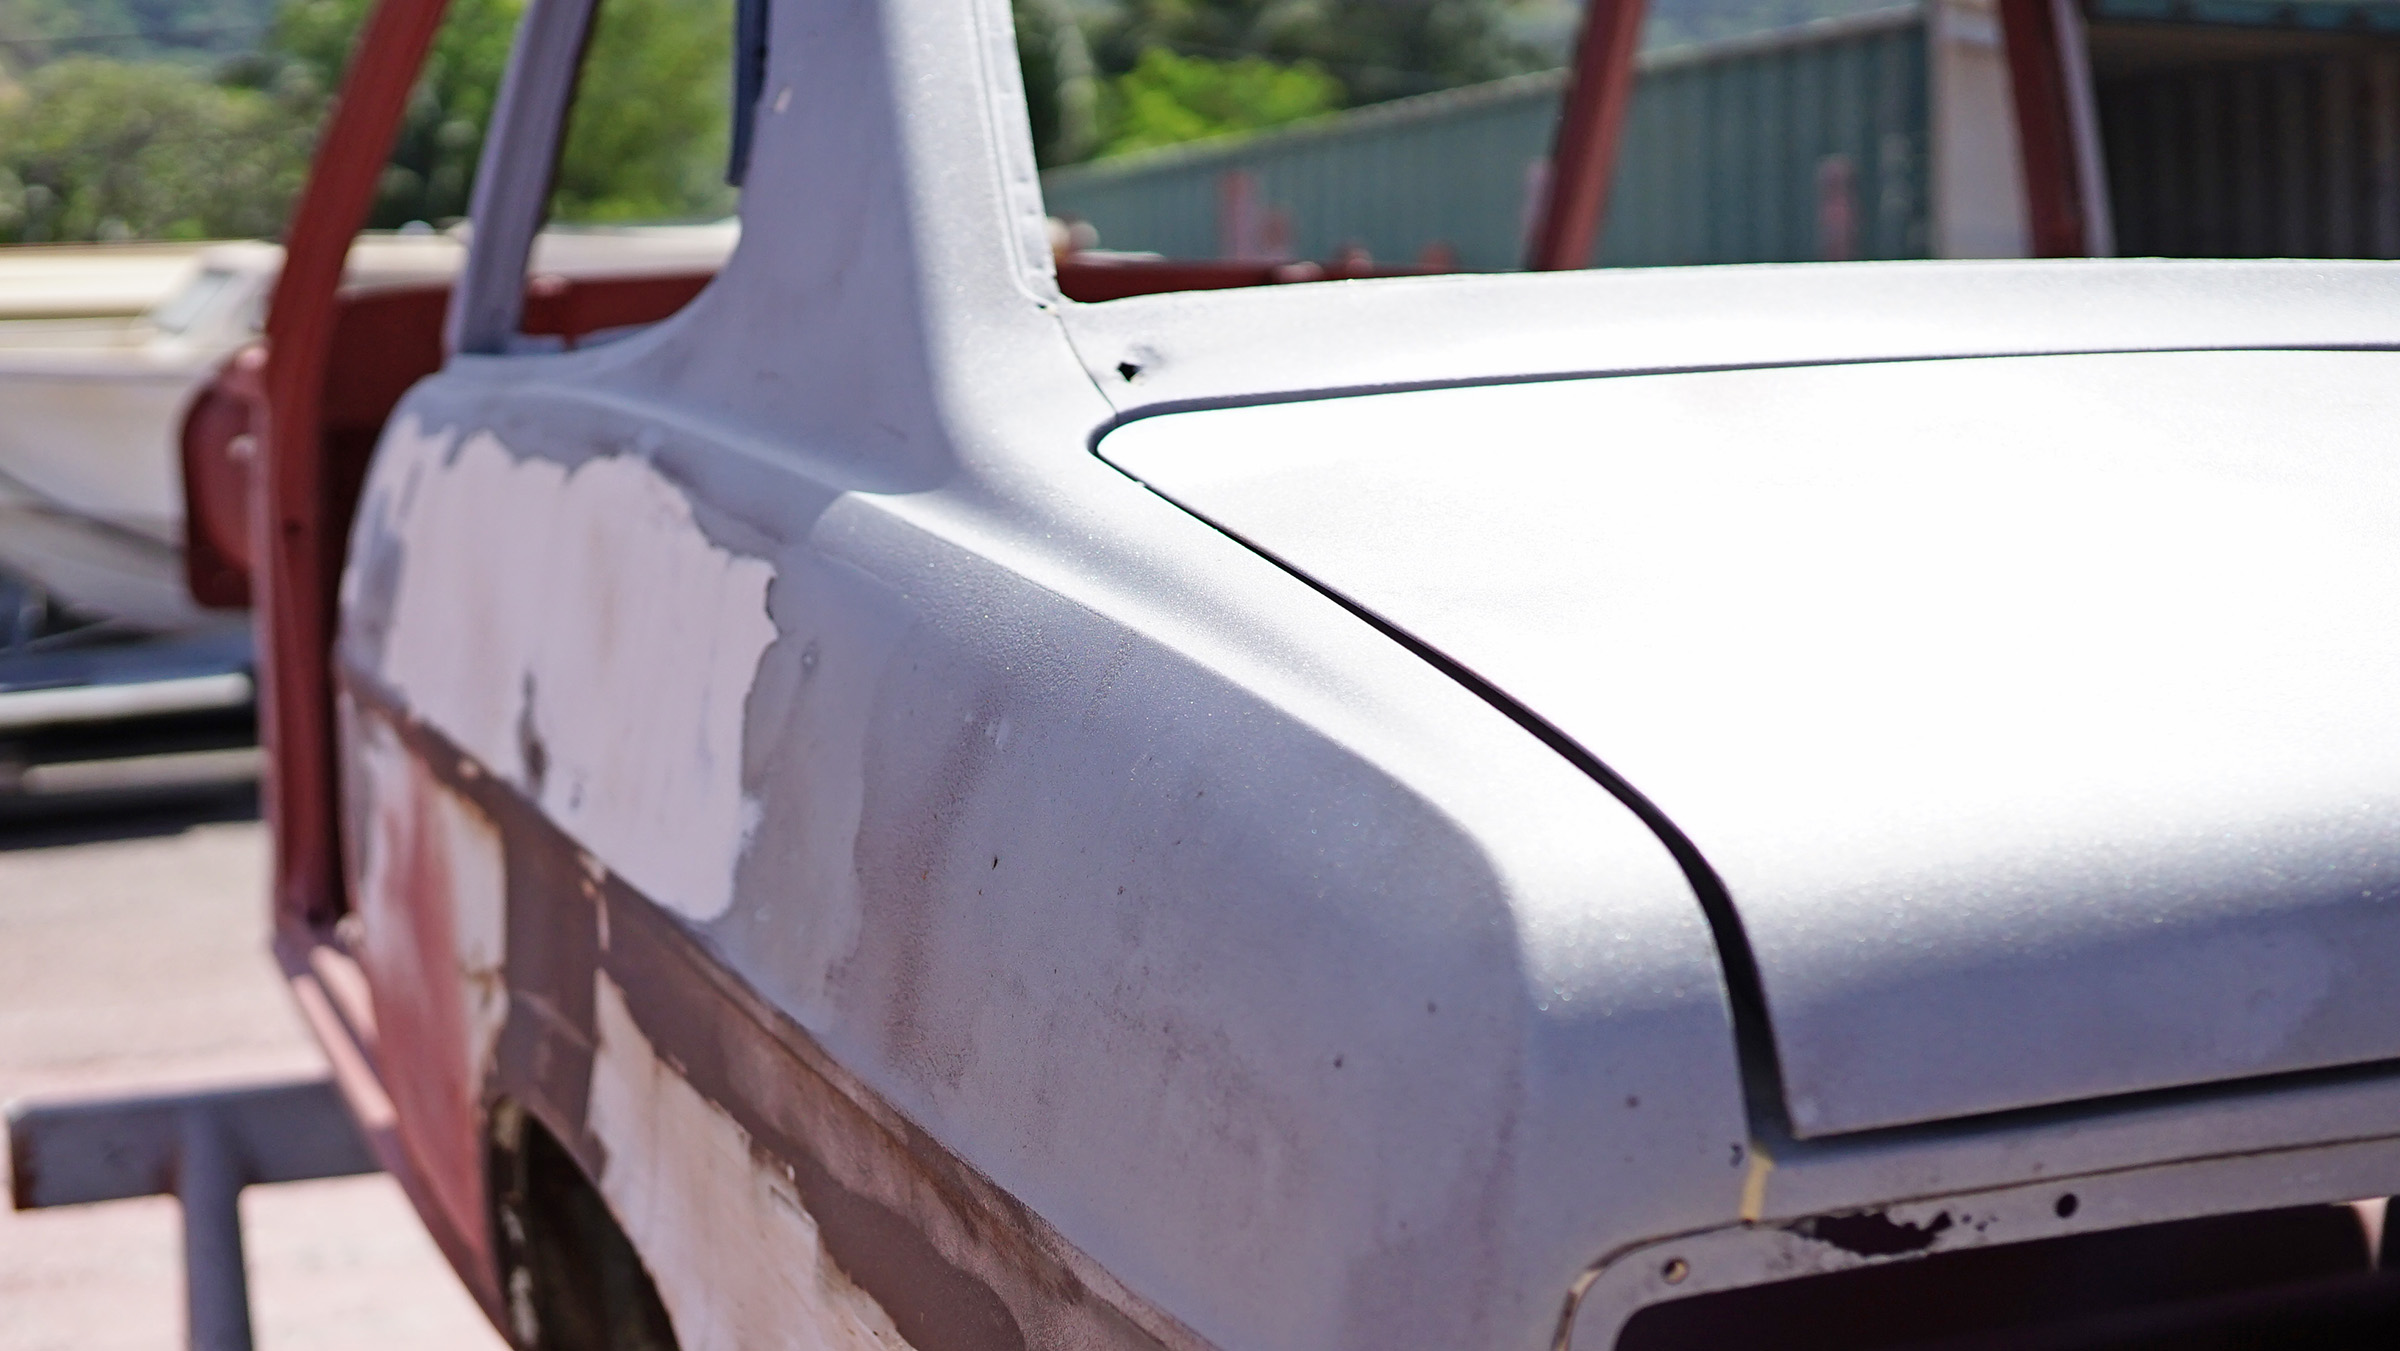
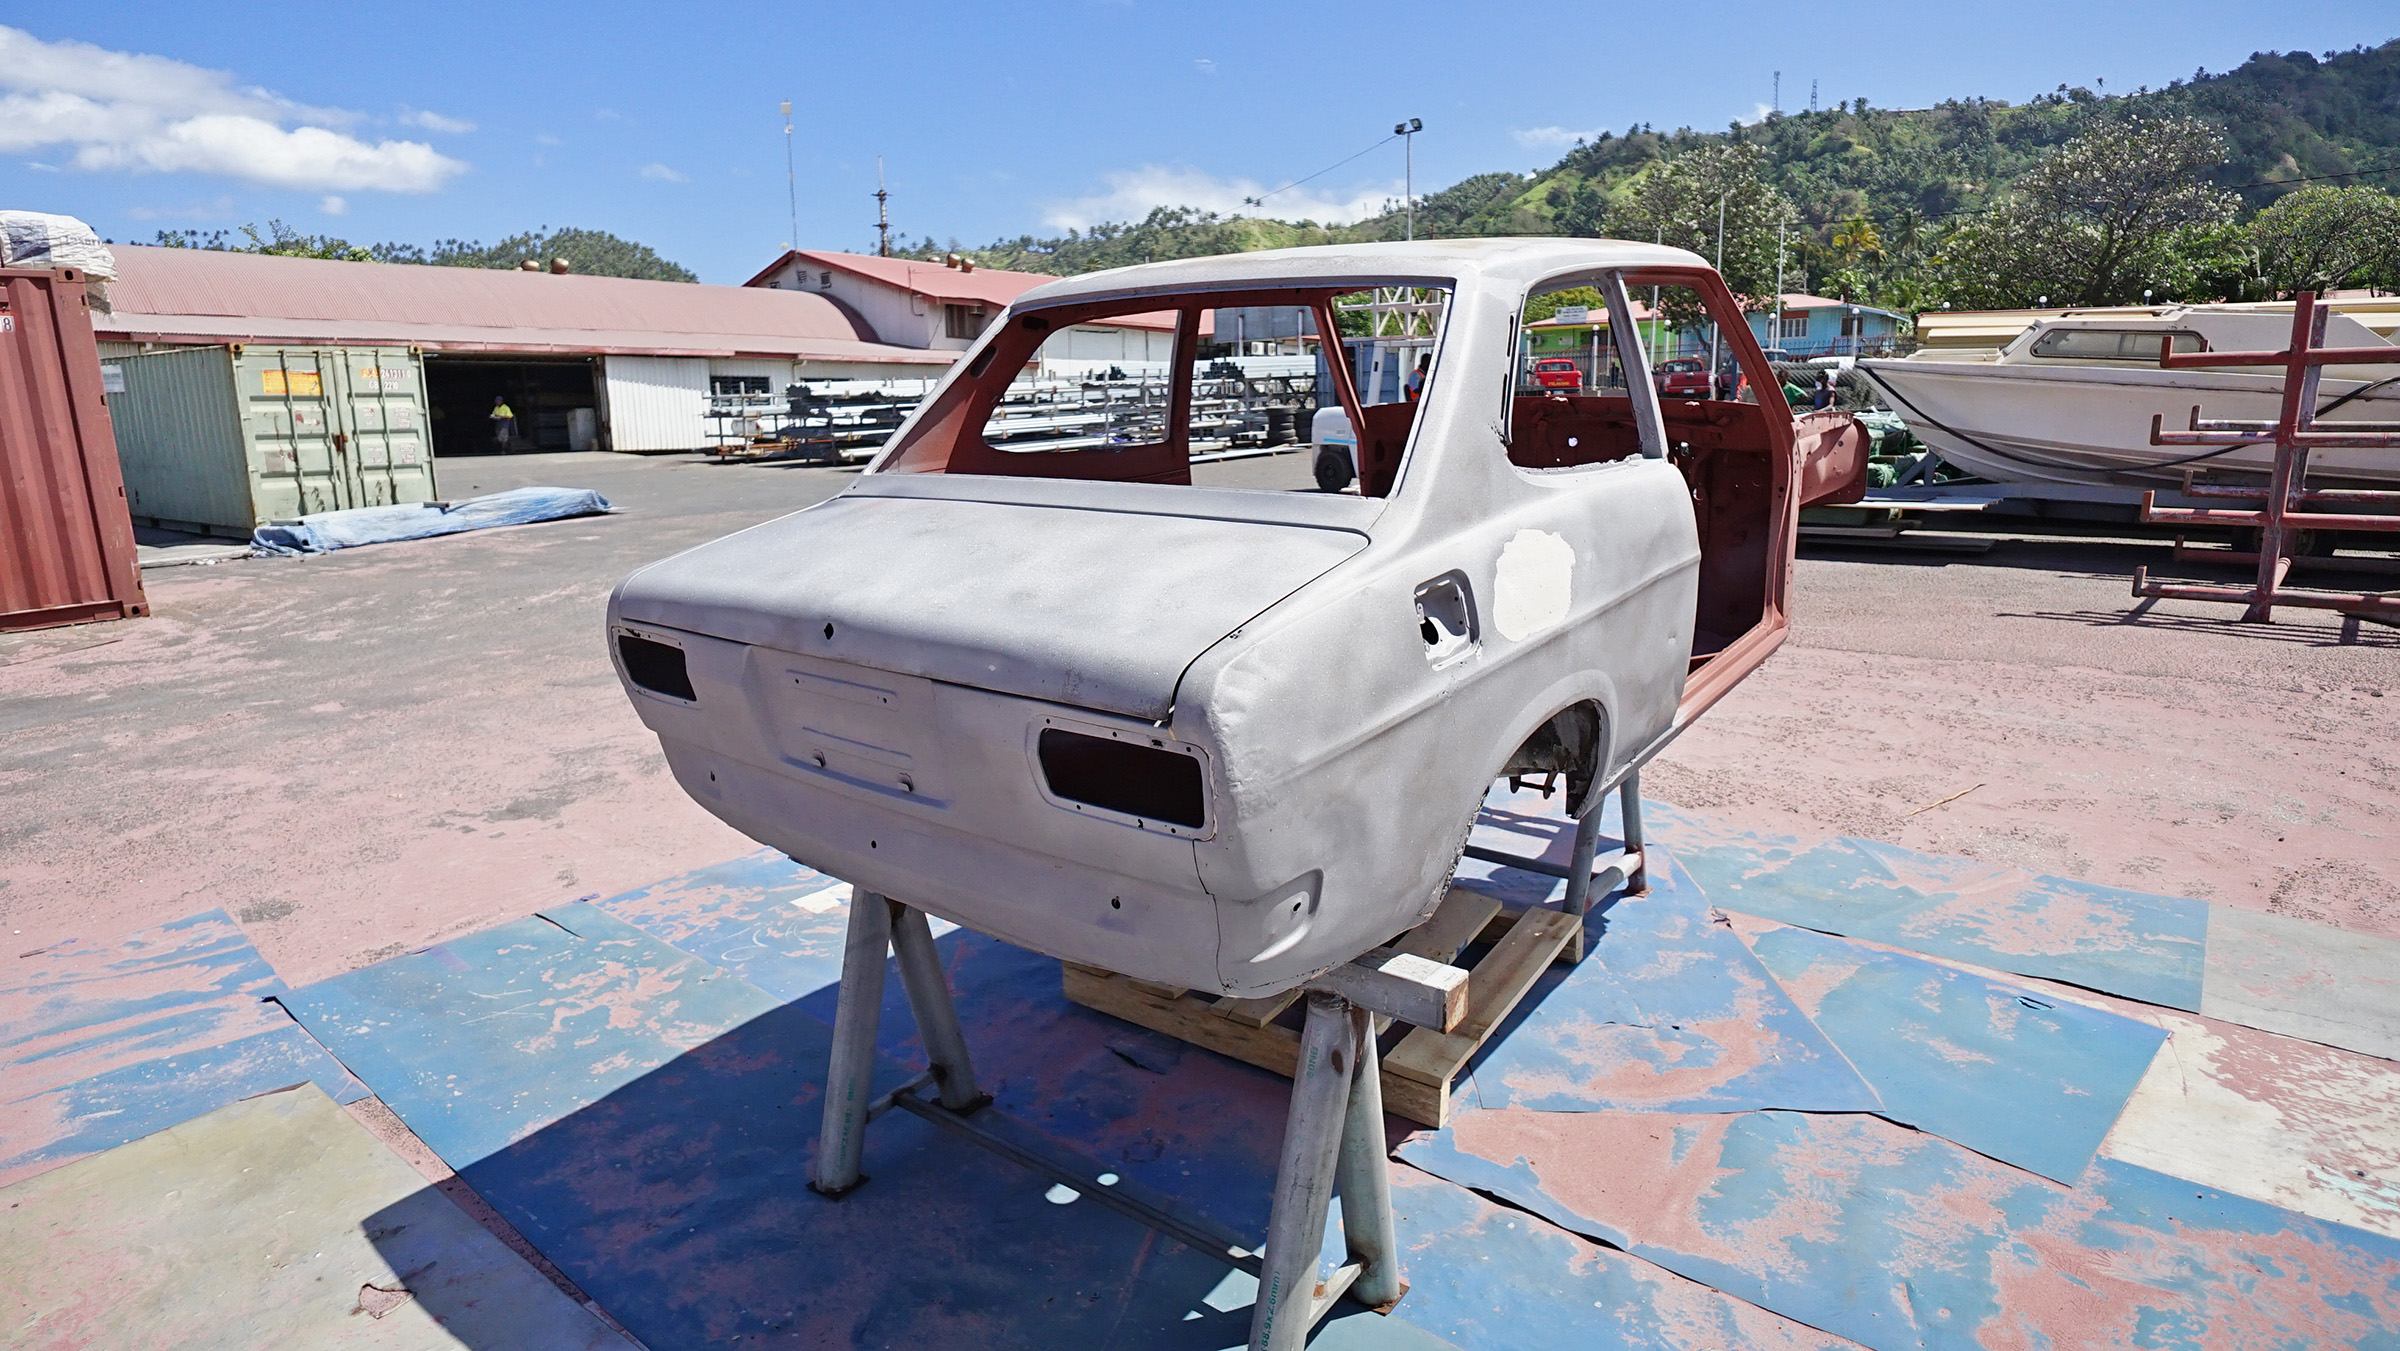
Anyway, onto the blasting of the rear (I did the inside rear cabin already).

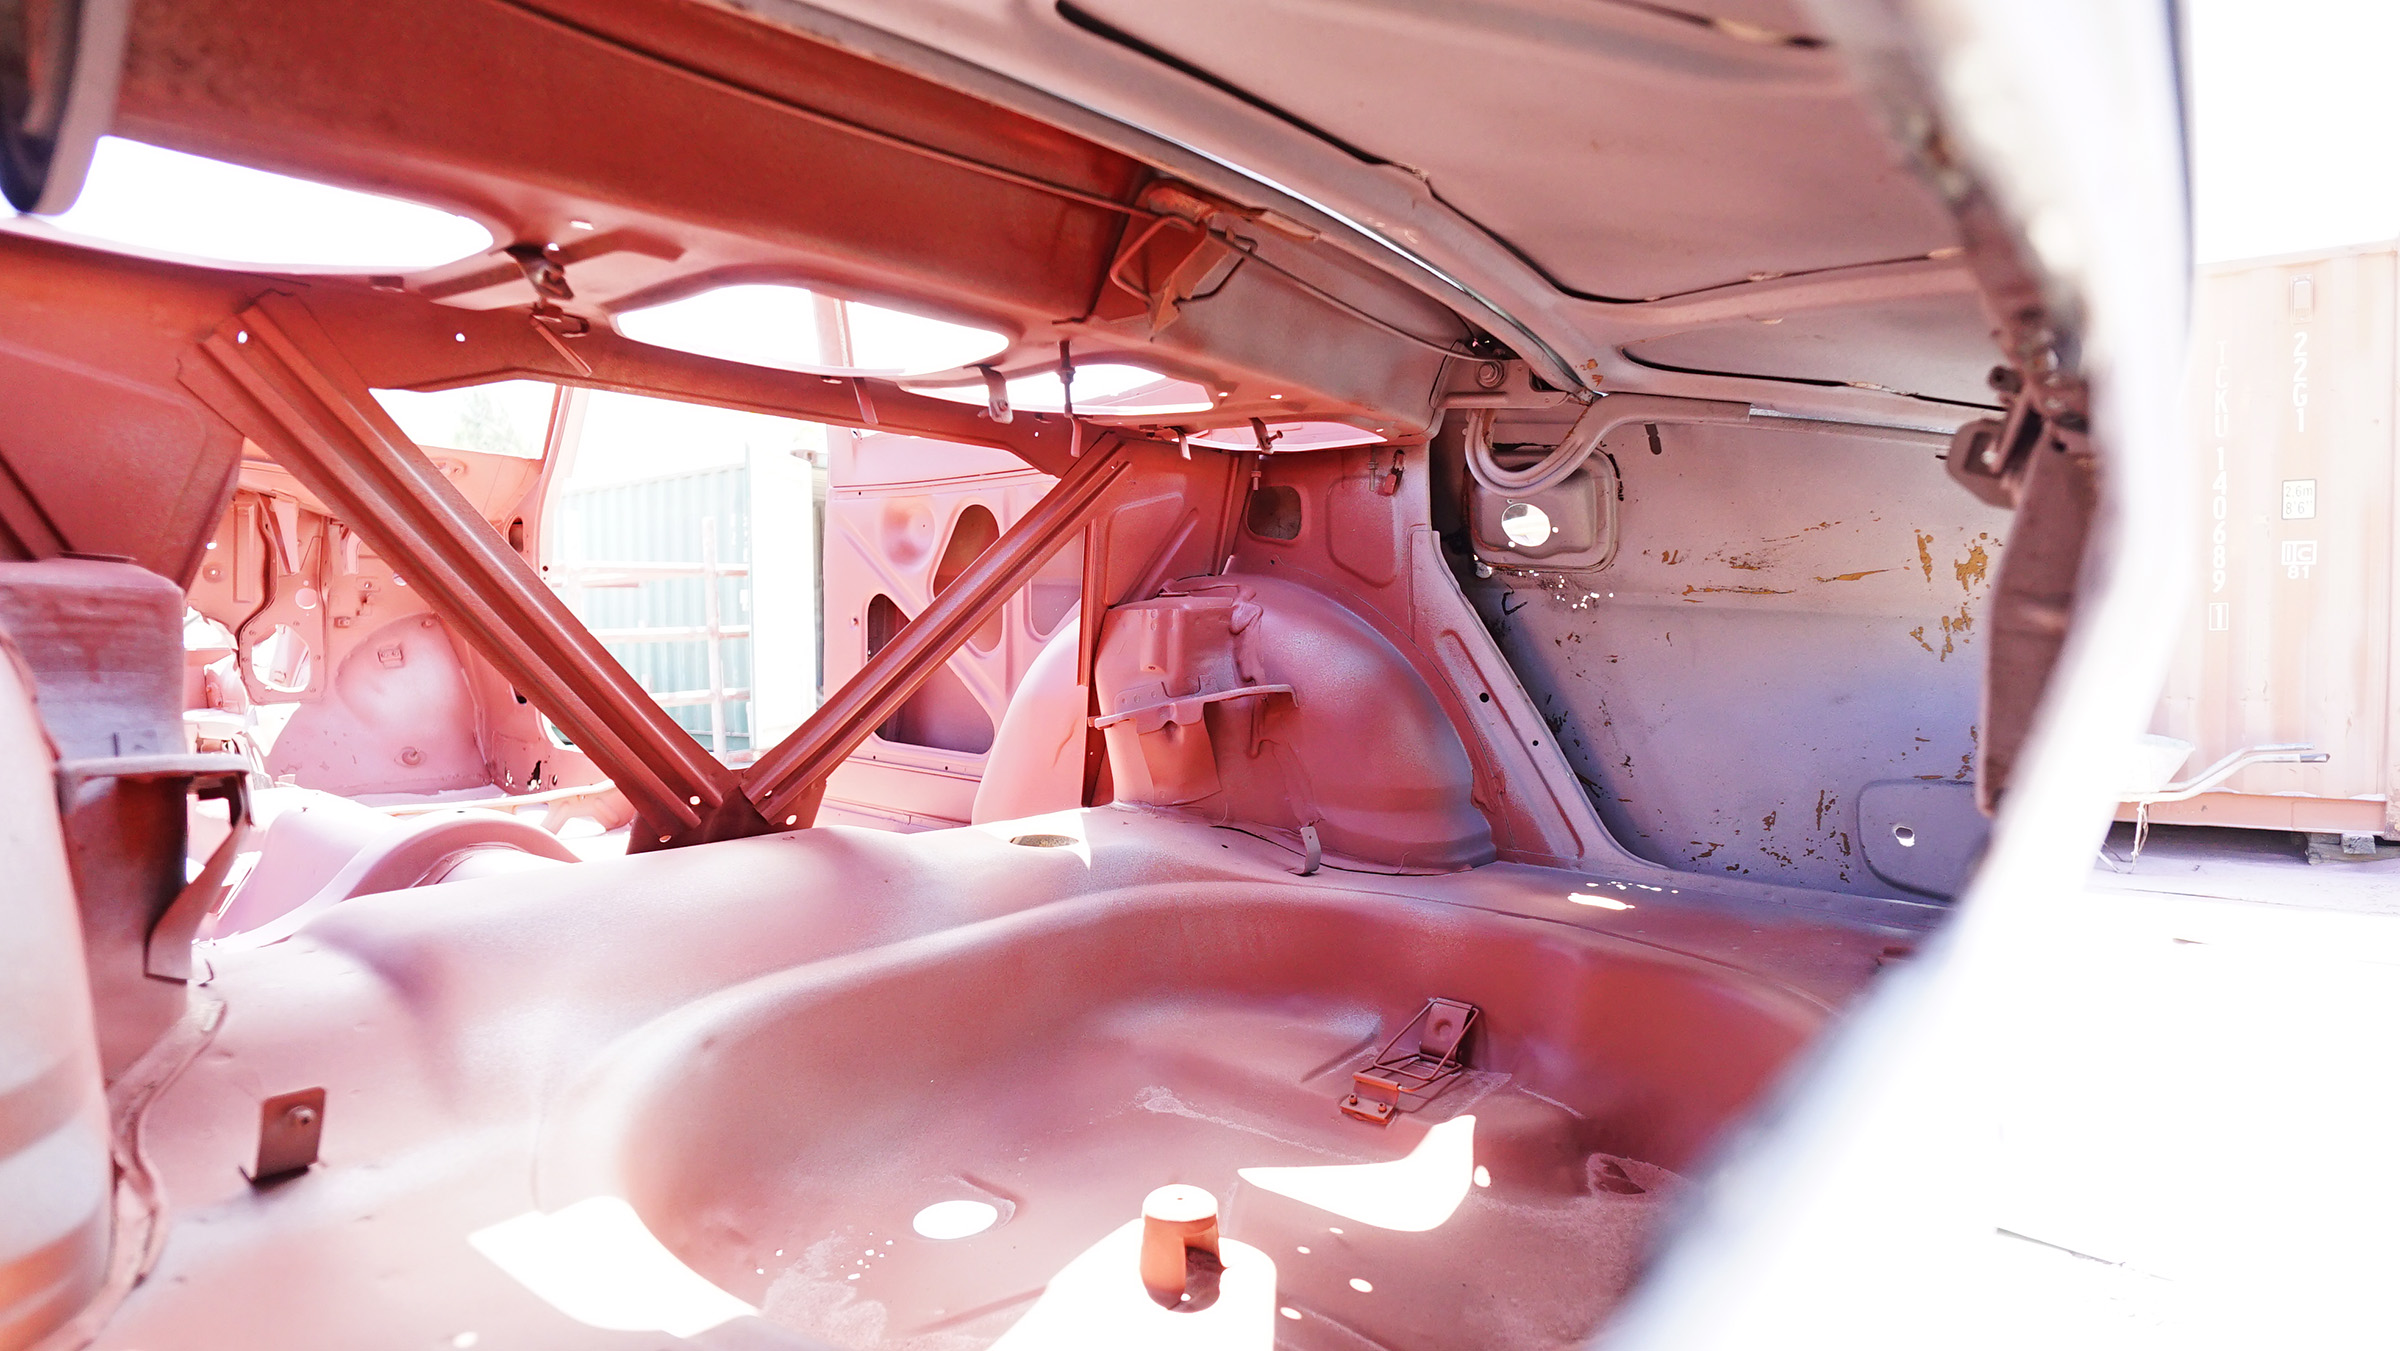
The story doesn't get much better. I'm having to blast with newer, coarser material which is cutting back a fair bit. Some of the metal is so heavily pitted, I may have to resort to something a bit harsher to remove the pitting.

Open in new window


Open in new window


Open in new window


Open in new window


Open in new window


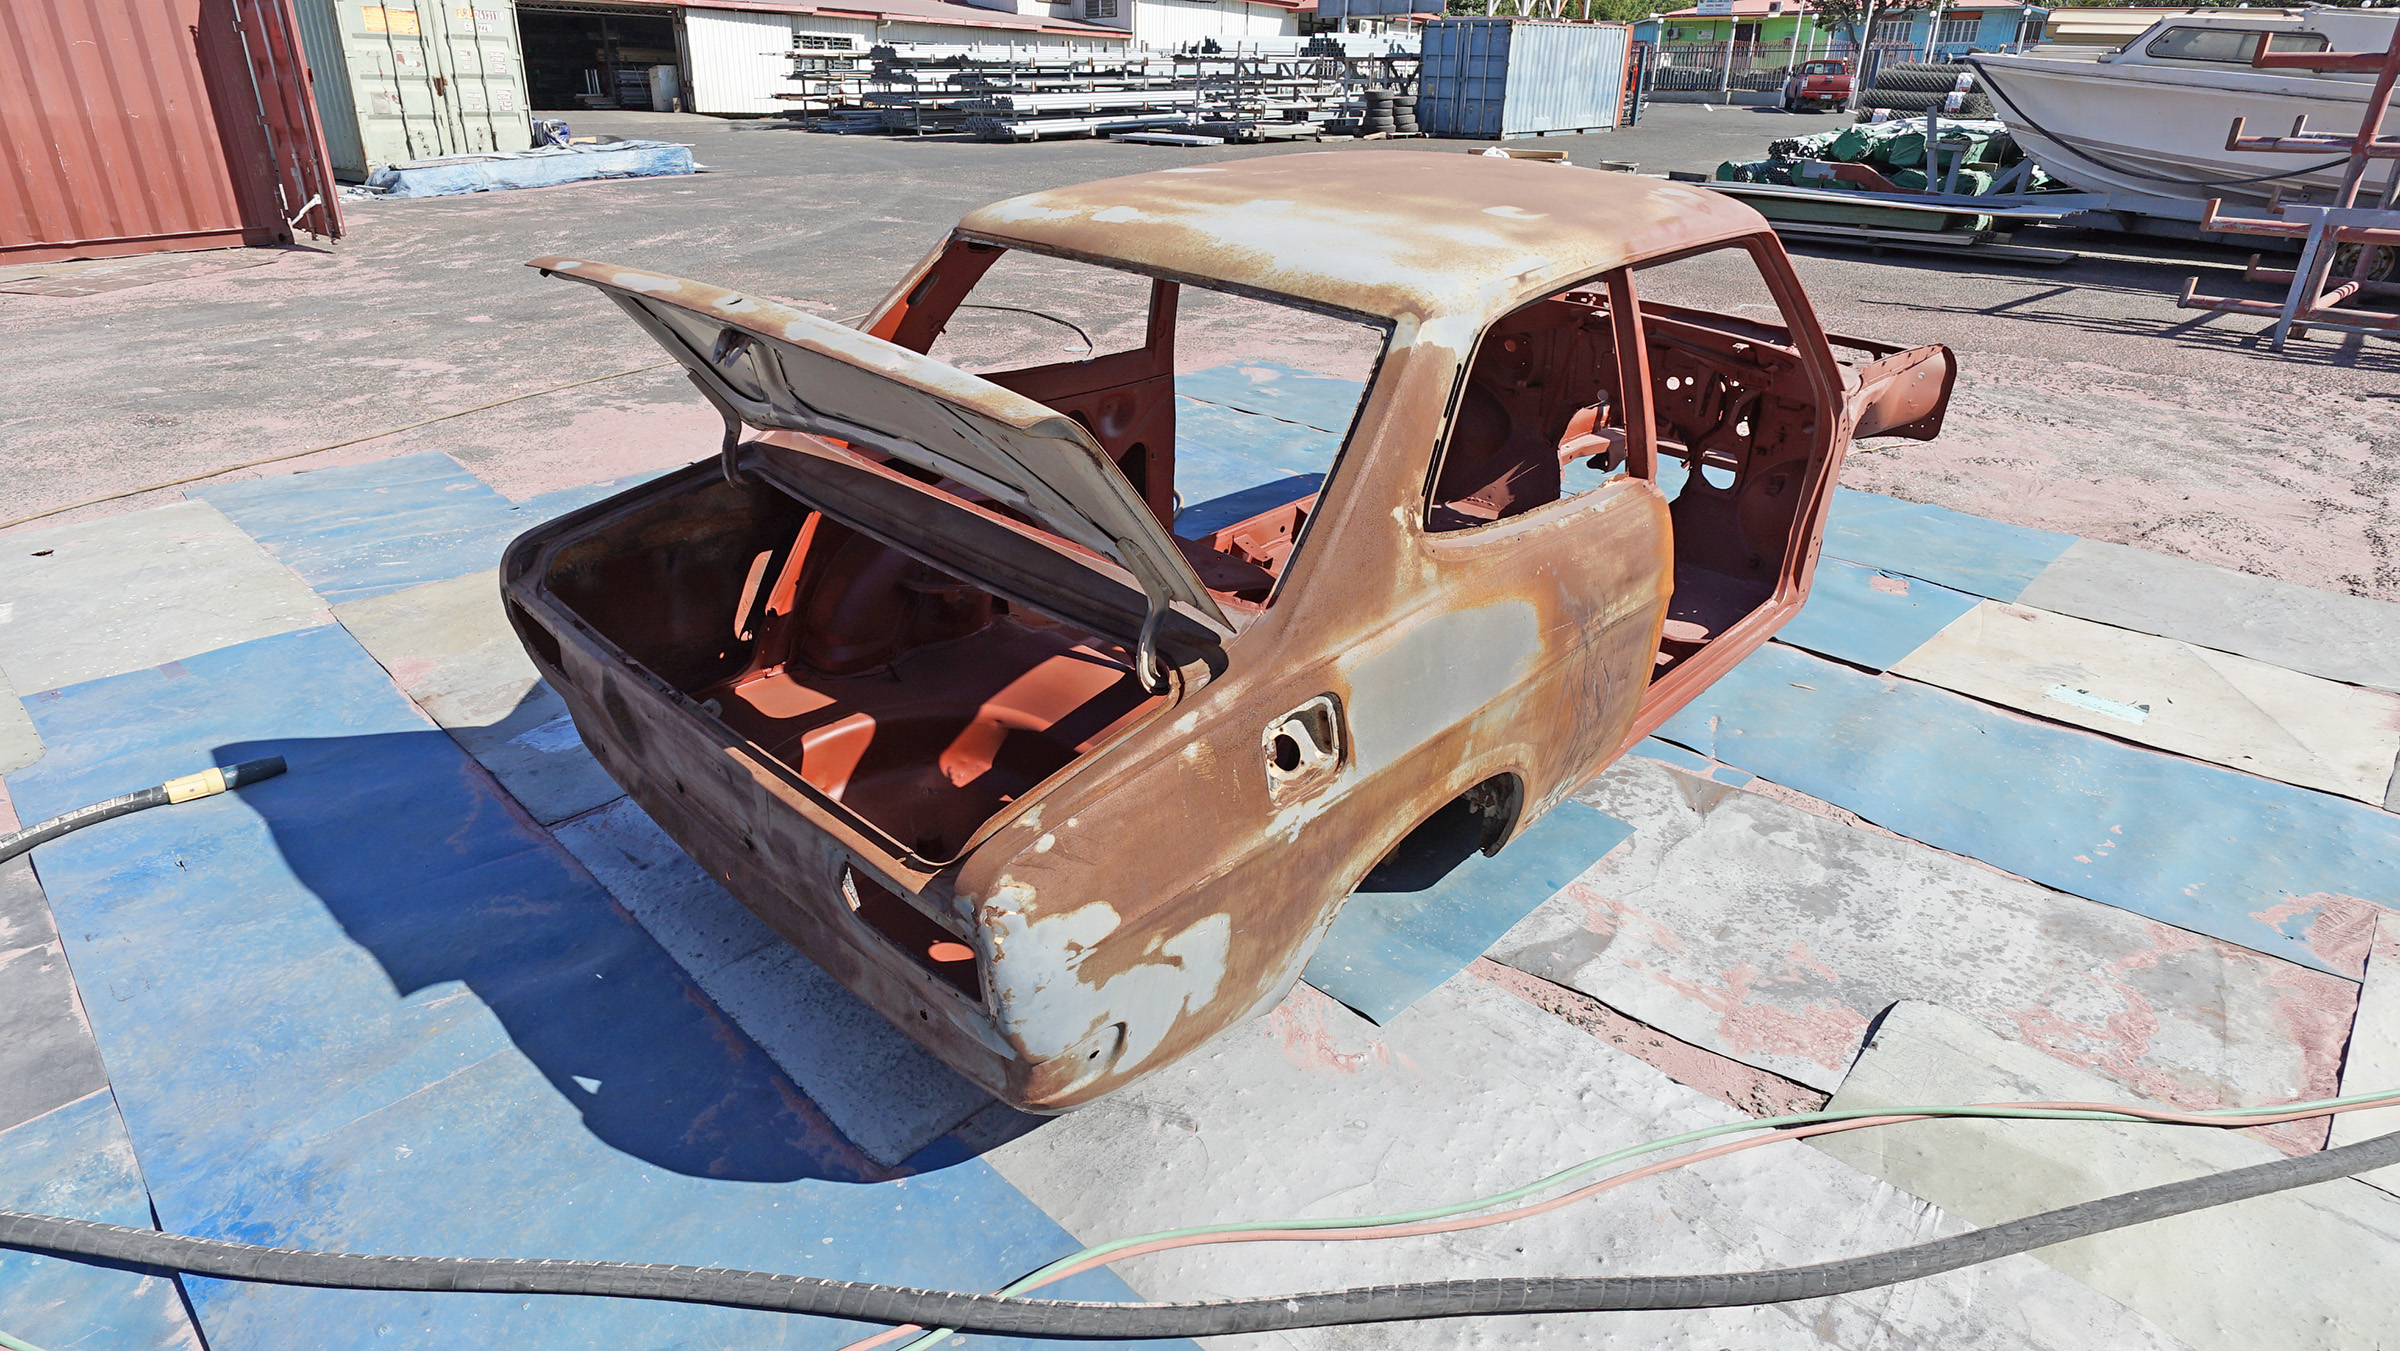
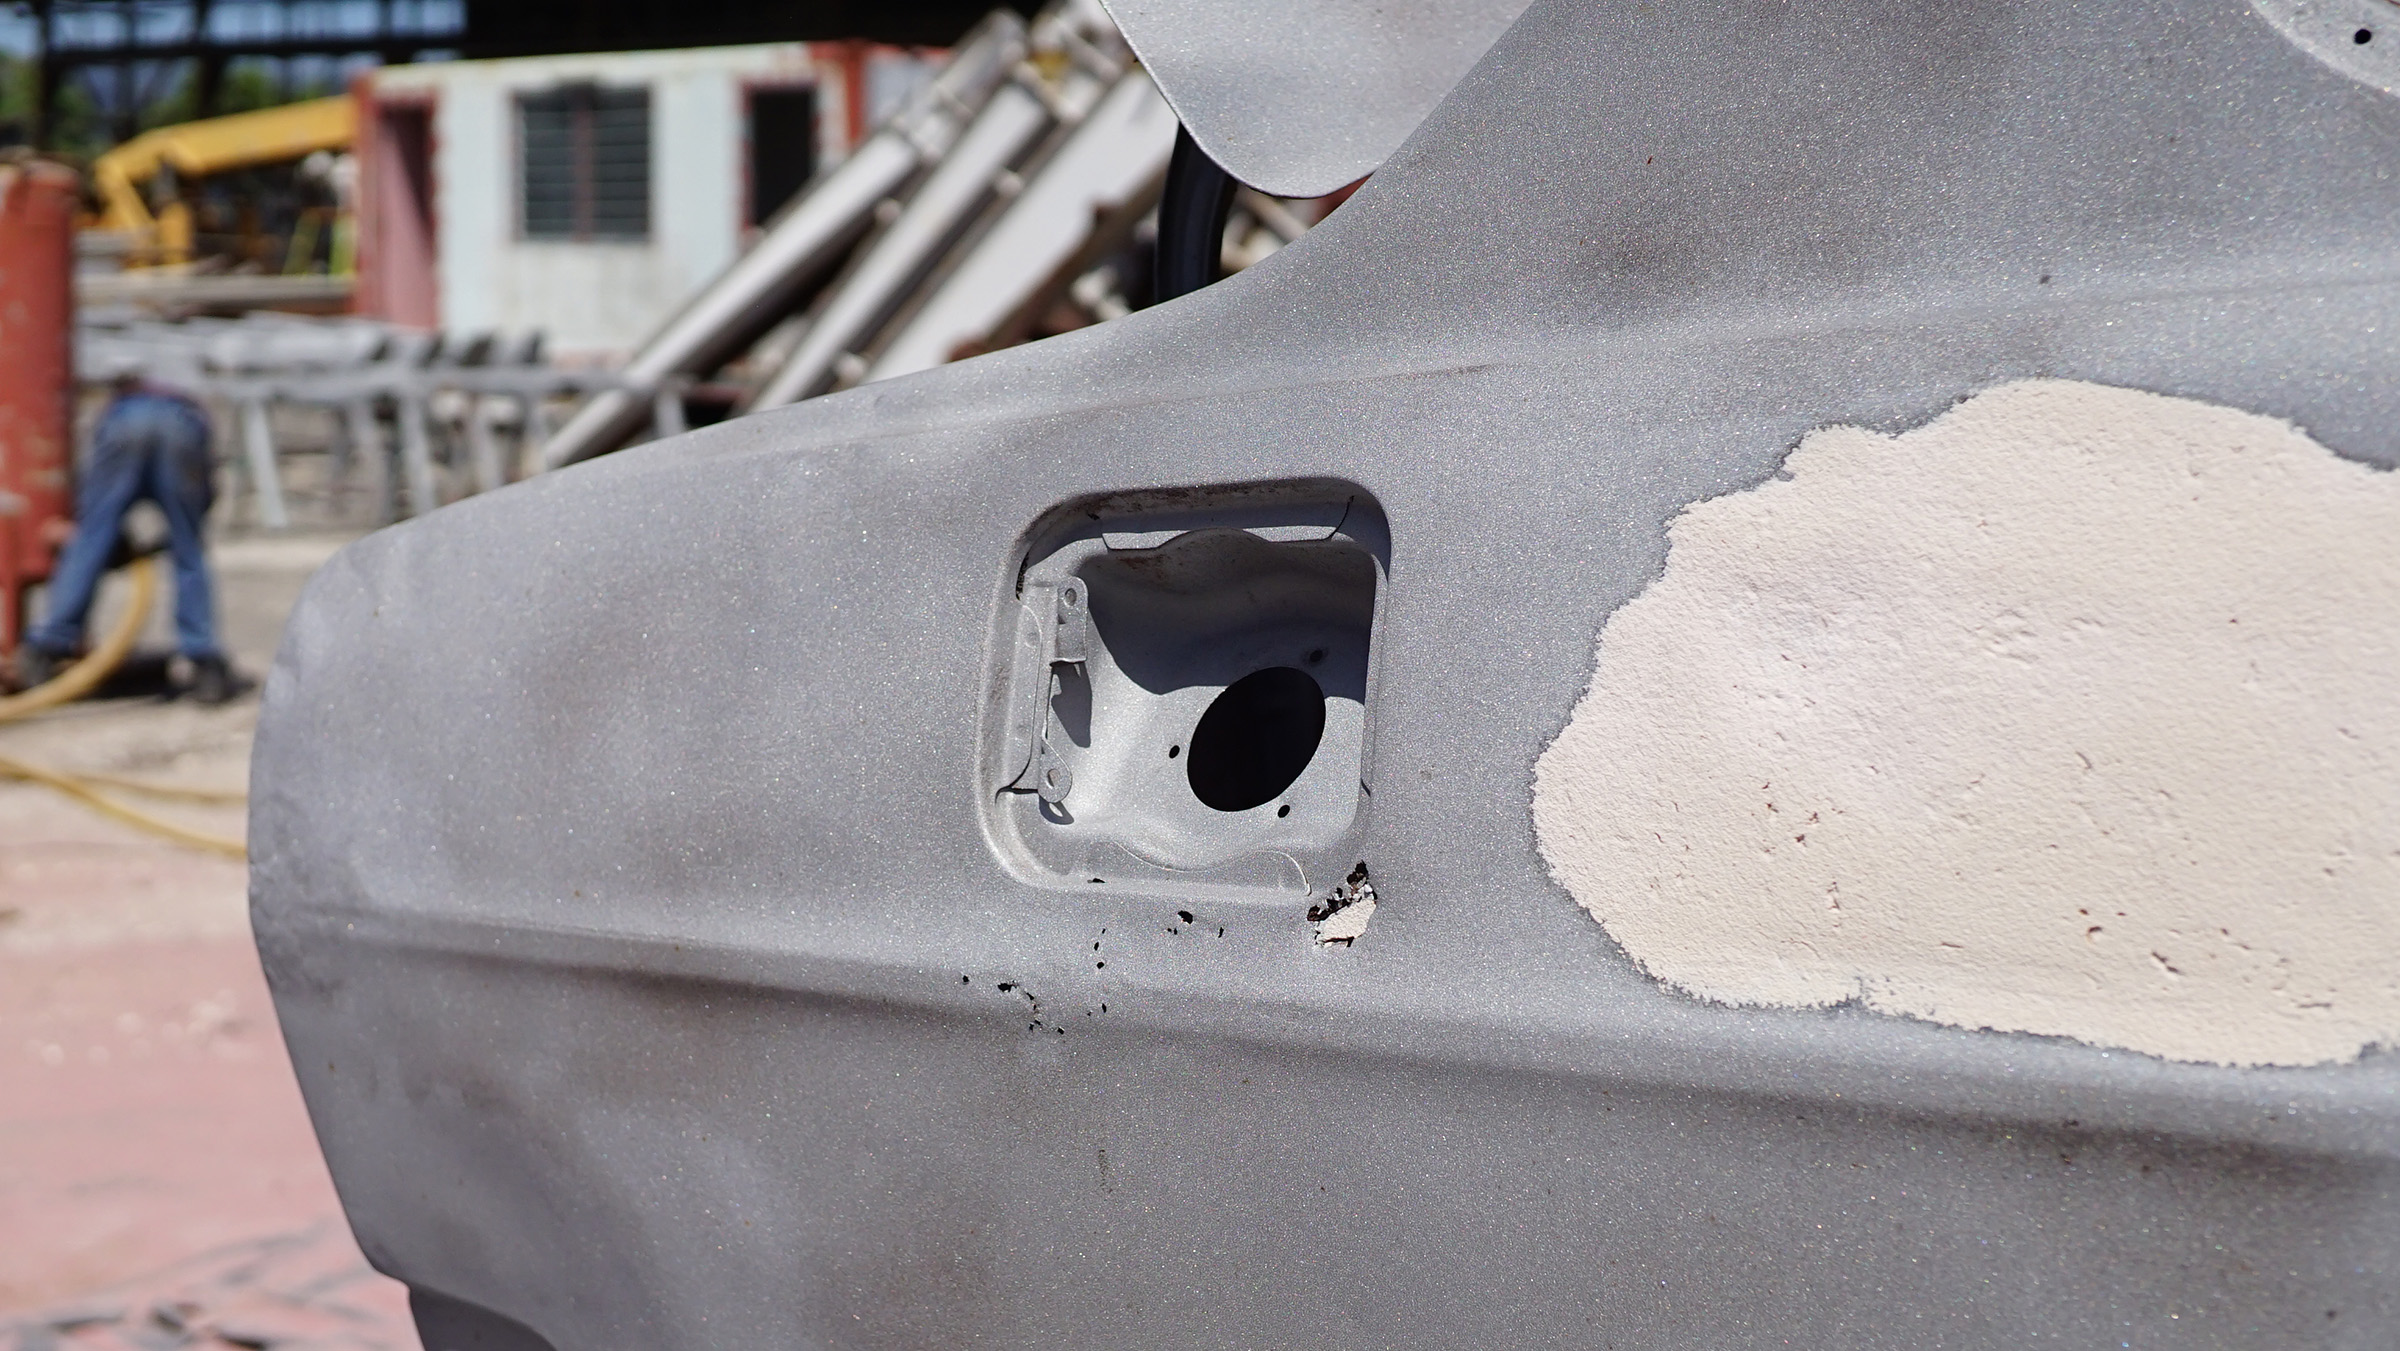
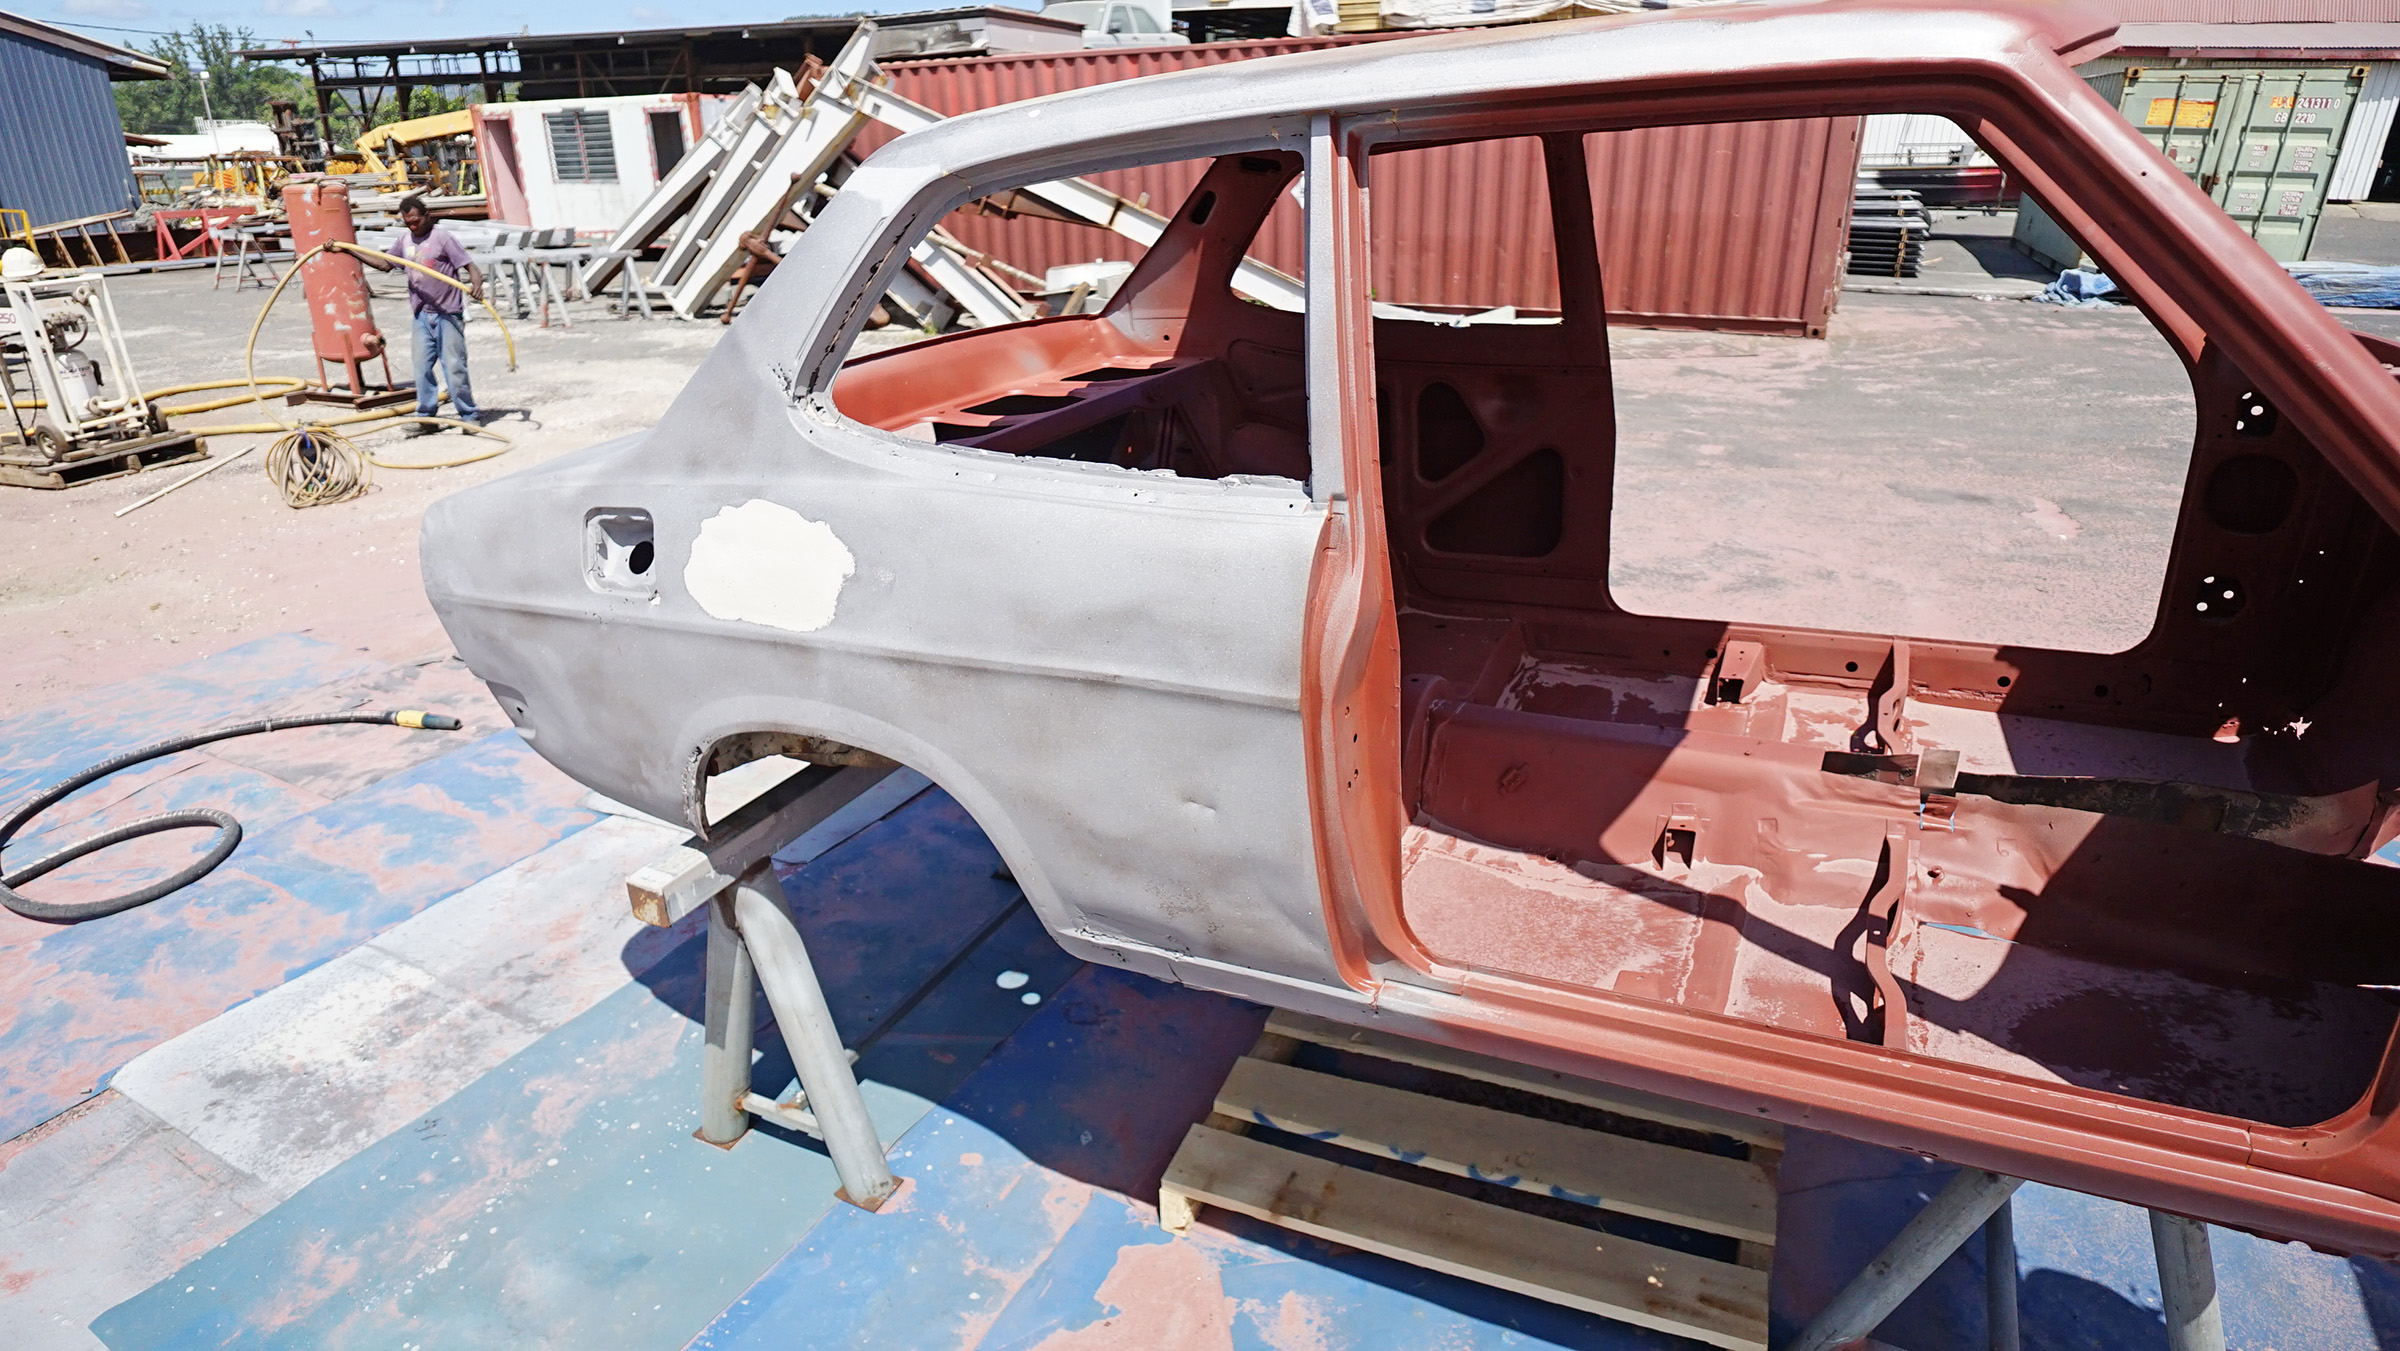
With most the body filler out this side is going to need a lot of work. That last remaining patch will be removed using a wire wheel and most likely some more agricultural techniques.

Open in new window


Open in new window


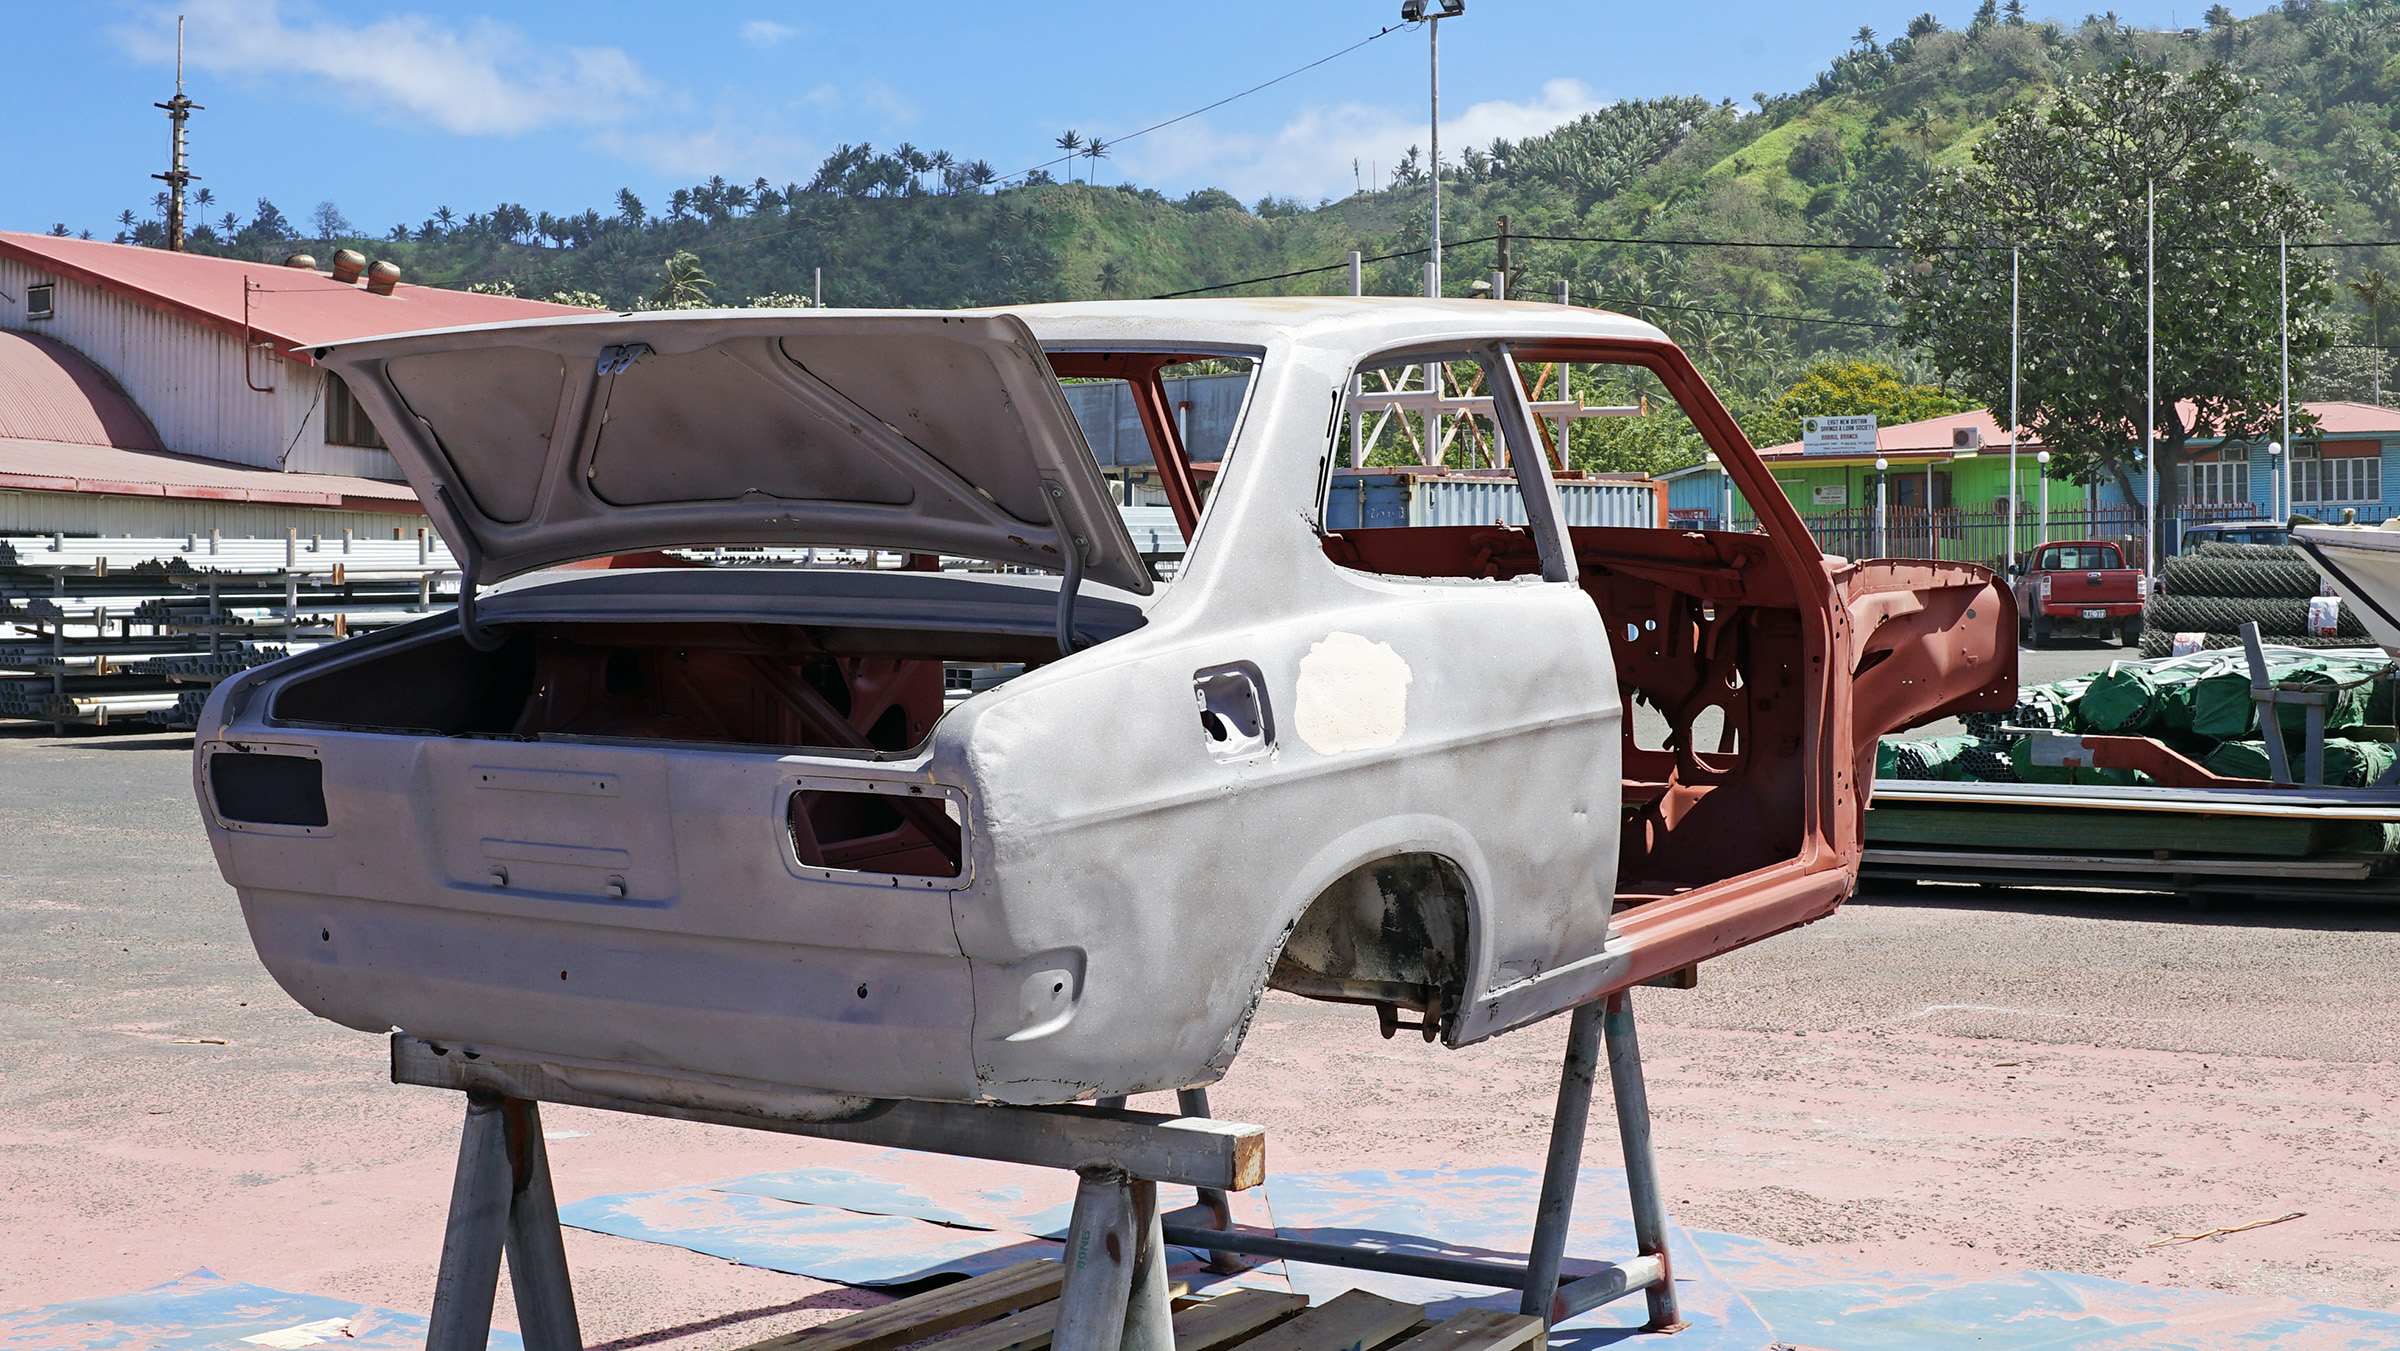
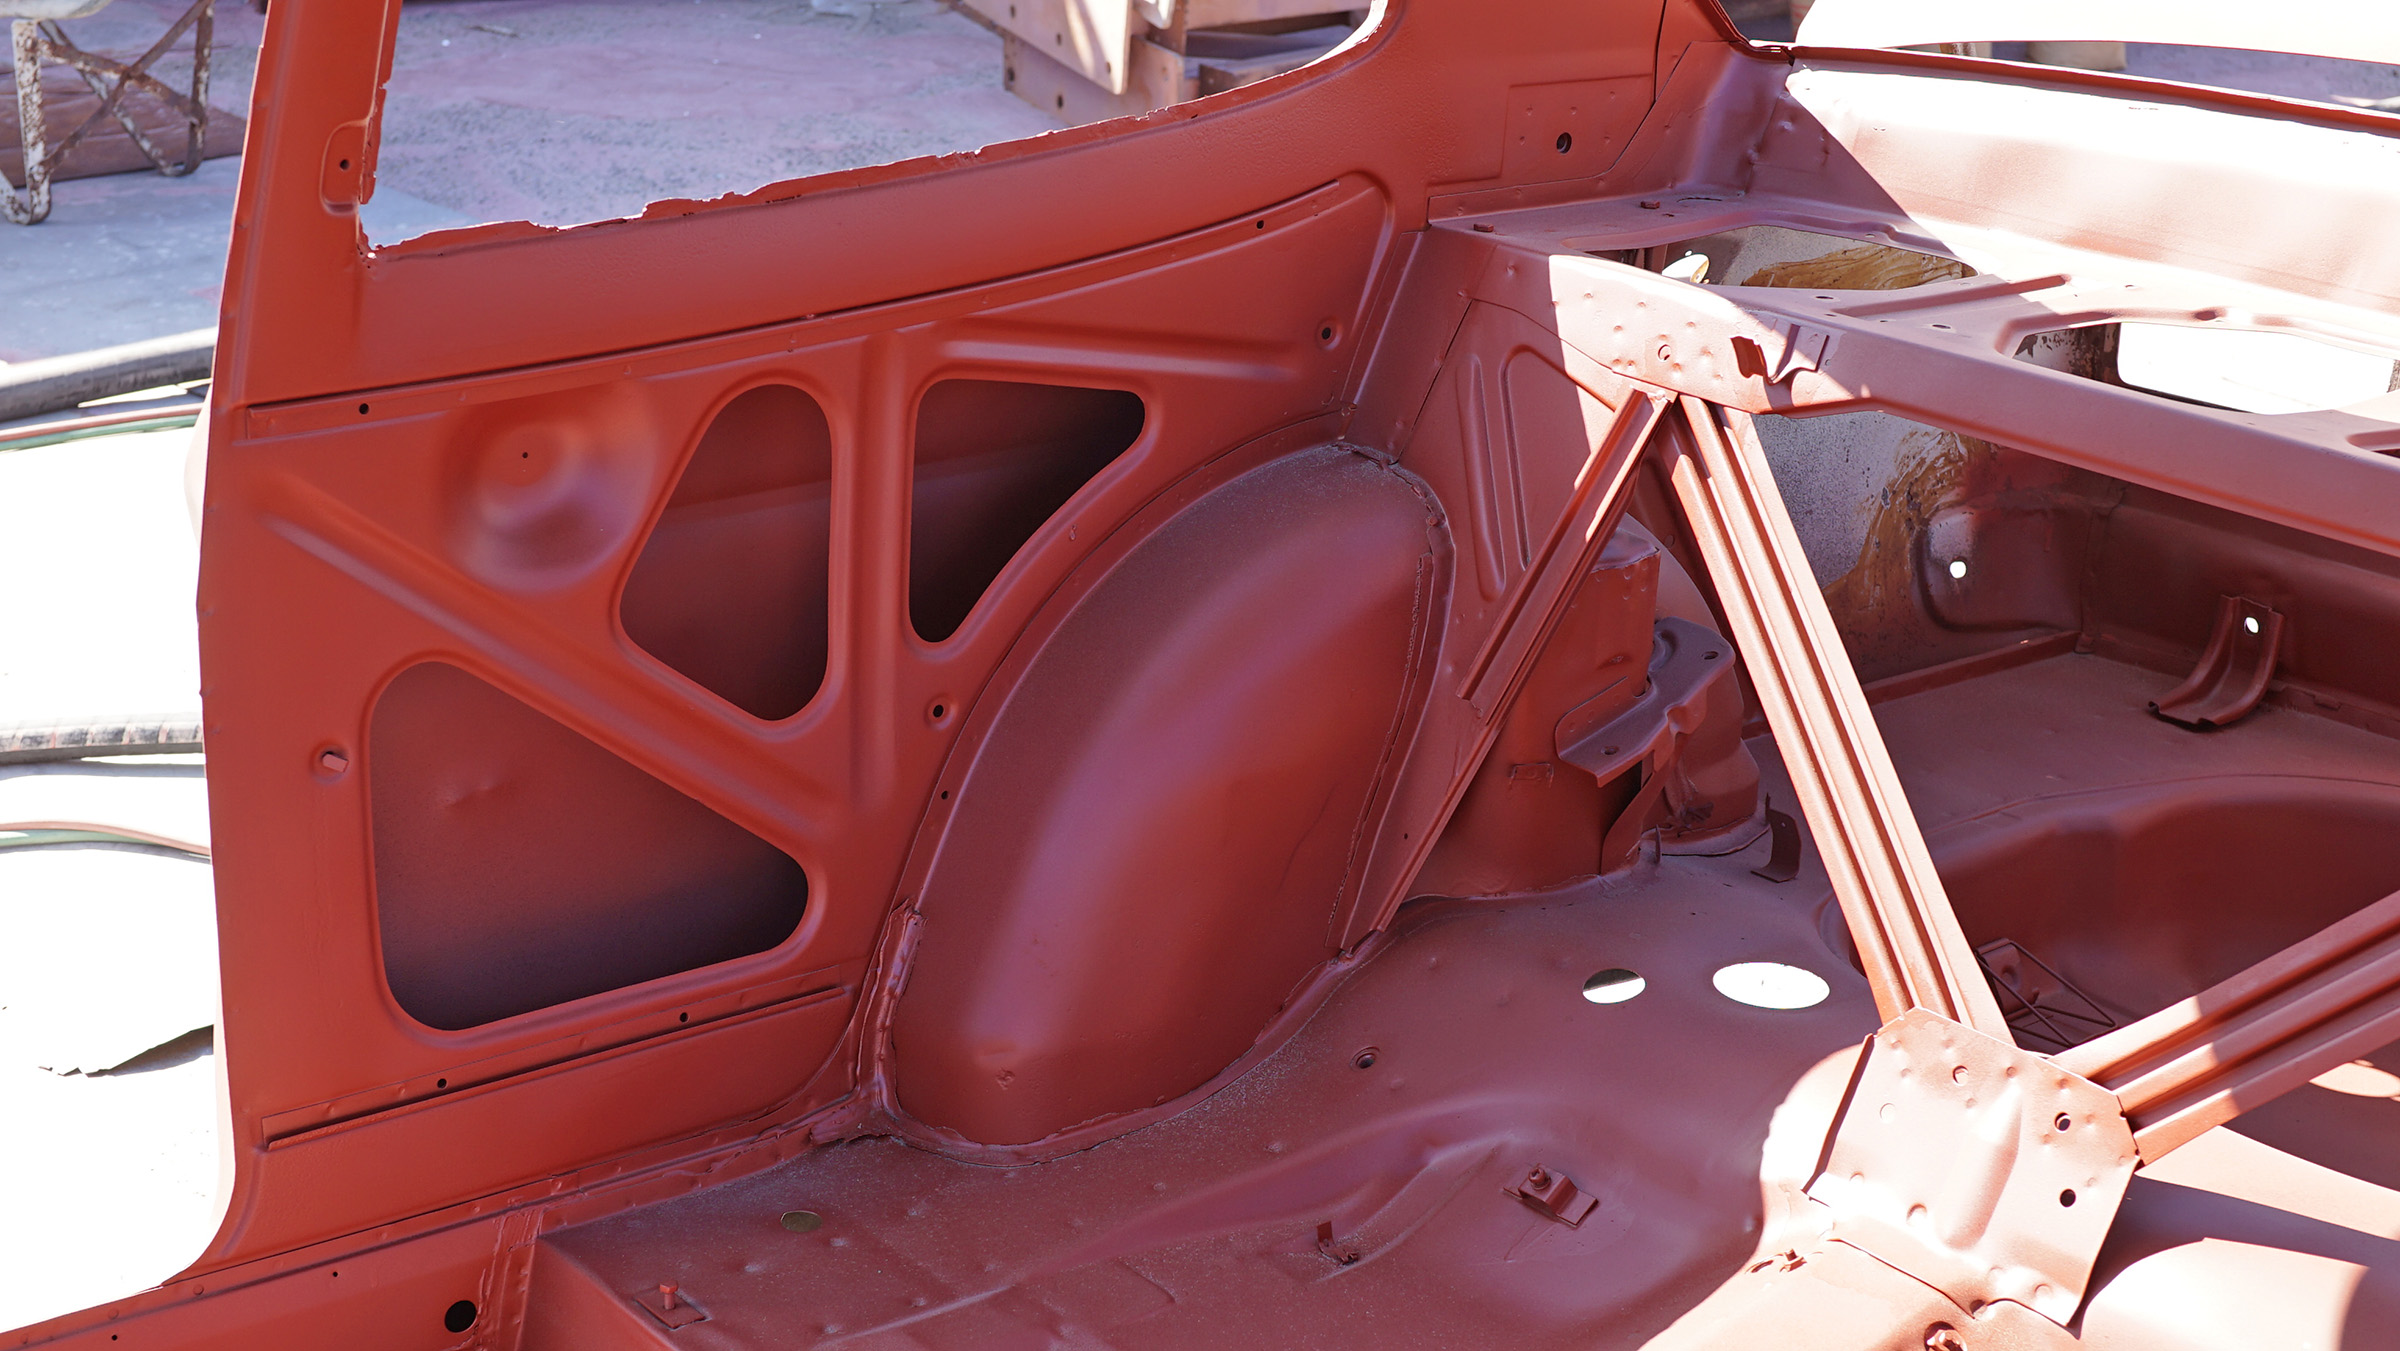
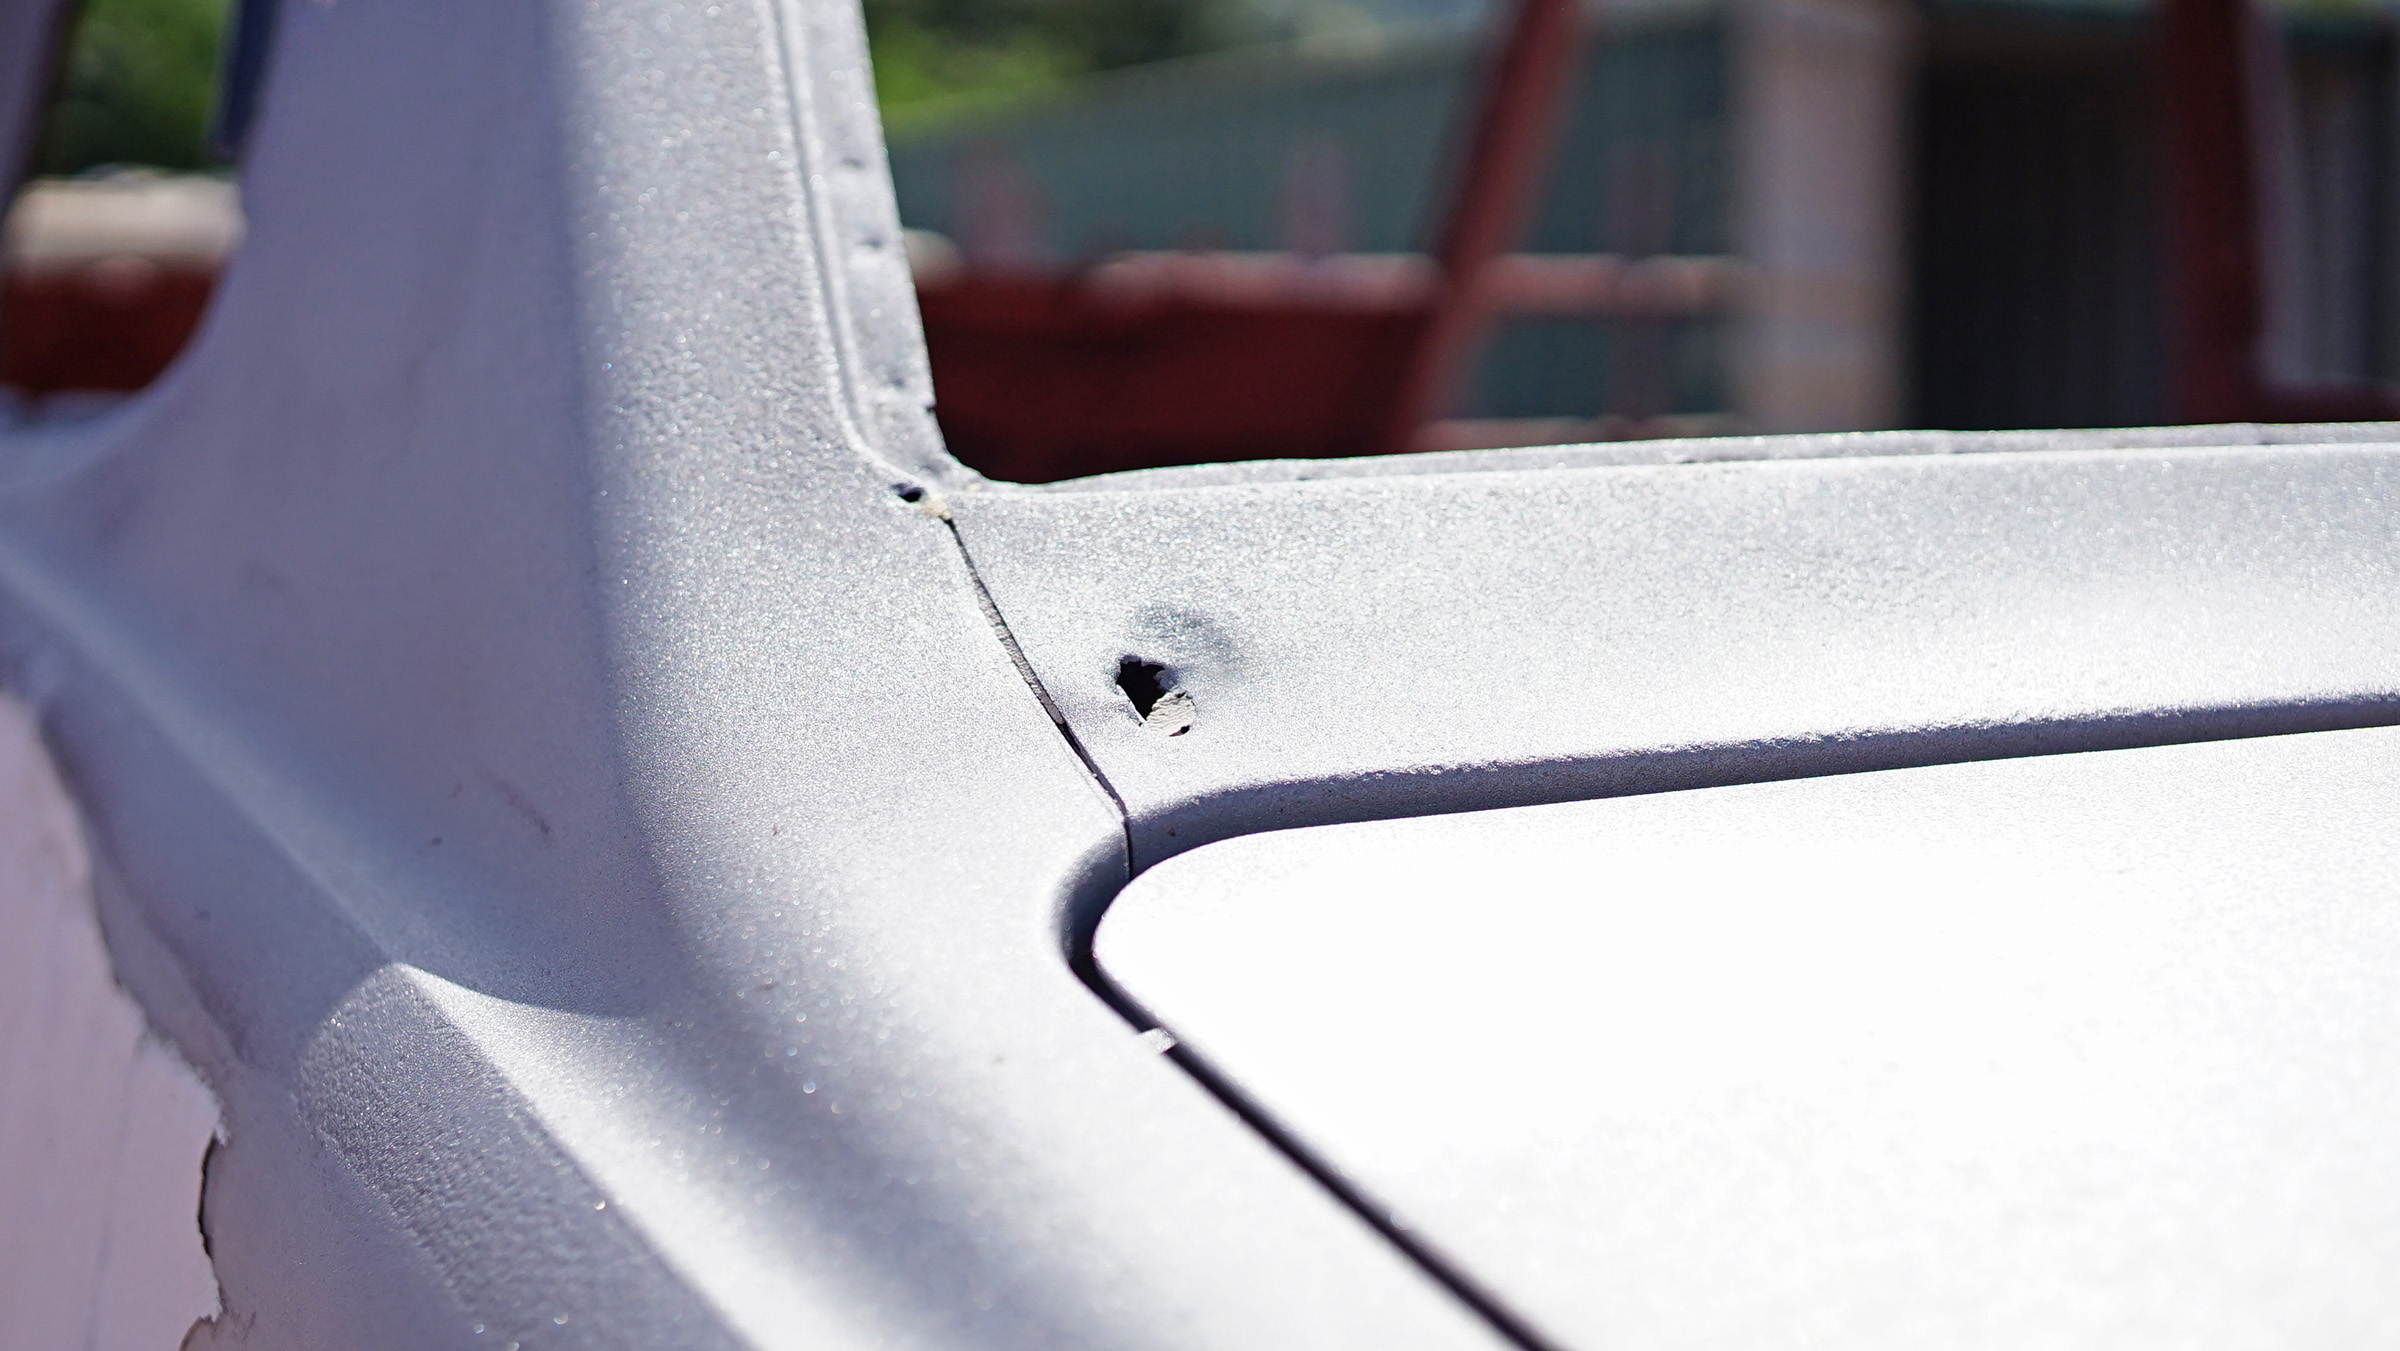
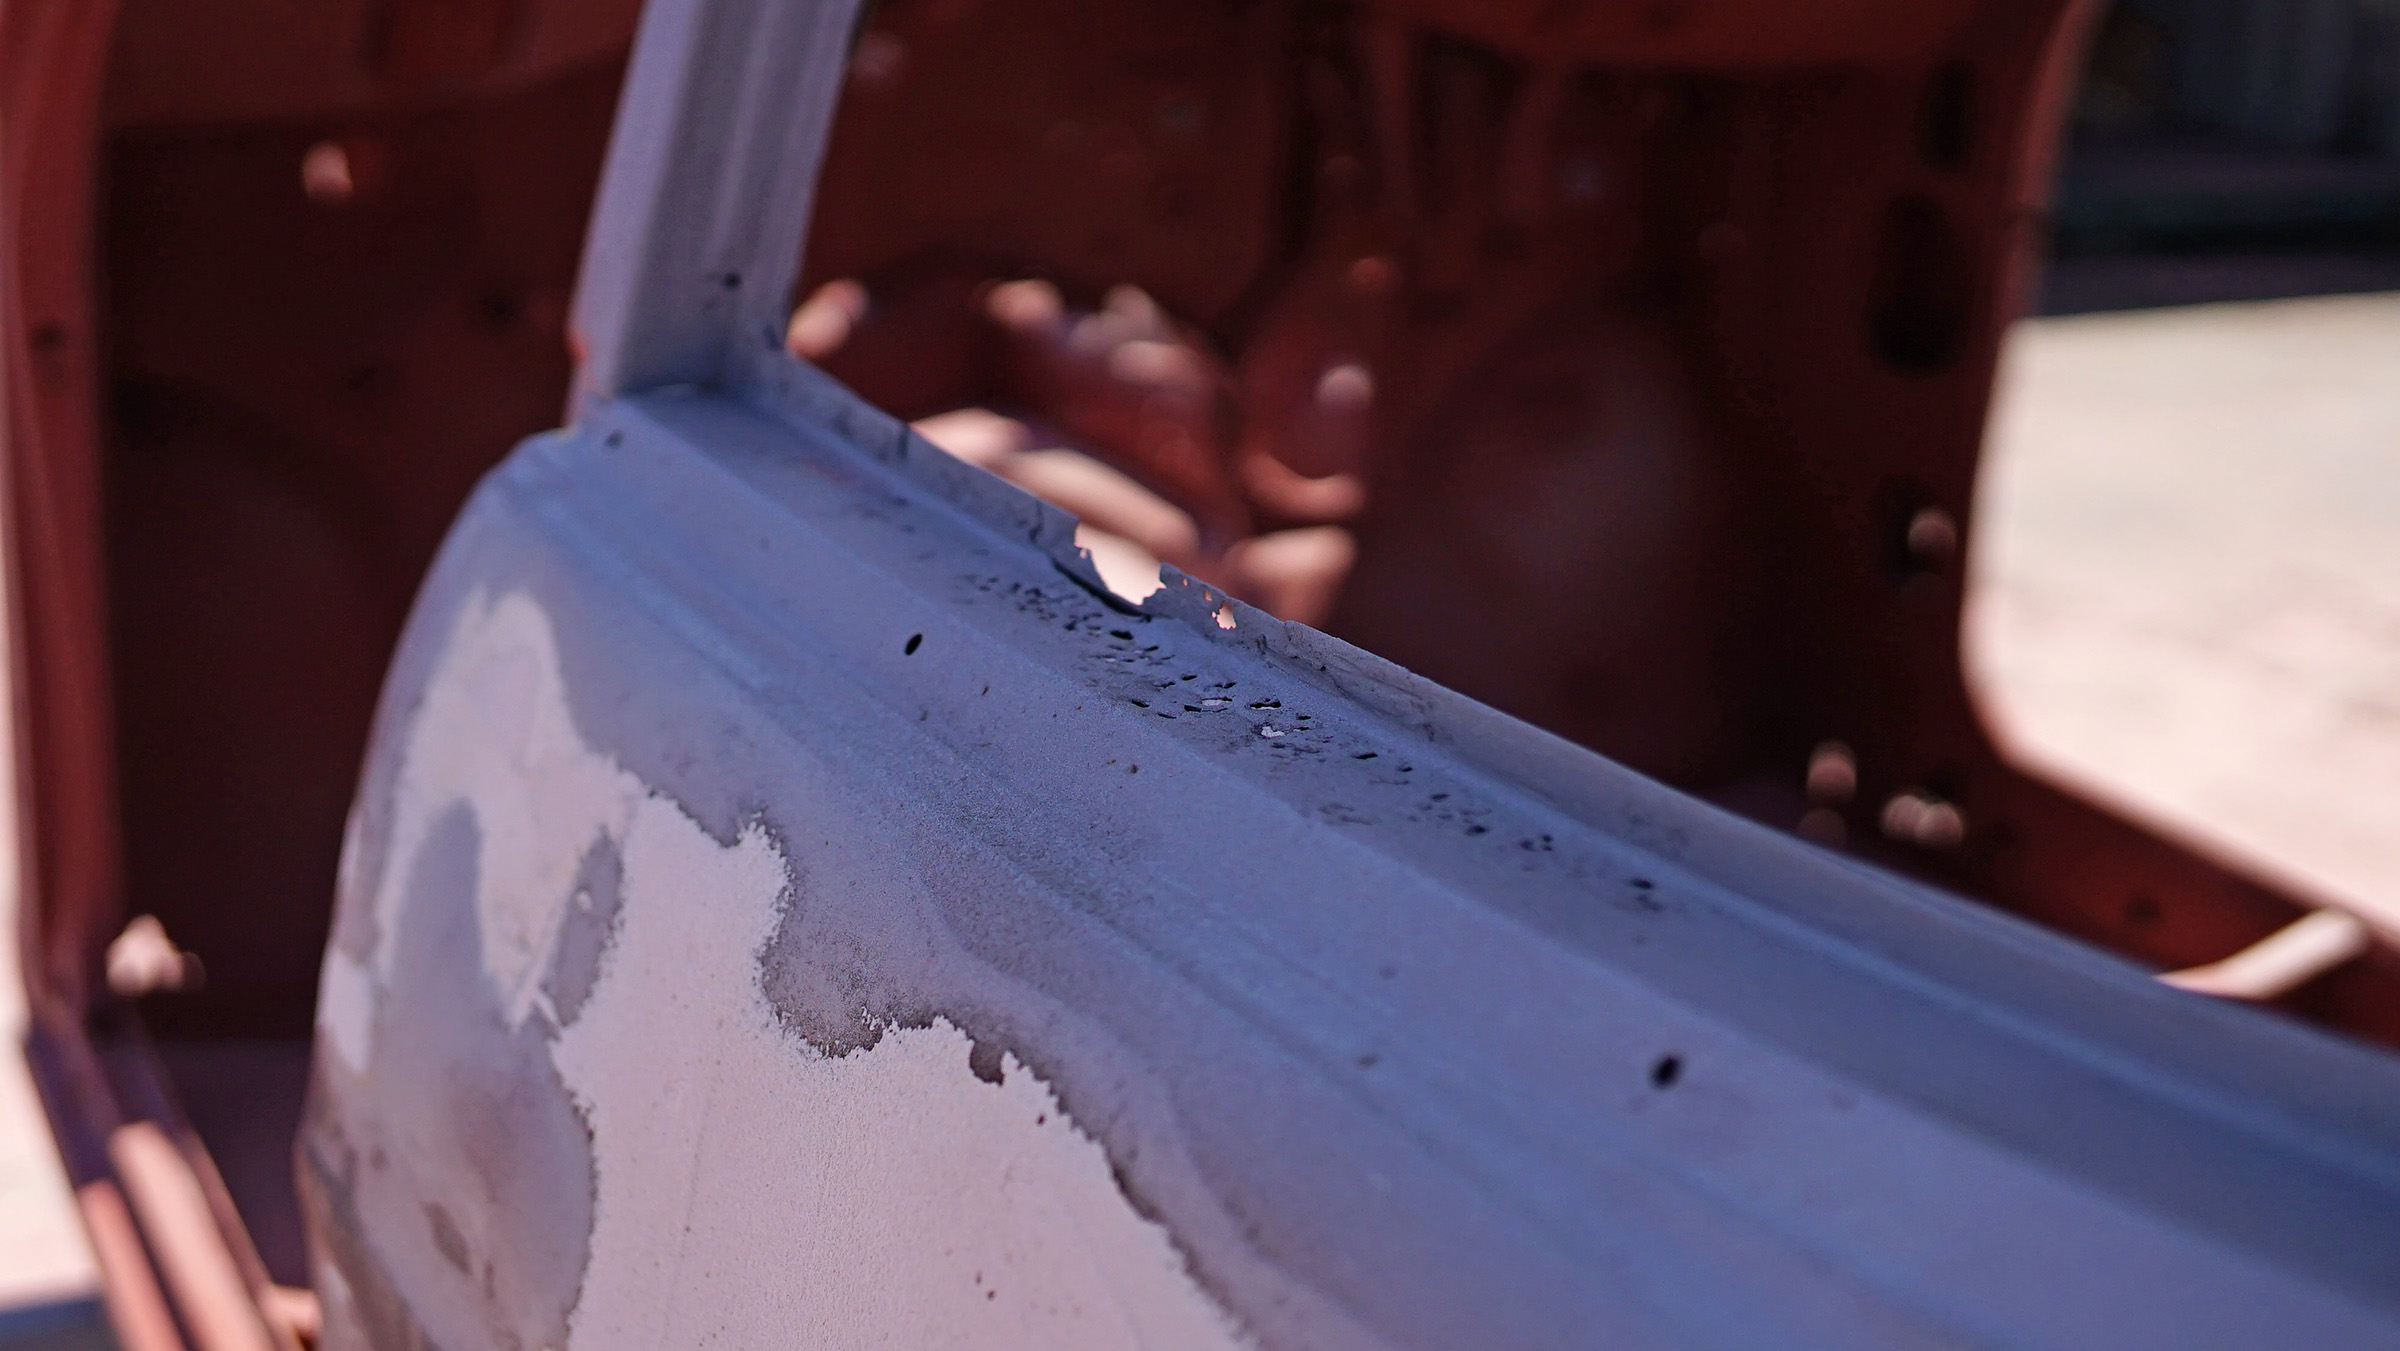
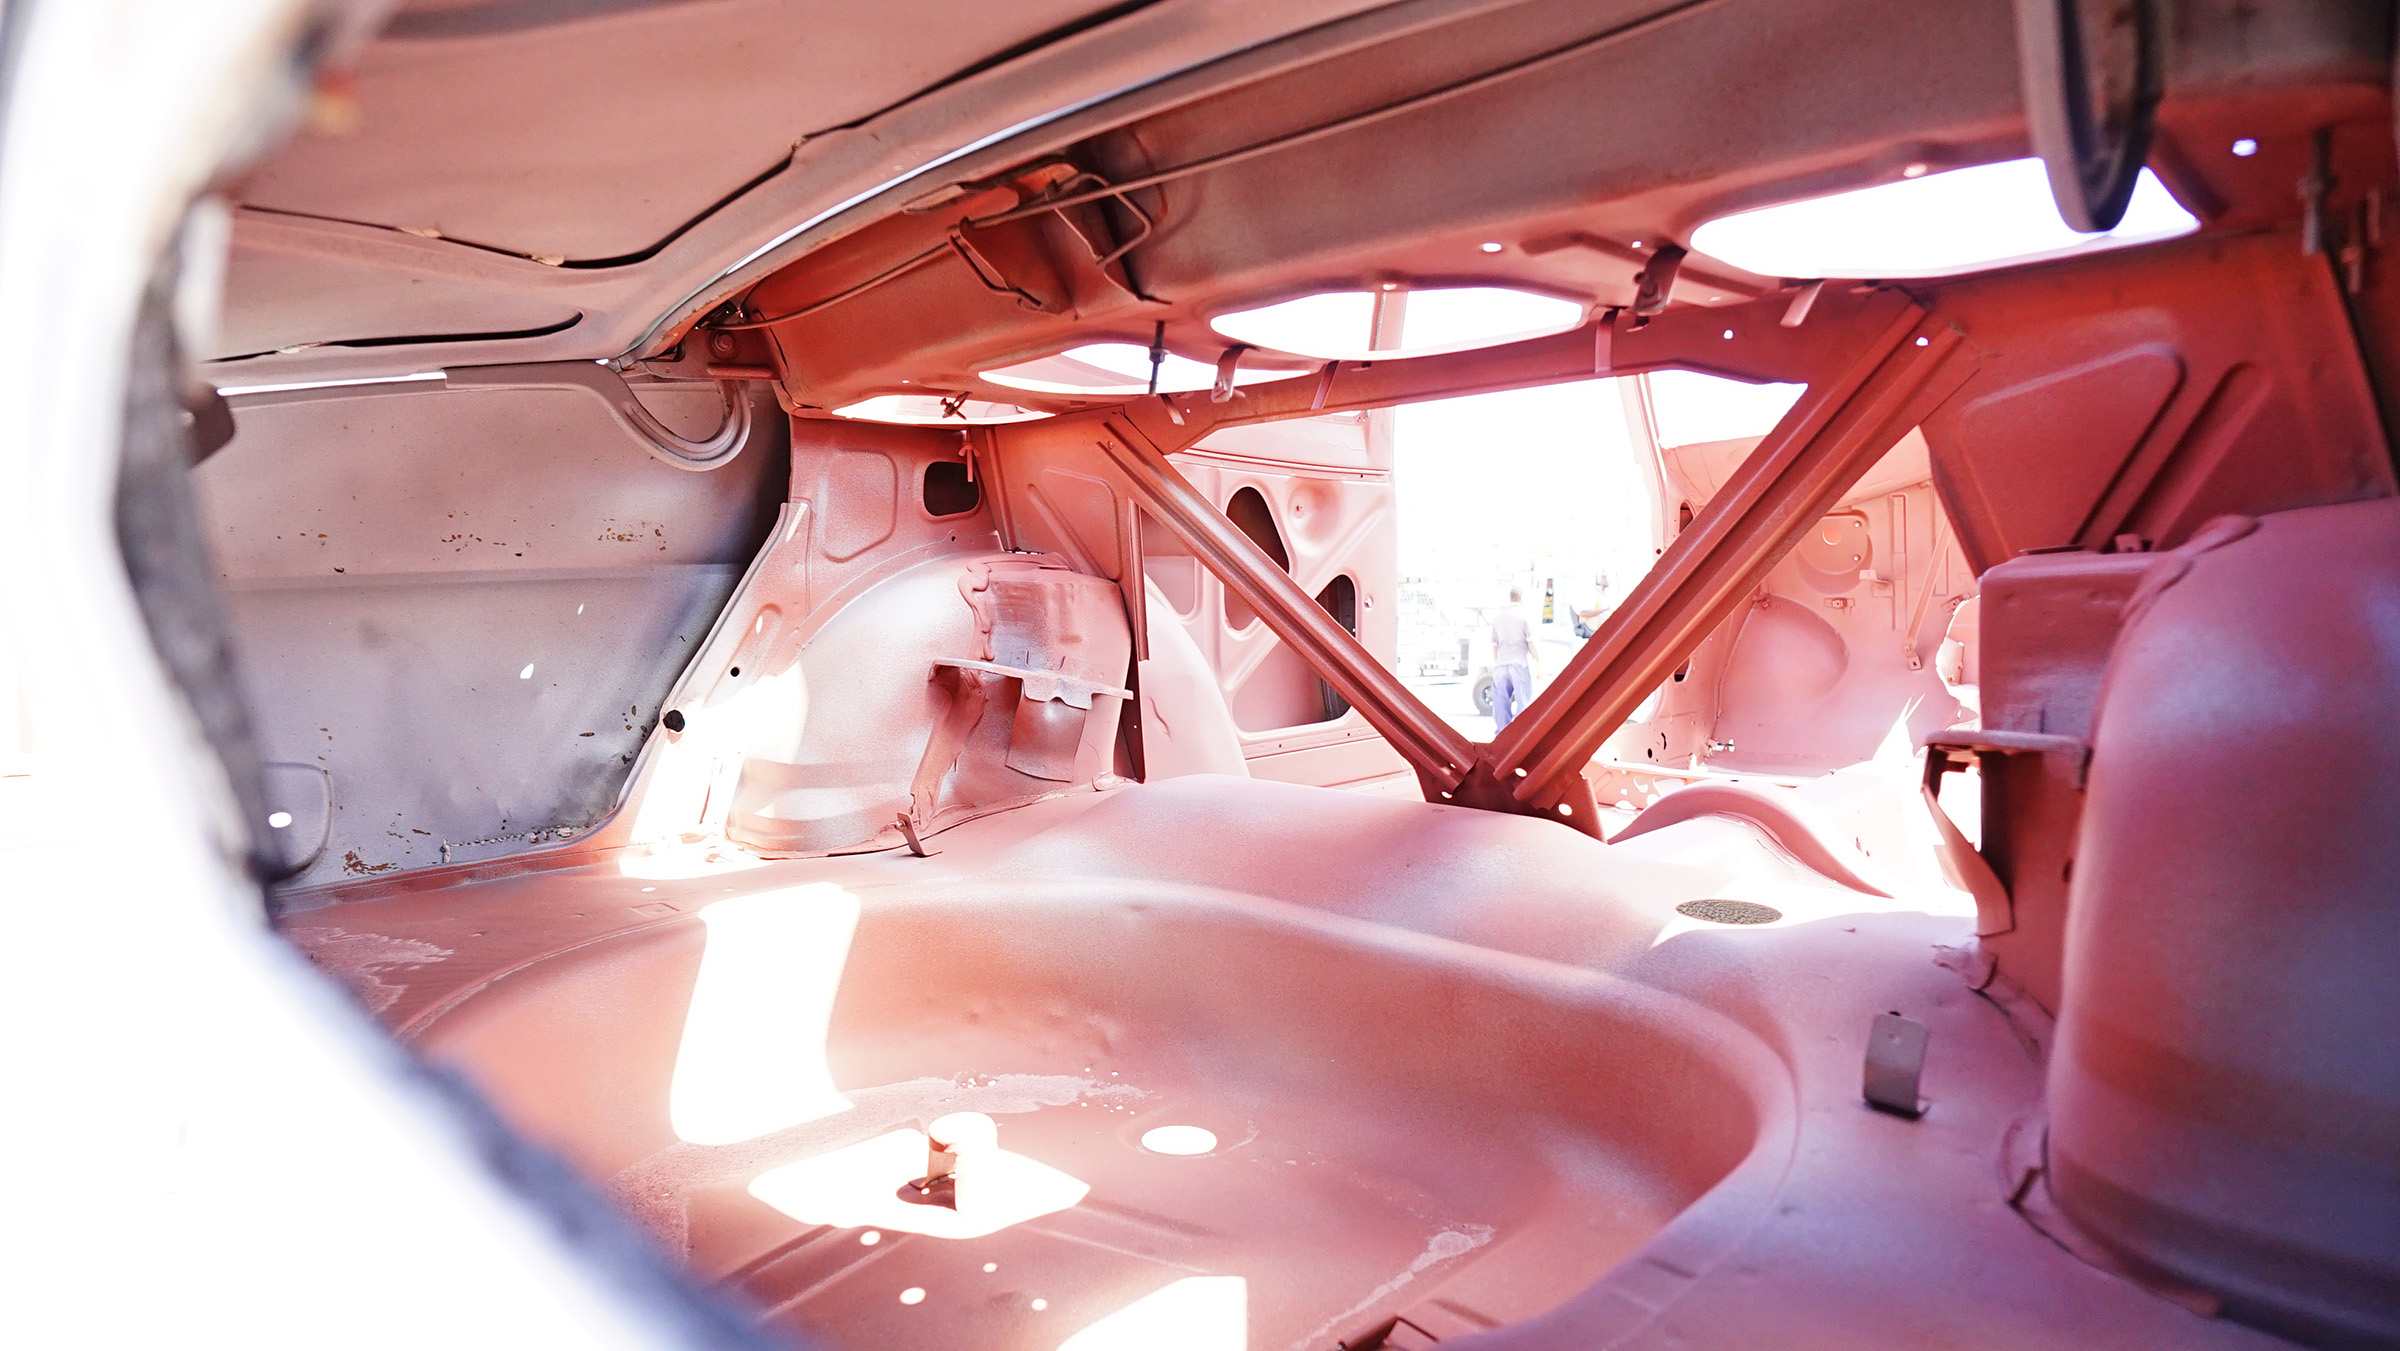
Some heavy pitting going on here, probably some patch work required to this area.

Open in new window


Open in new window


Open in new window


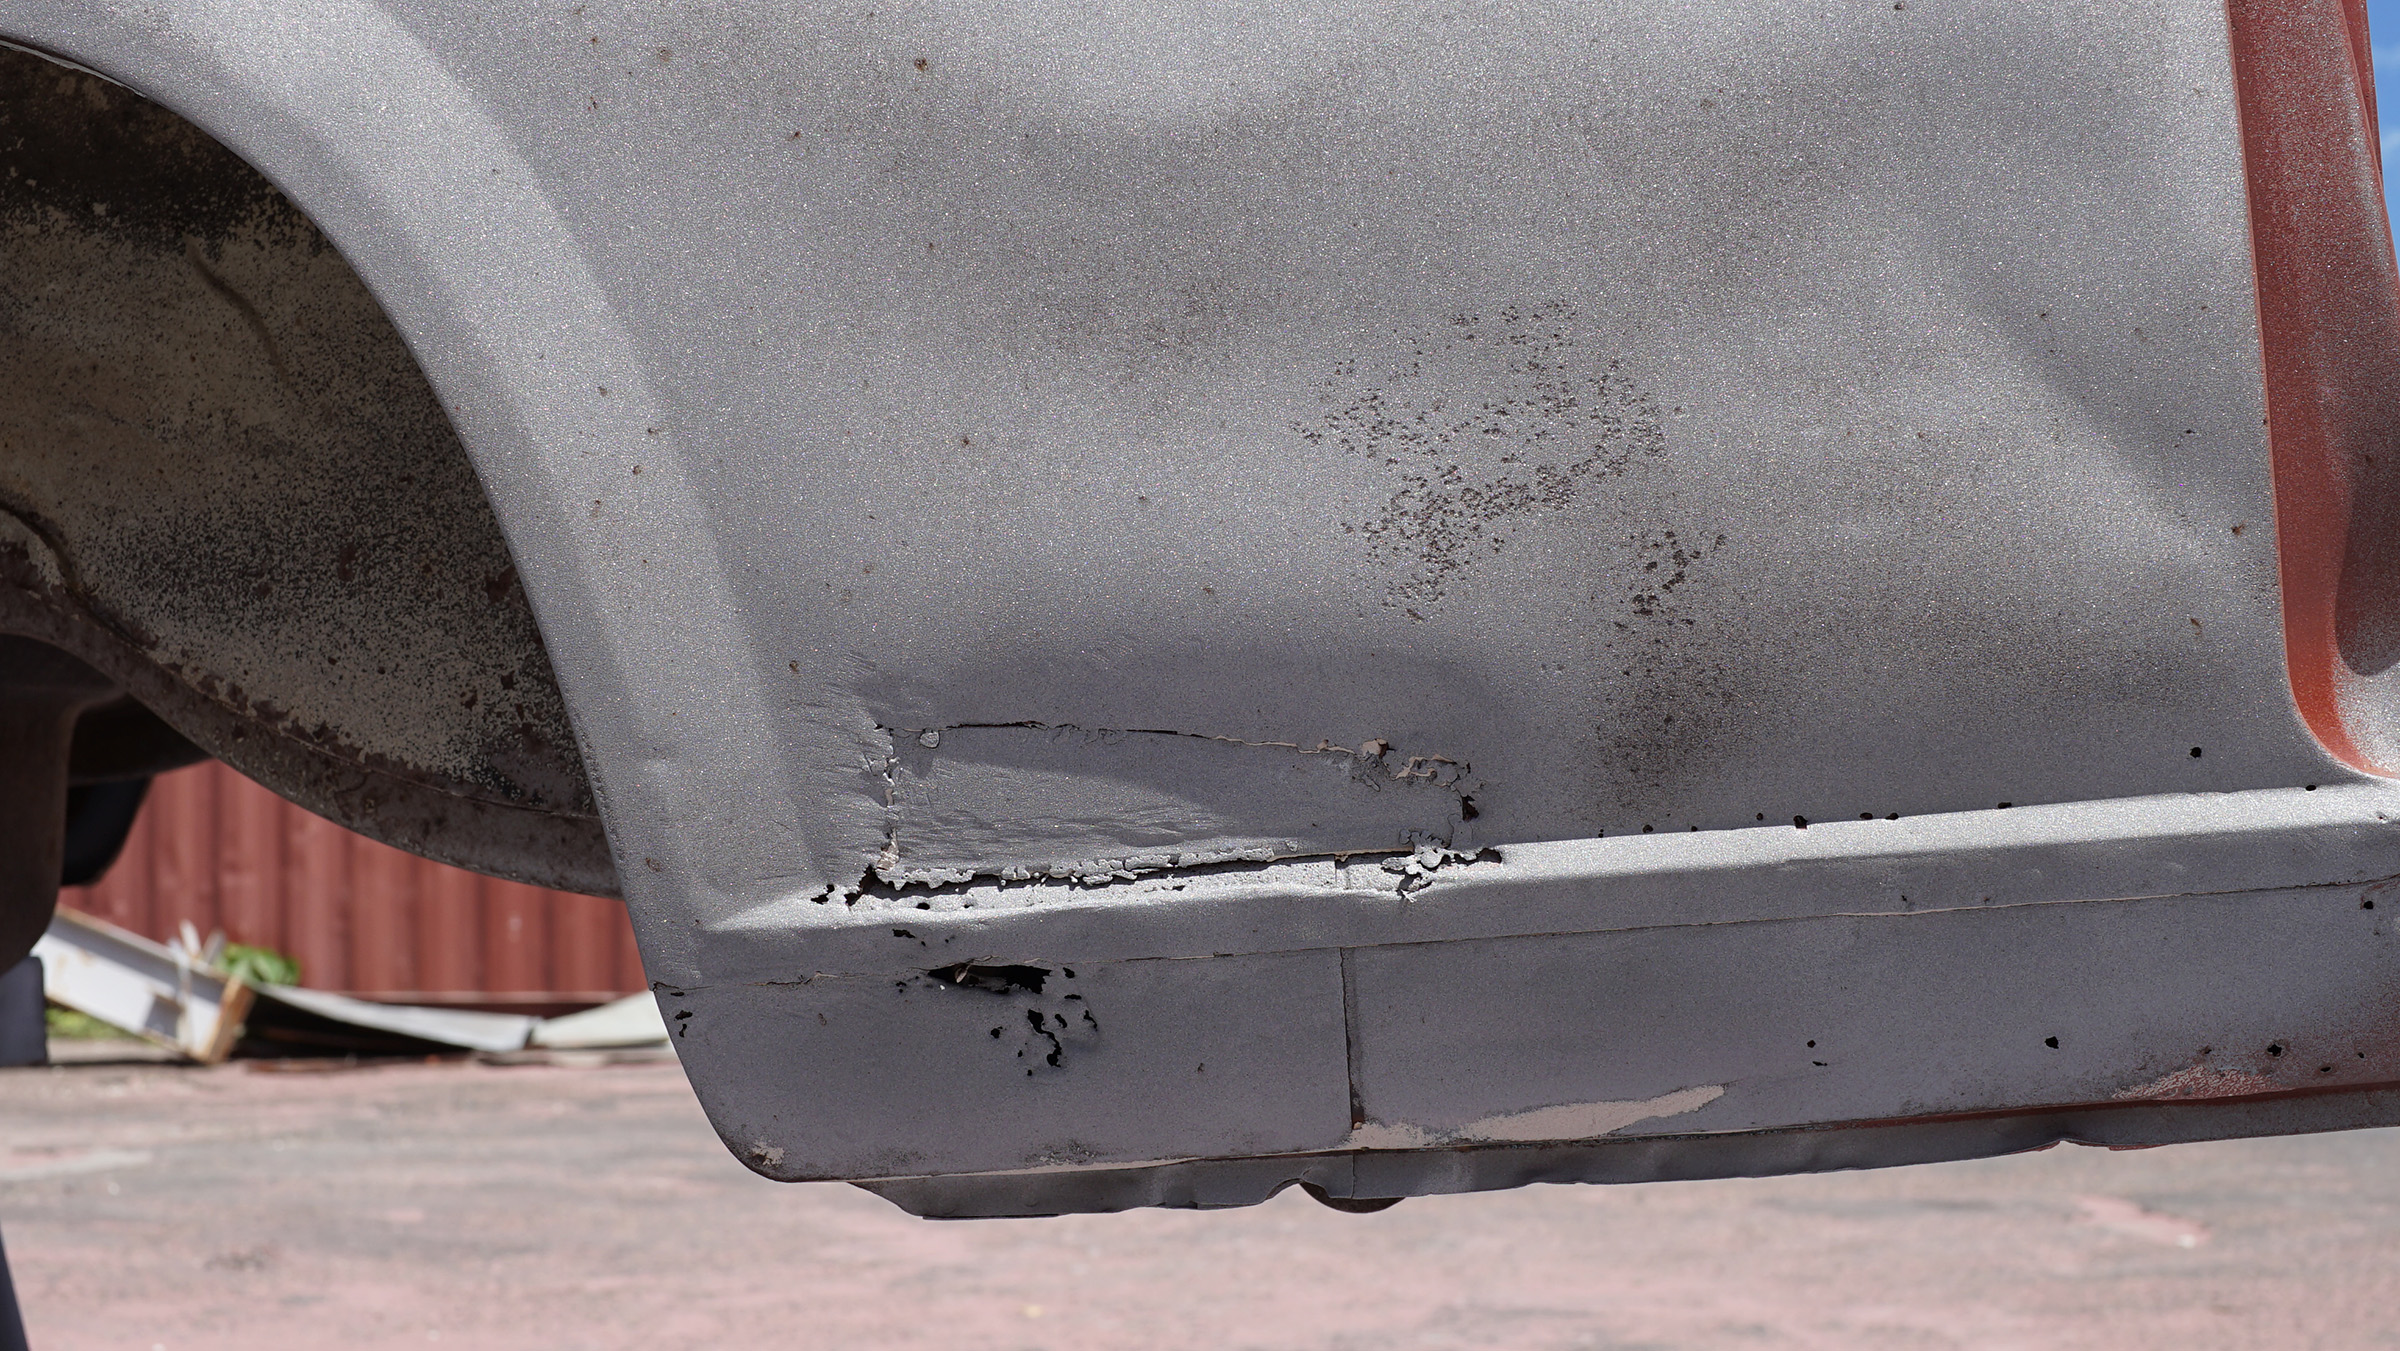
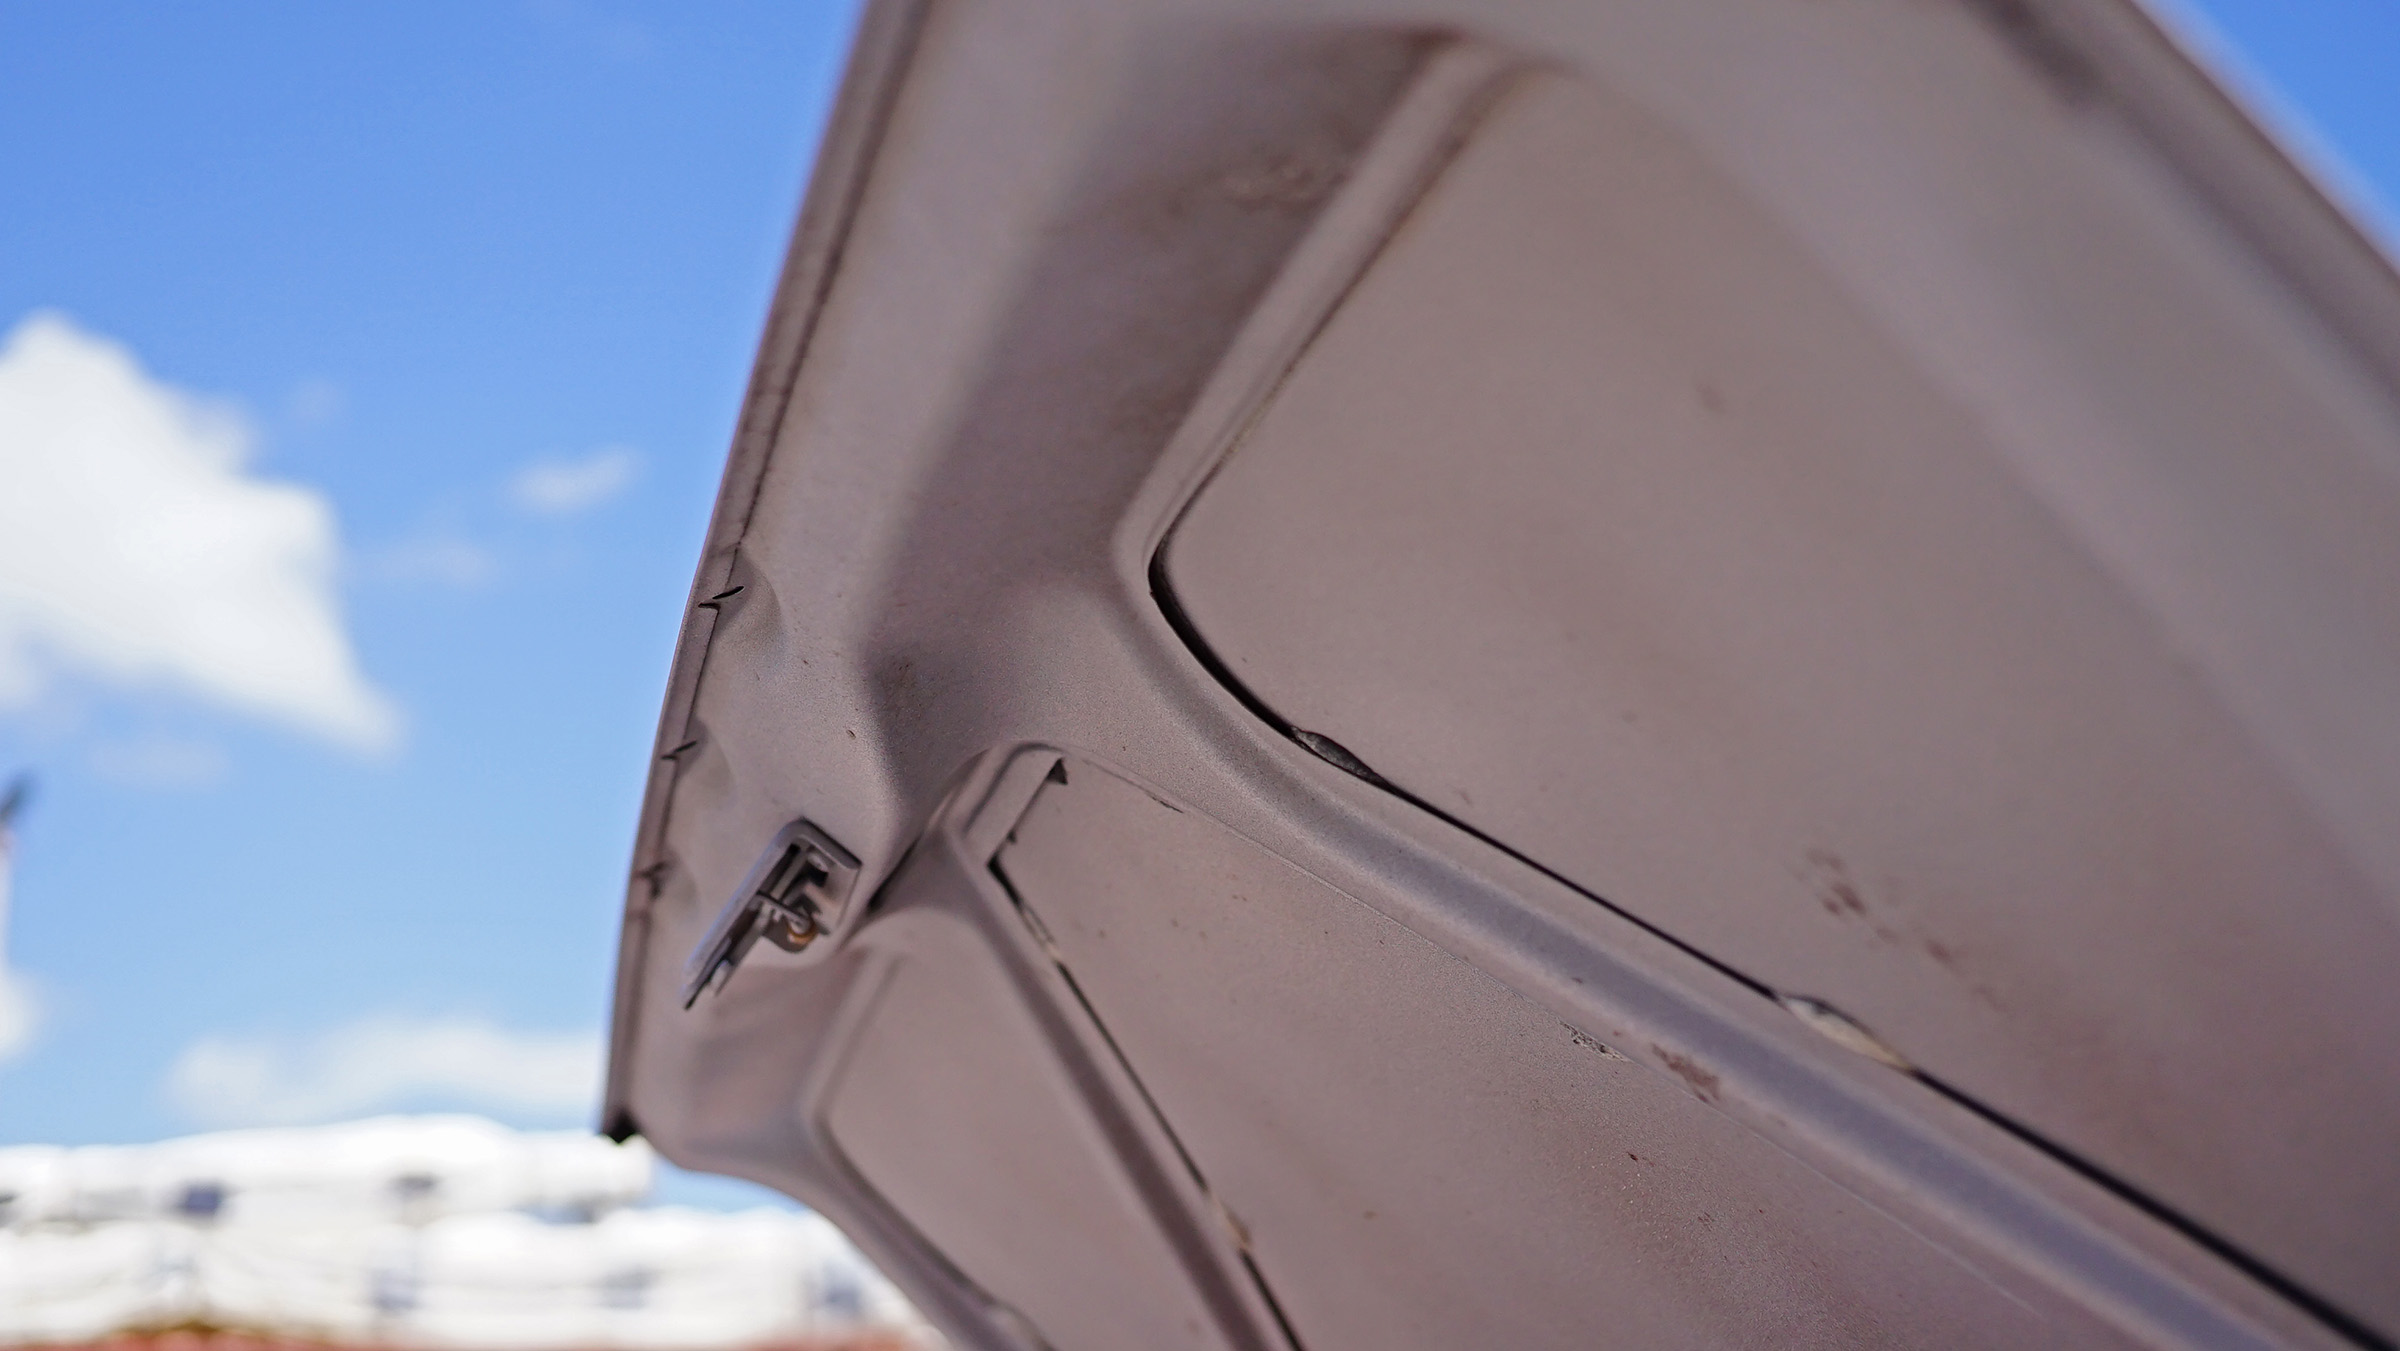
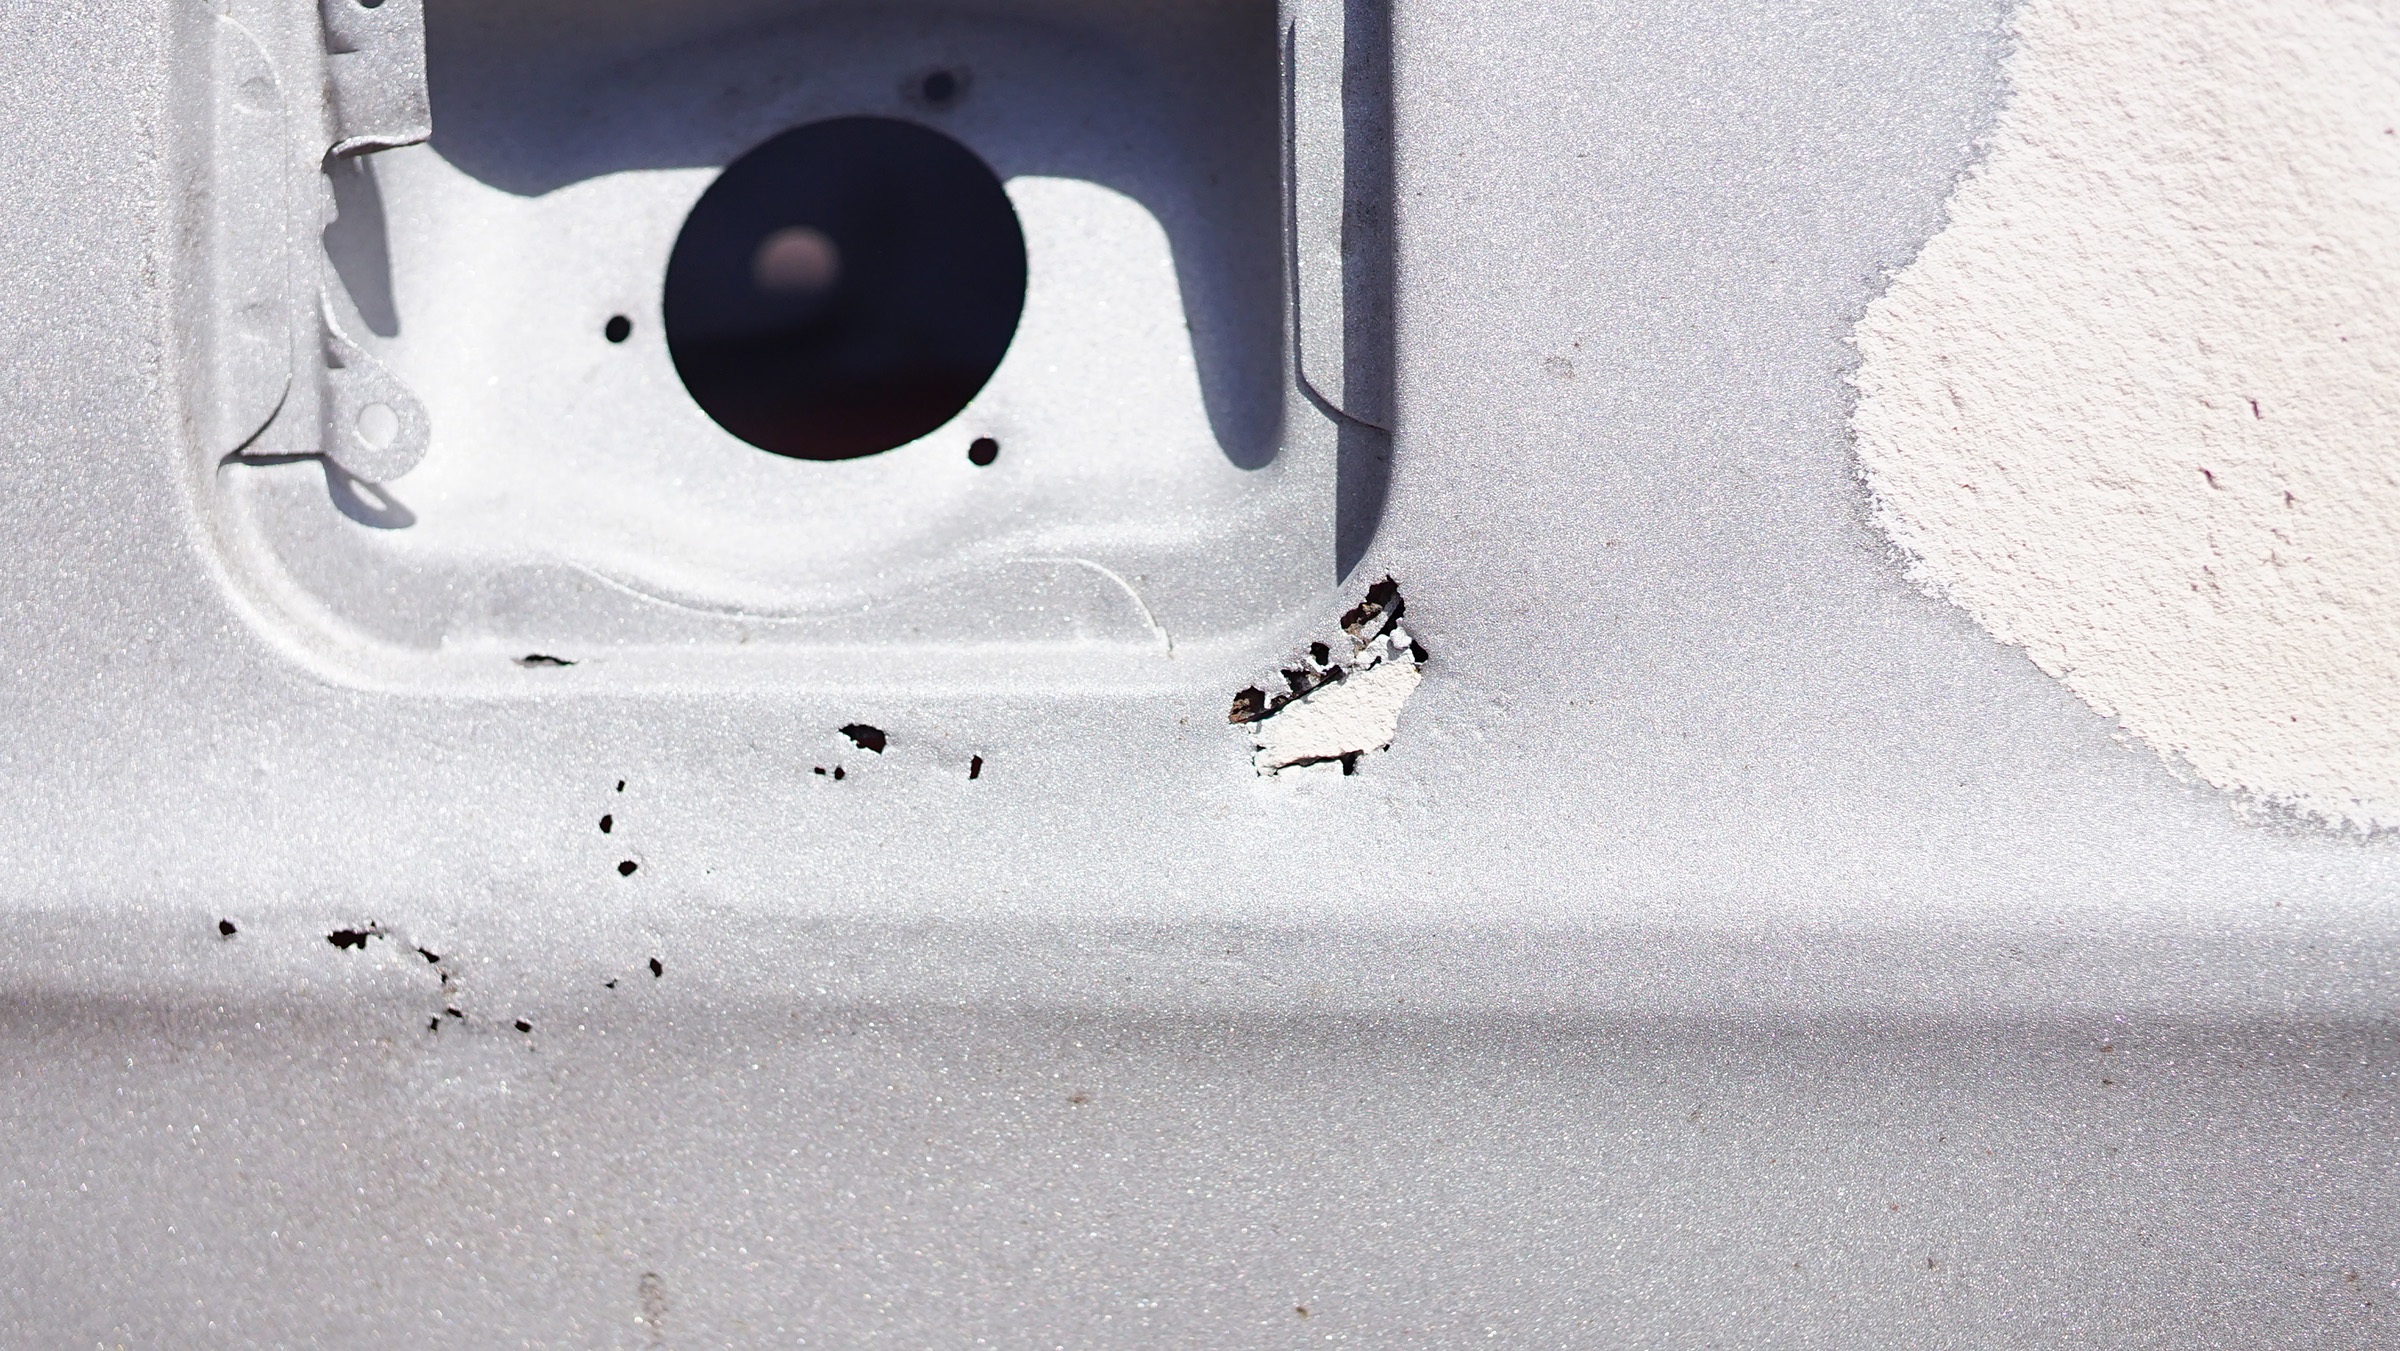
Showcasing some epic panel repair skills right here.

Open in new window


Open in new window


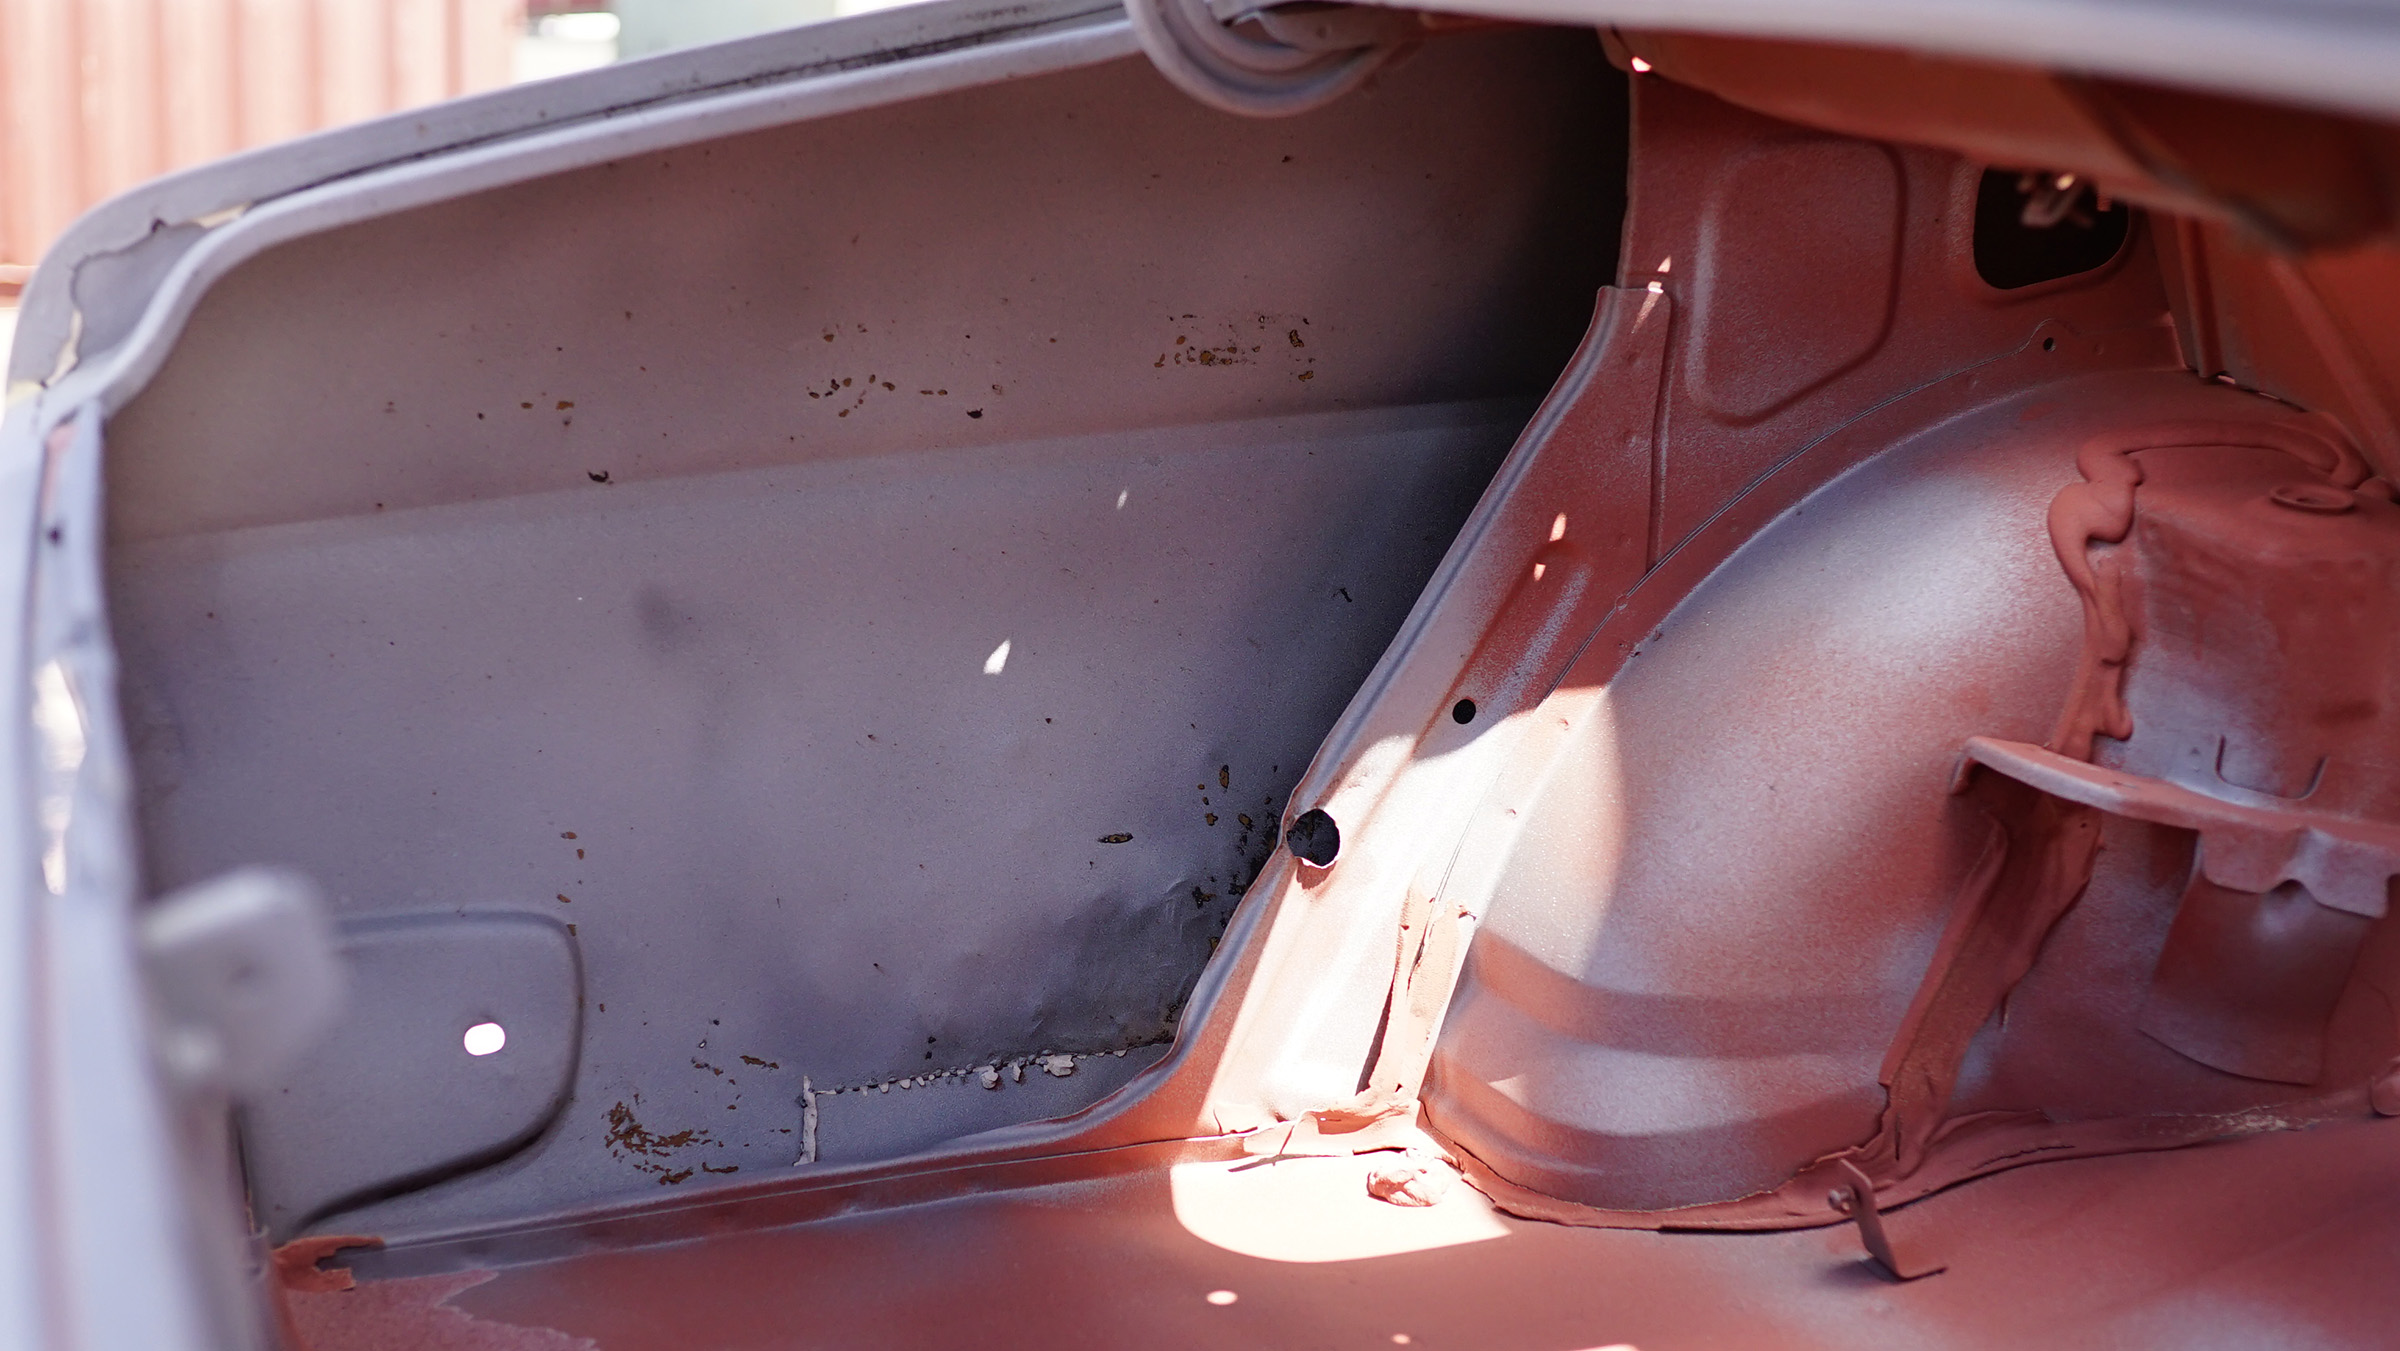
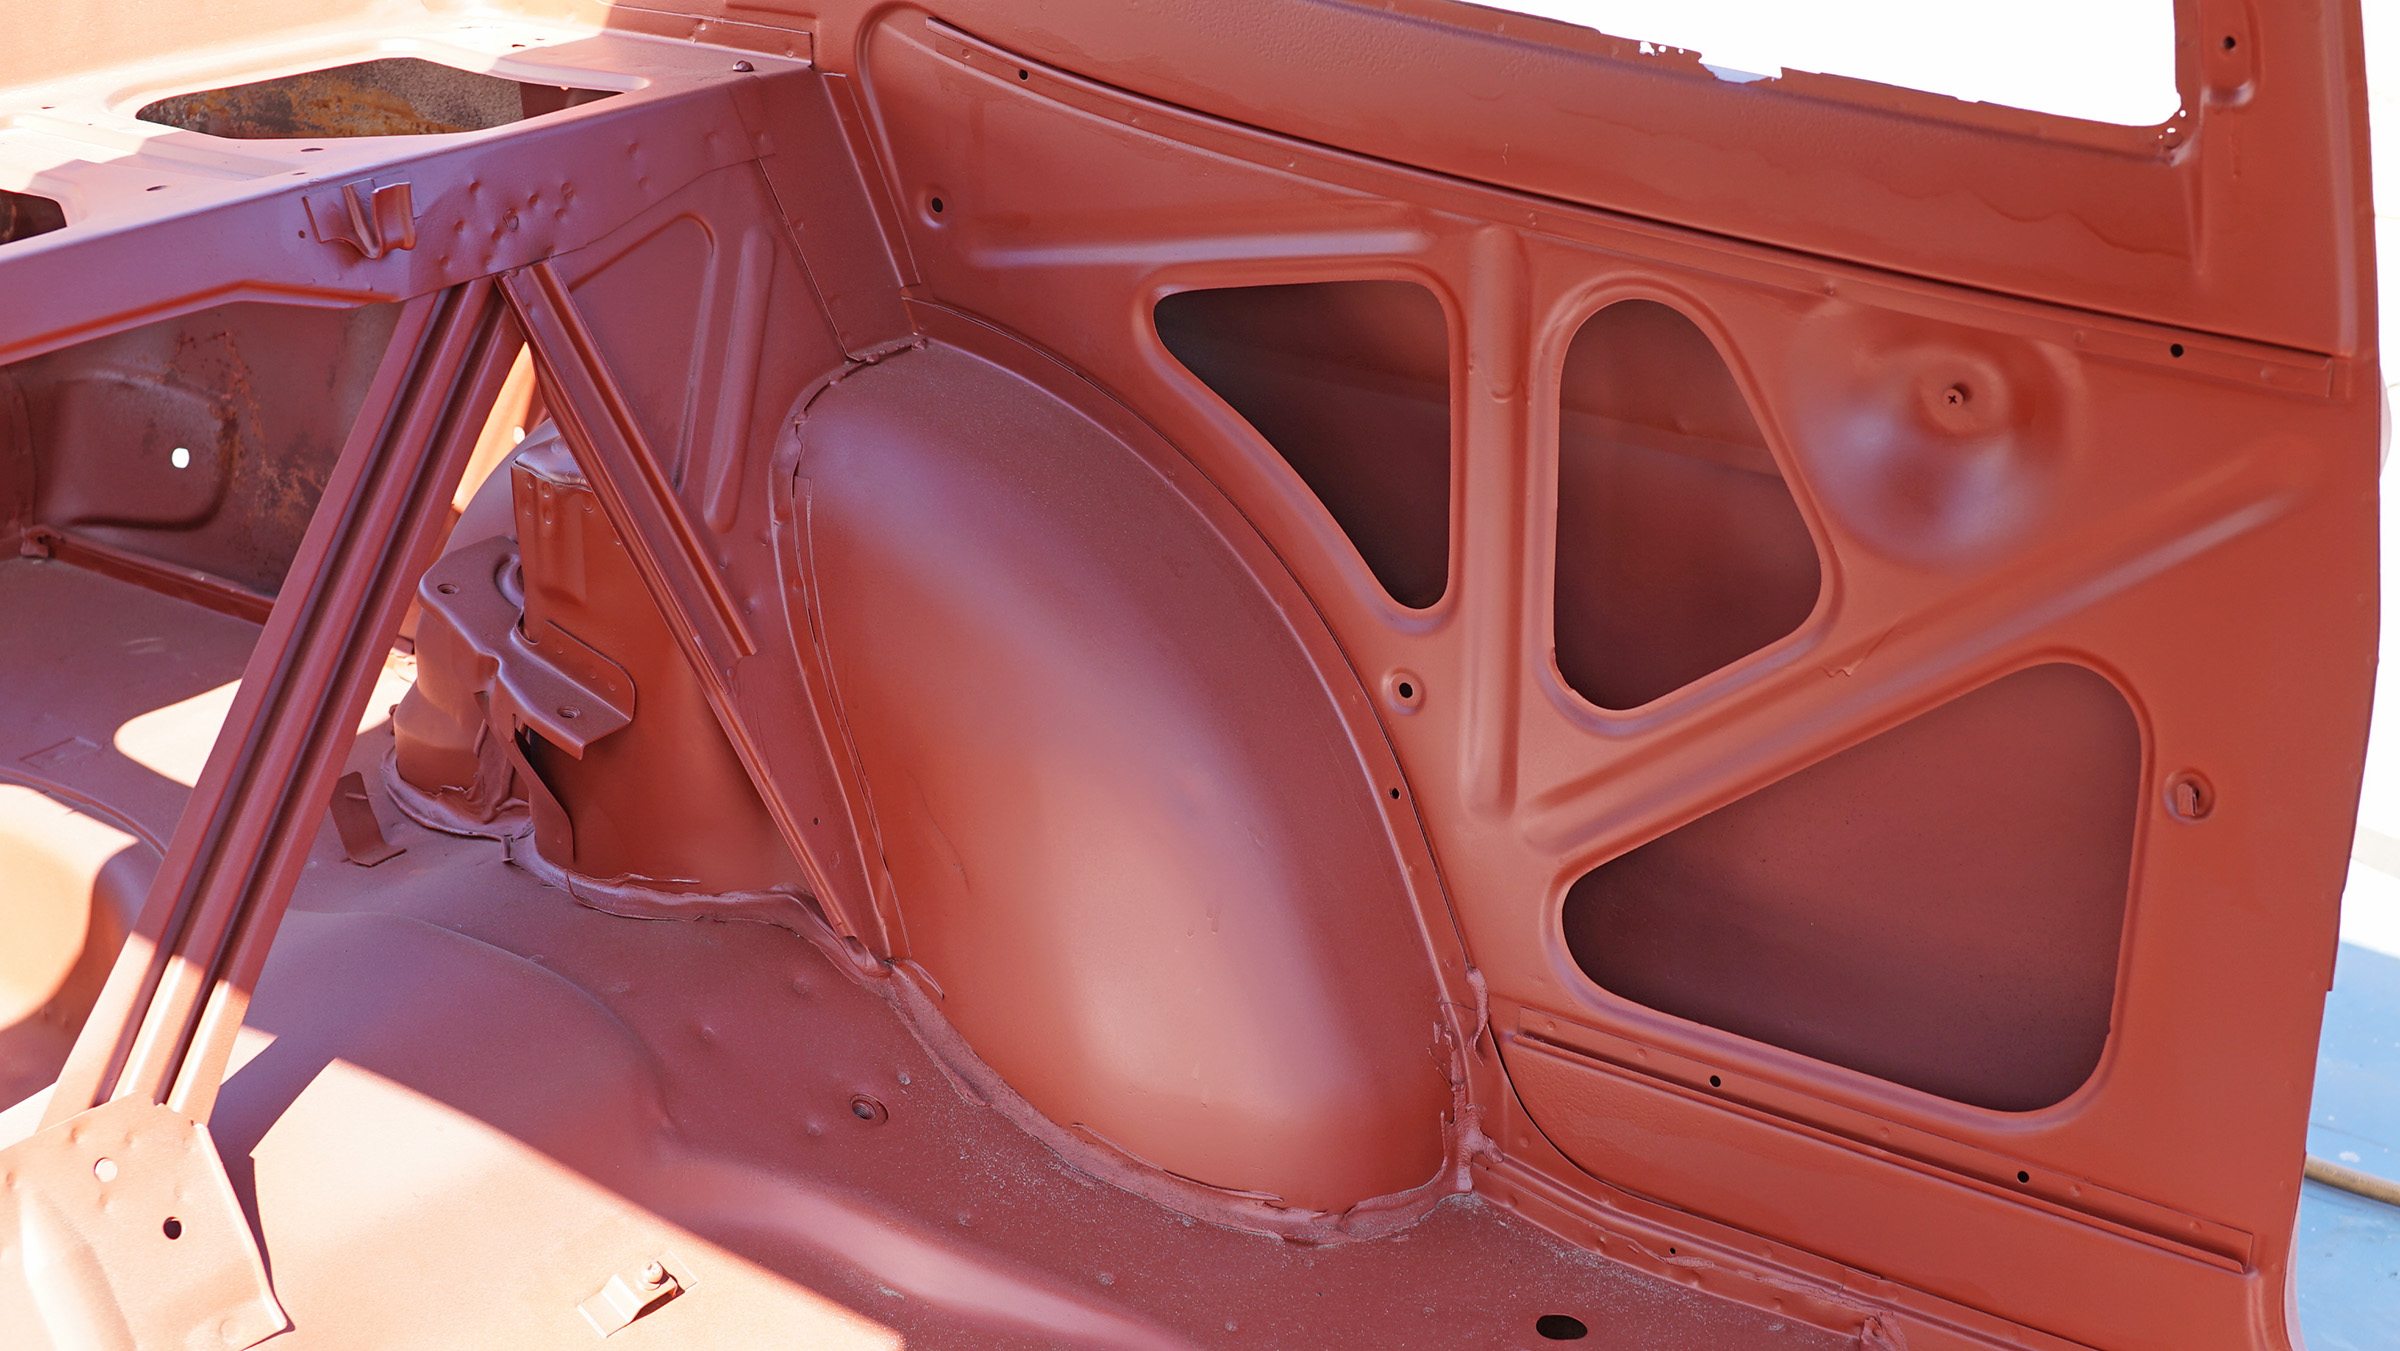
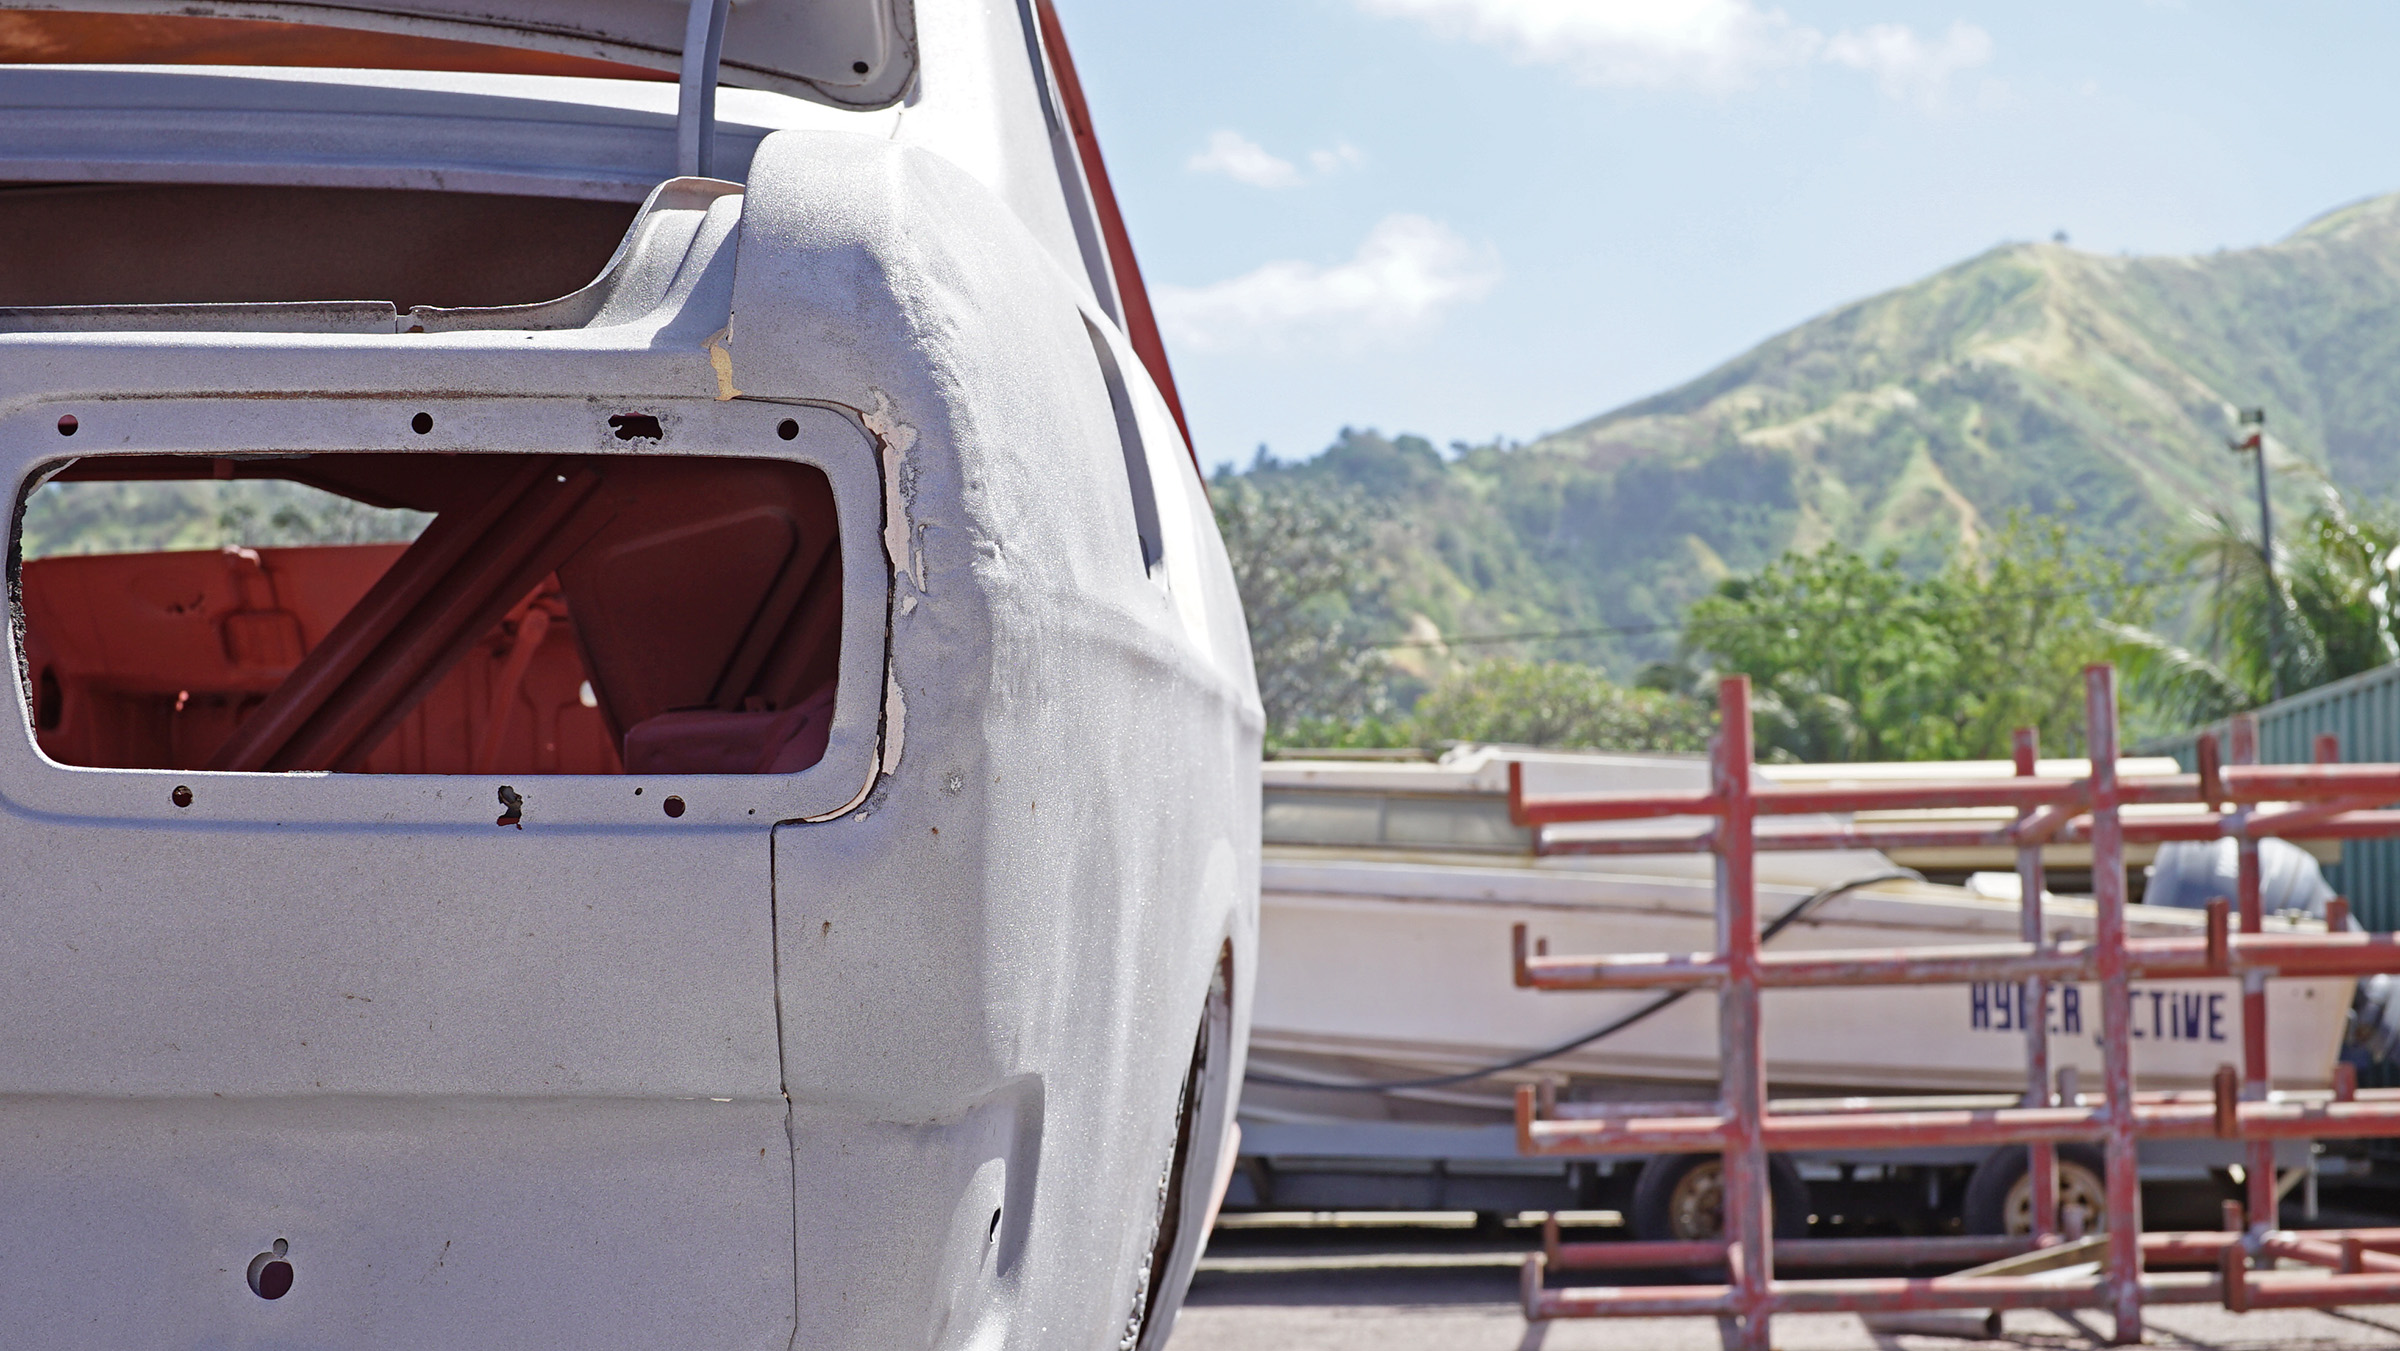
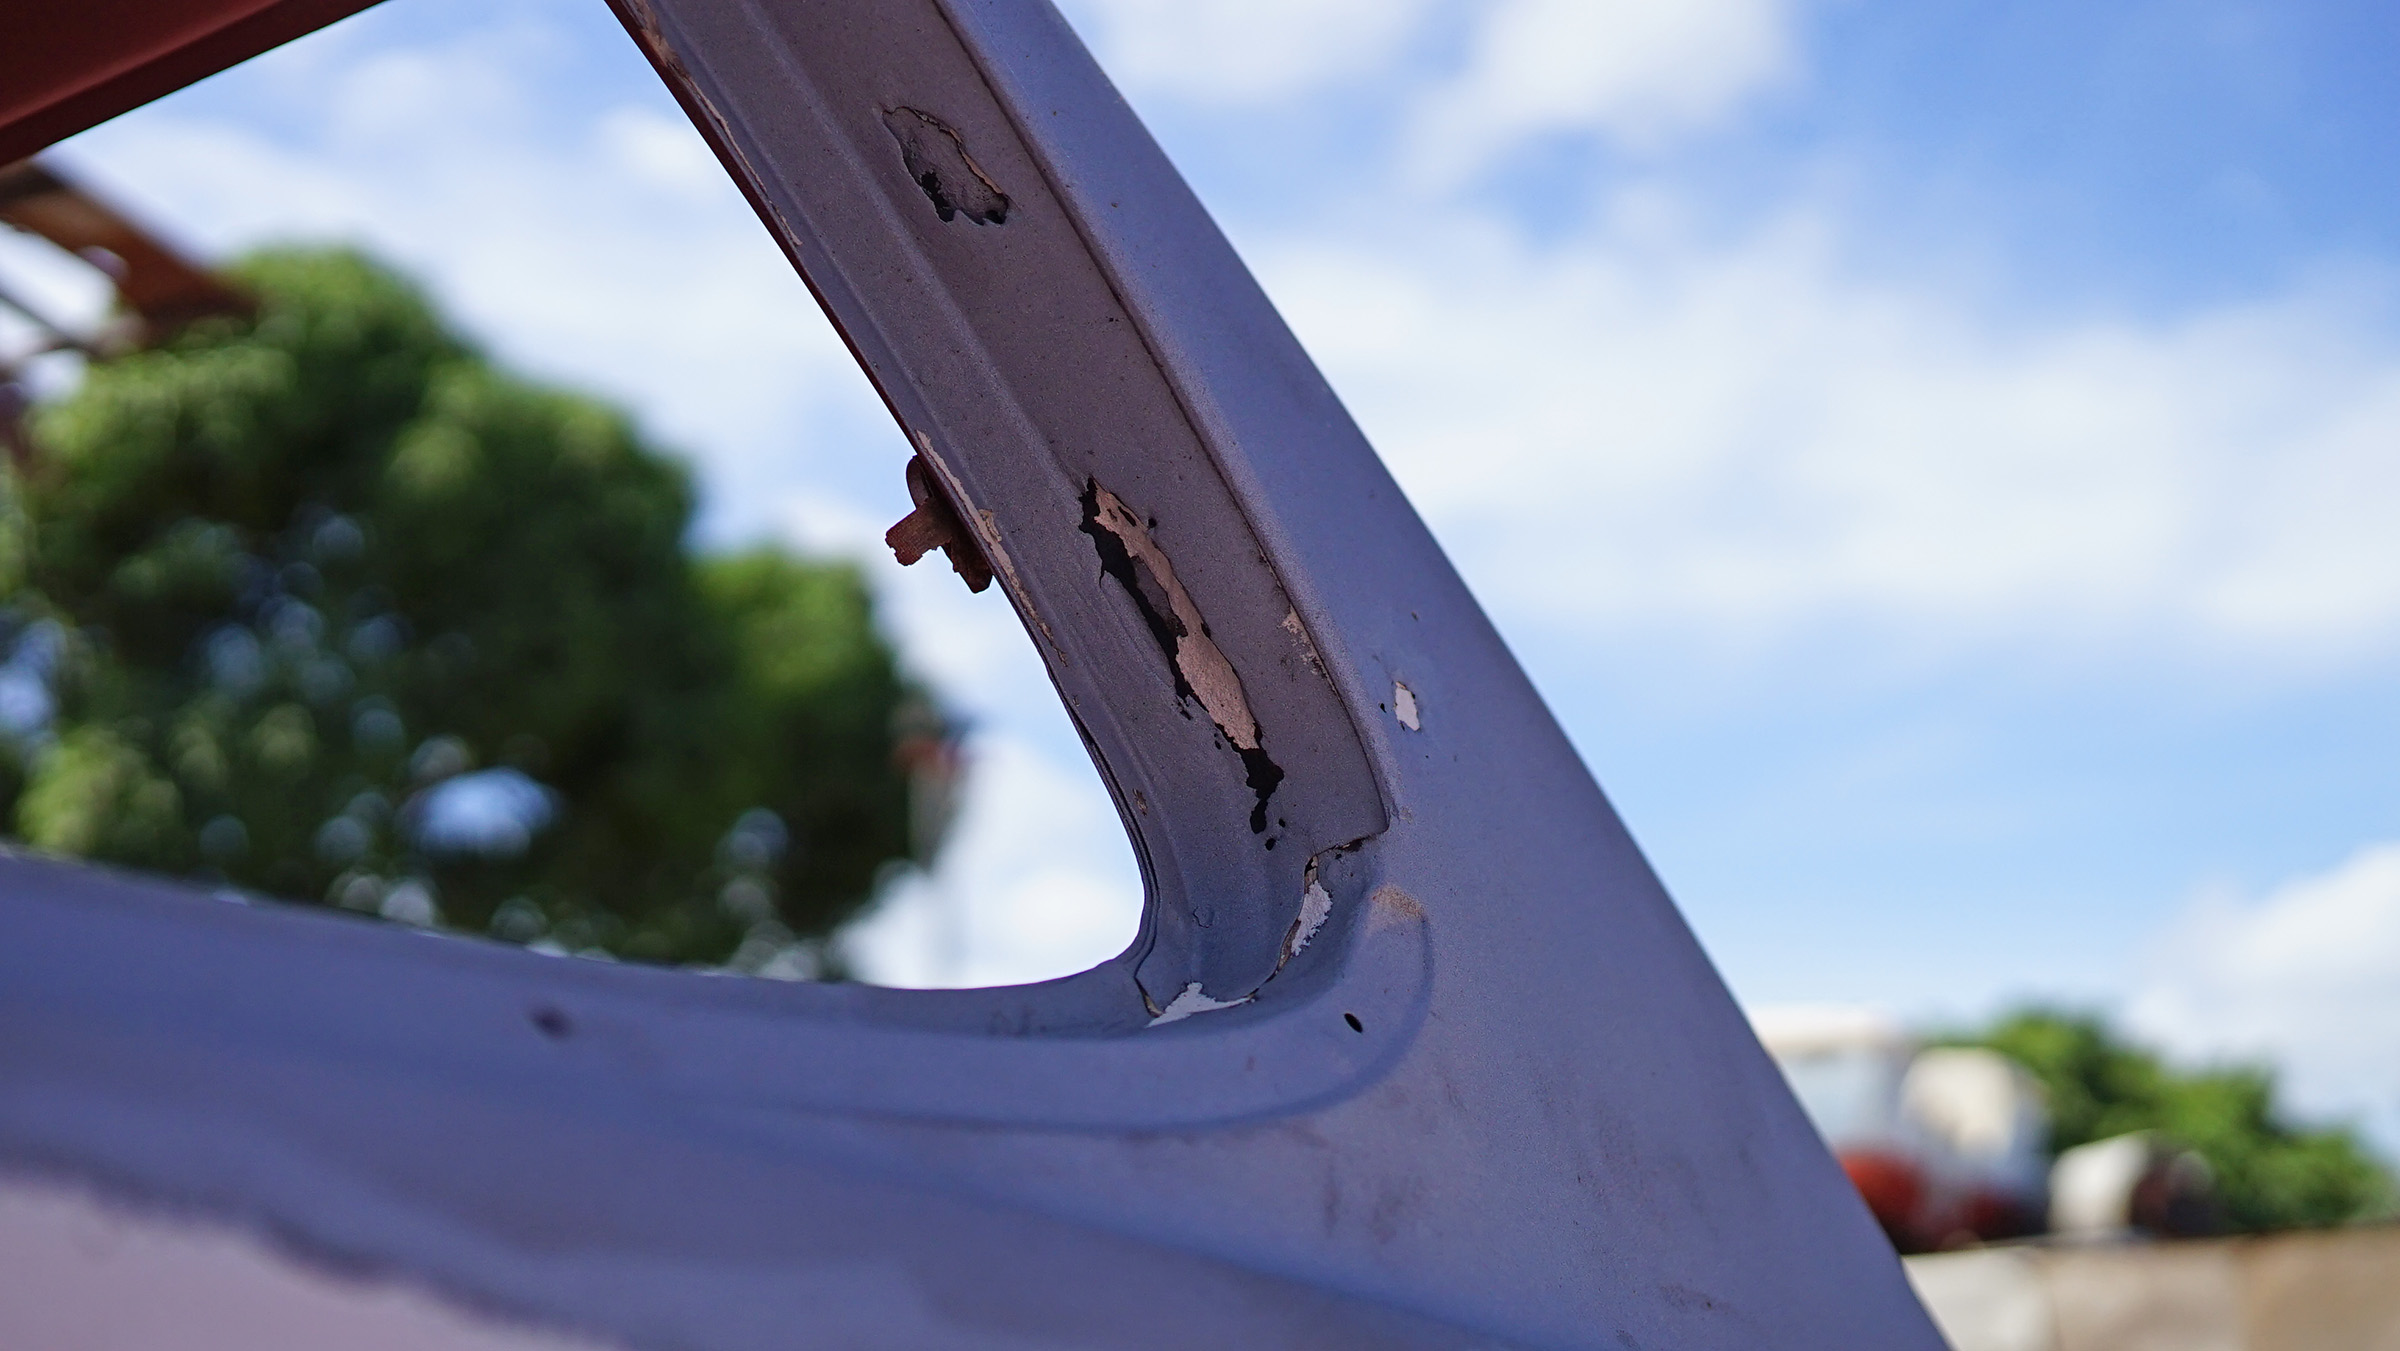
It is important that deformed edges (from blast pressure) be made right before painting, note the seal channel for the boot here has been bent down.

Open in new window


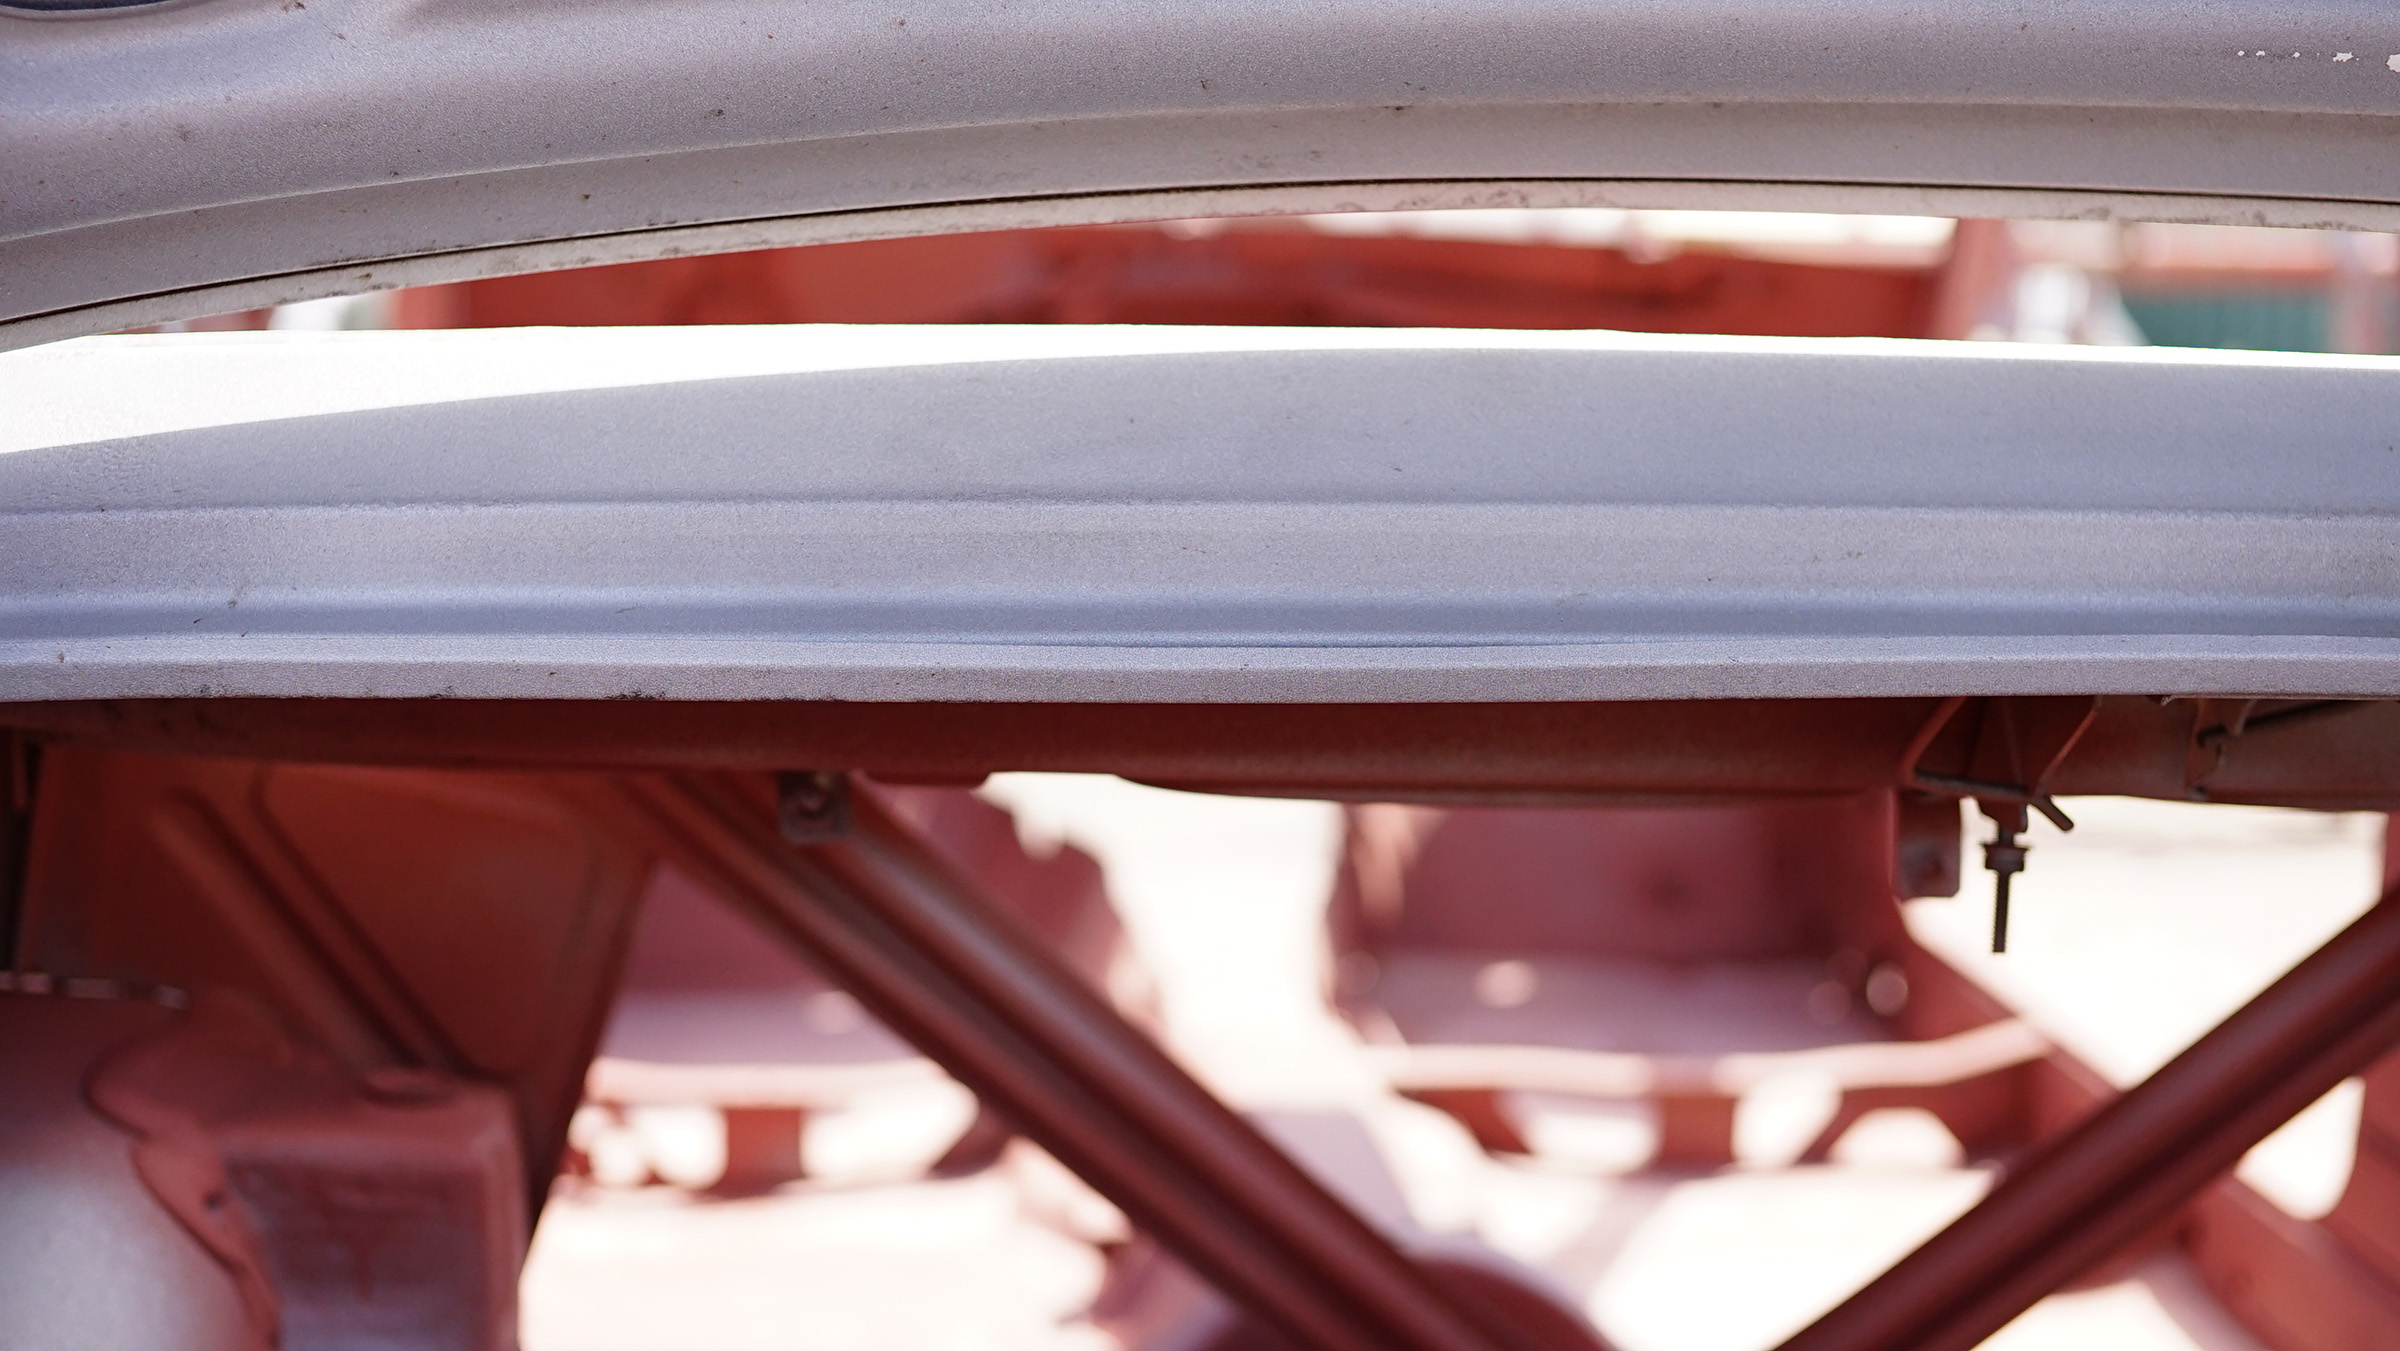
You can see how coarse the cut is here, there is a much more defined cut compared to earlier pictures. This is because I am using fresh blast material.

Open in new window


Open in new window


Open in new window


Open in new window


Open in new window


Open in new window


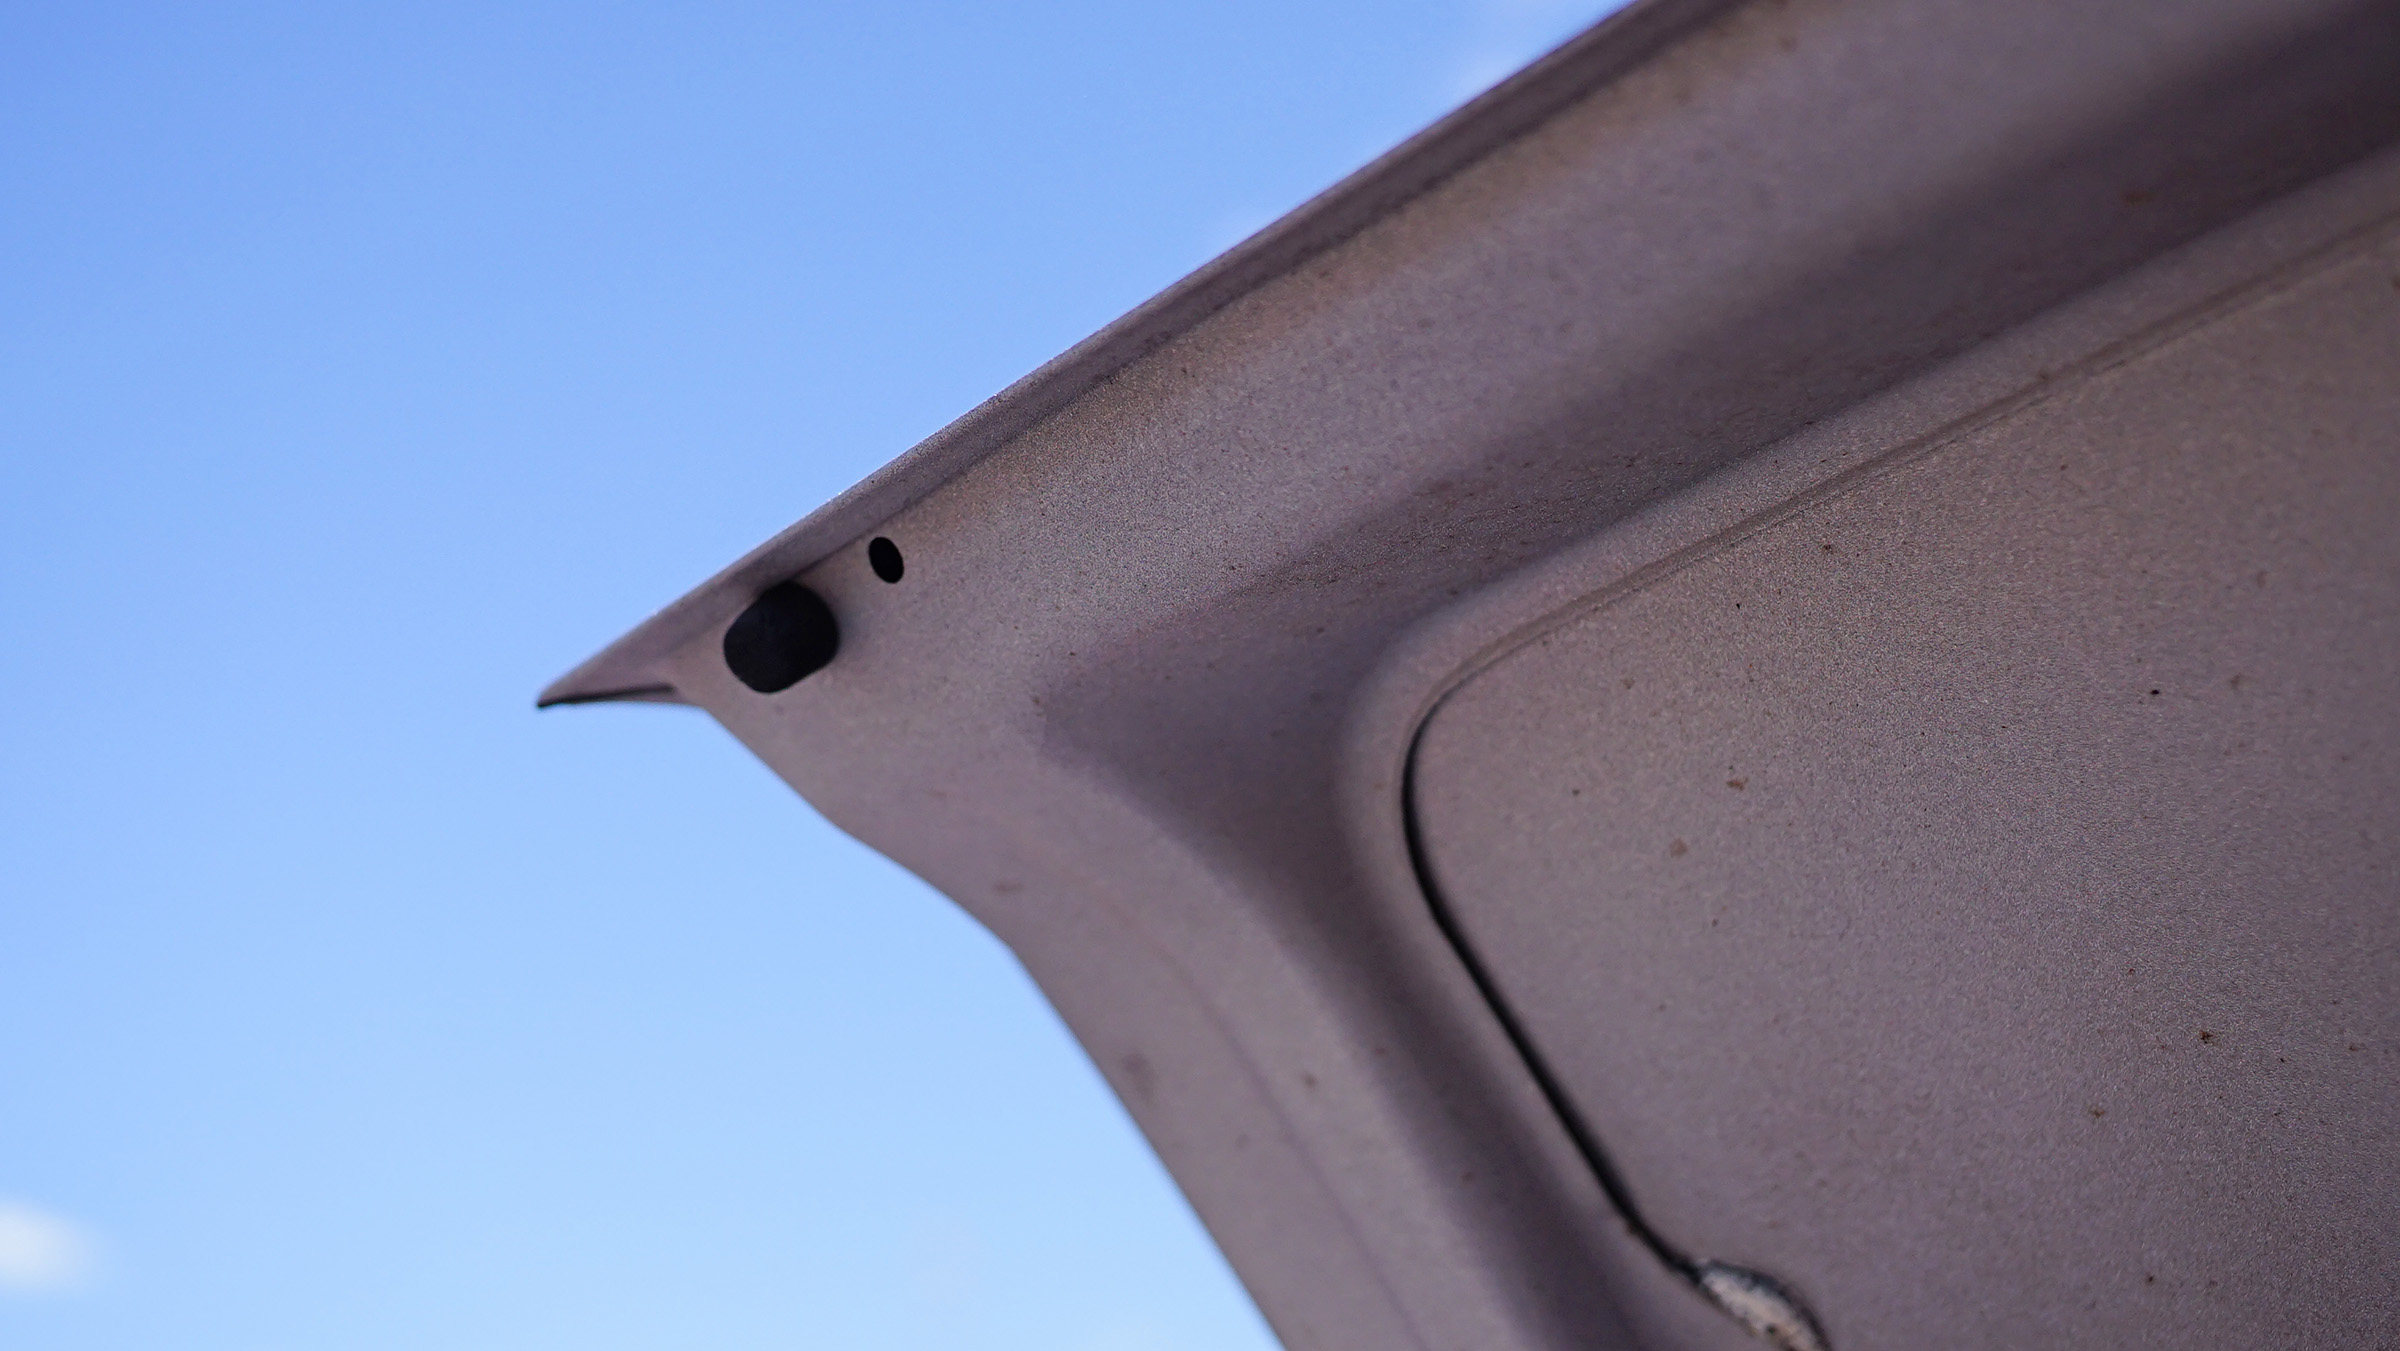
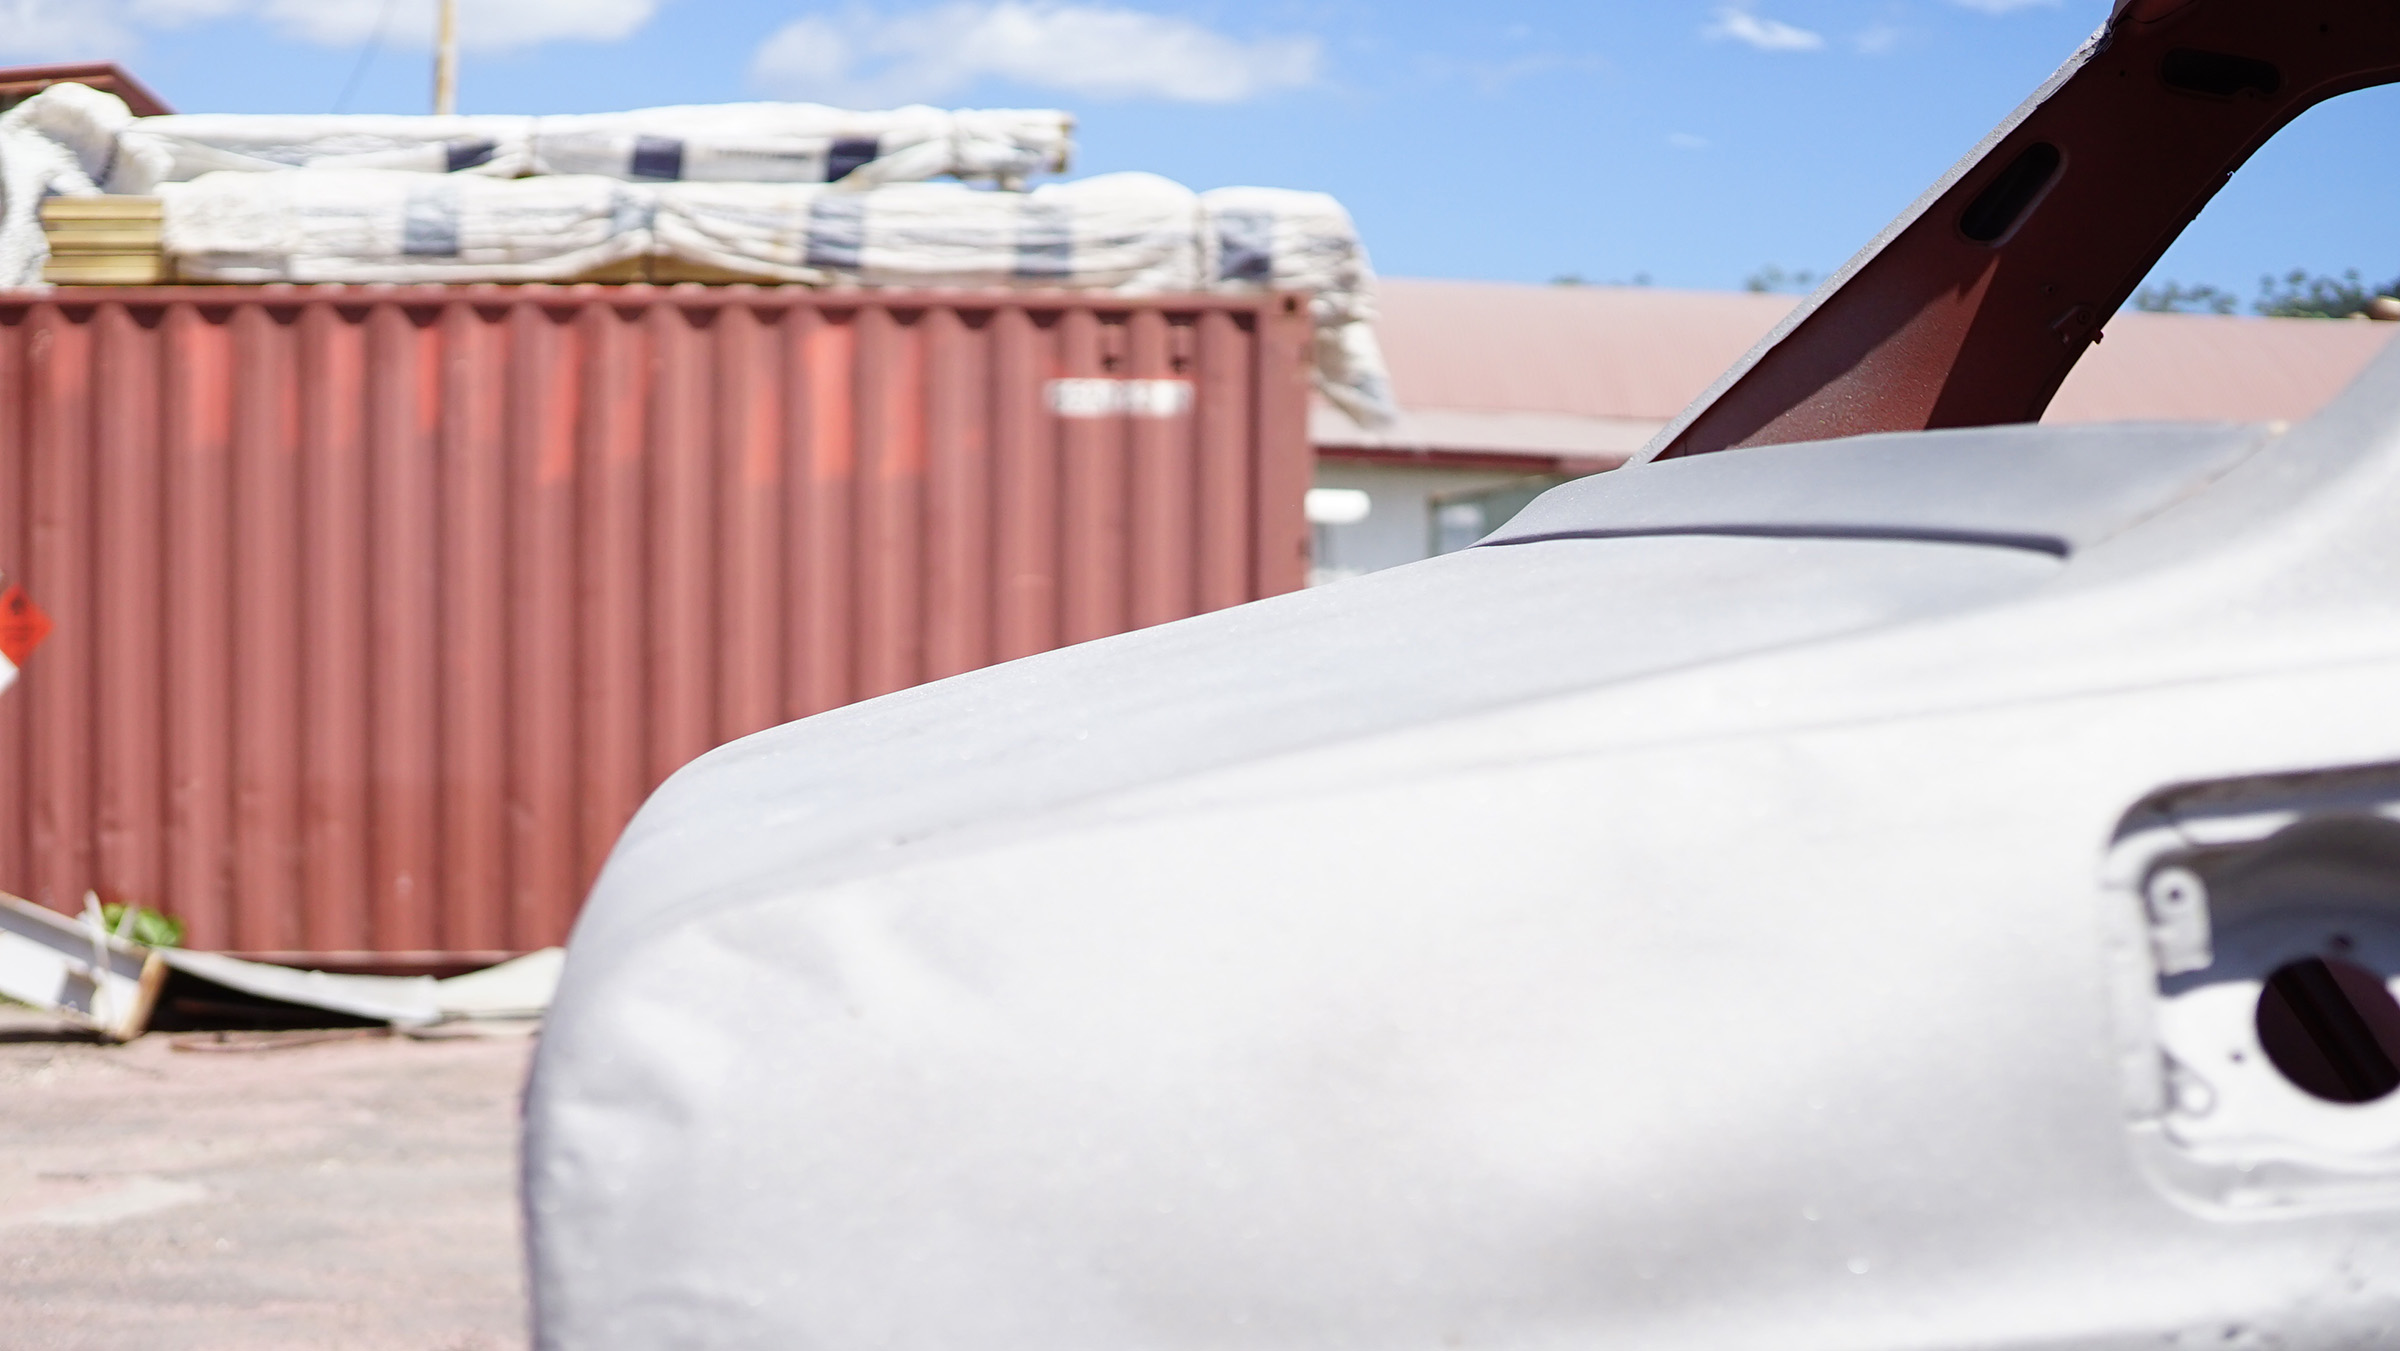
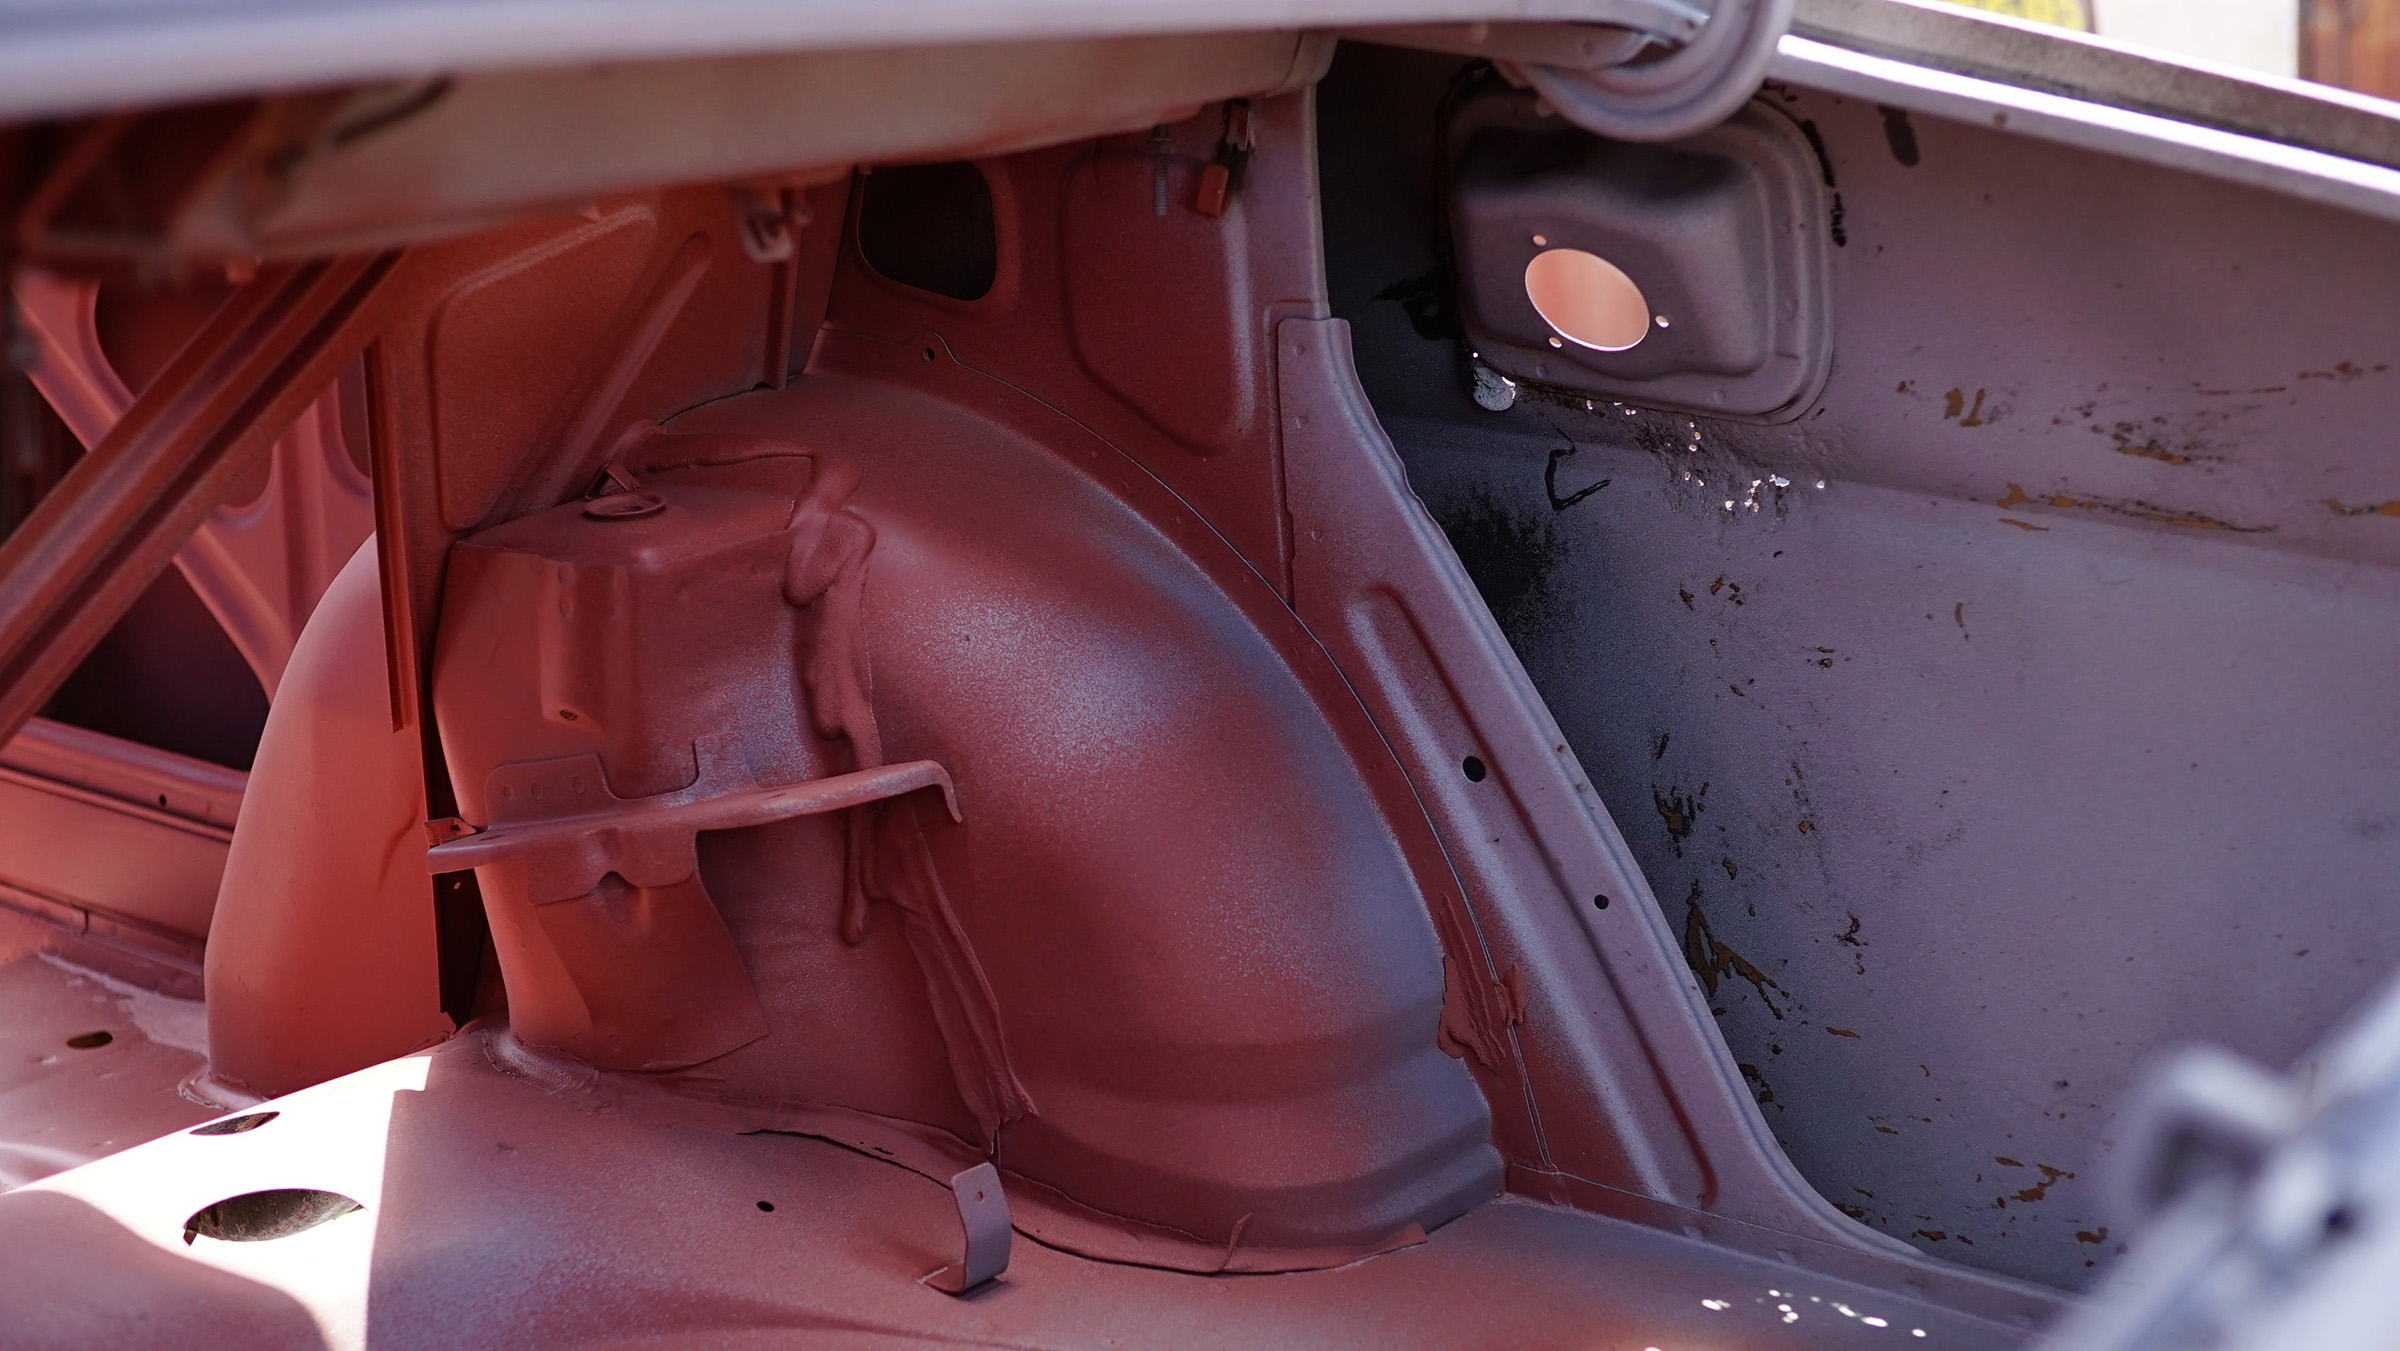
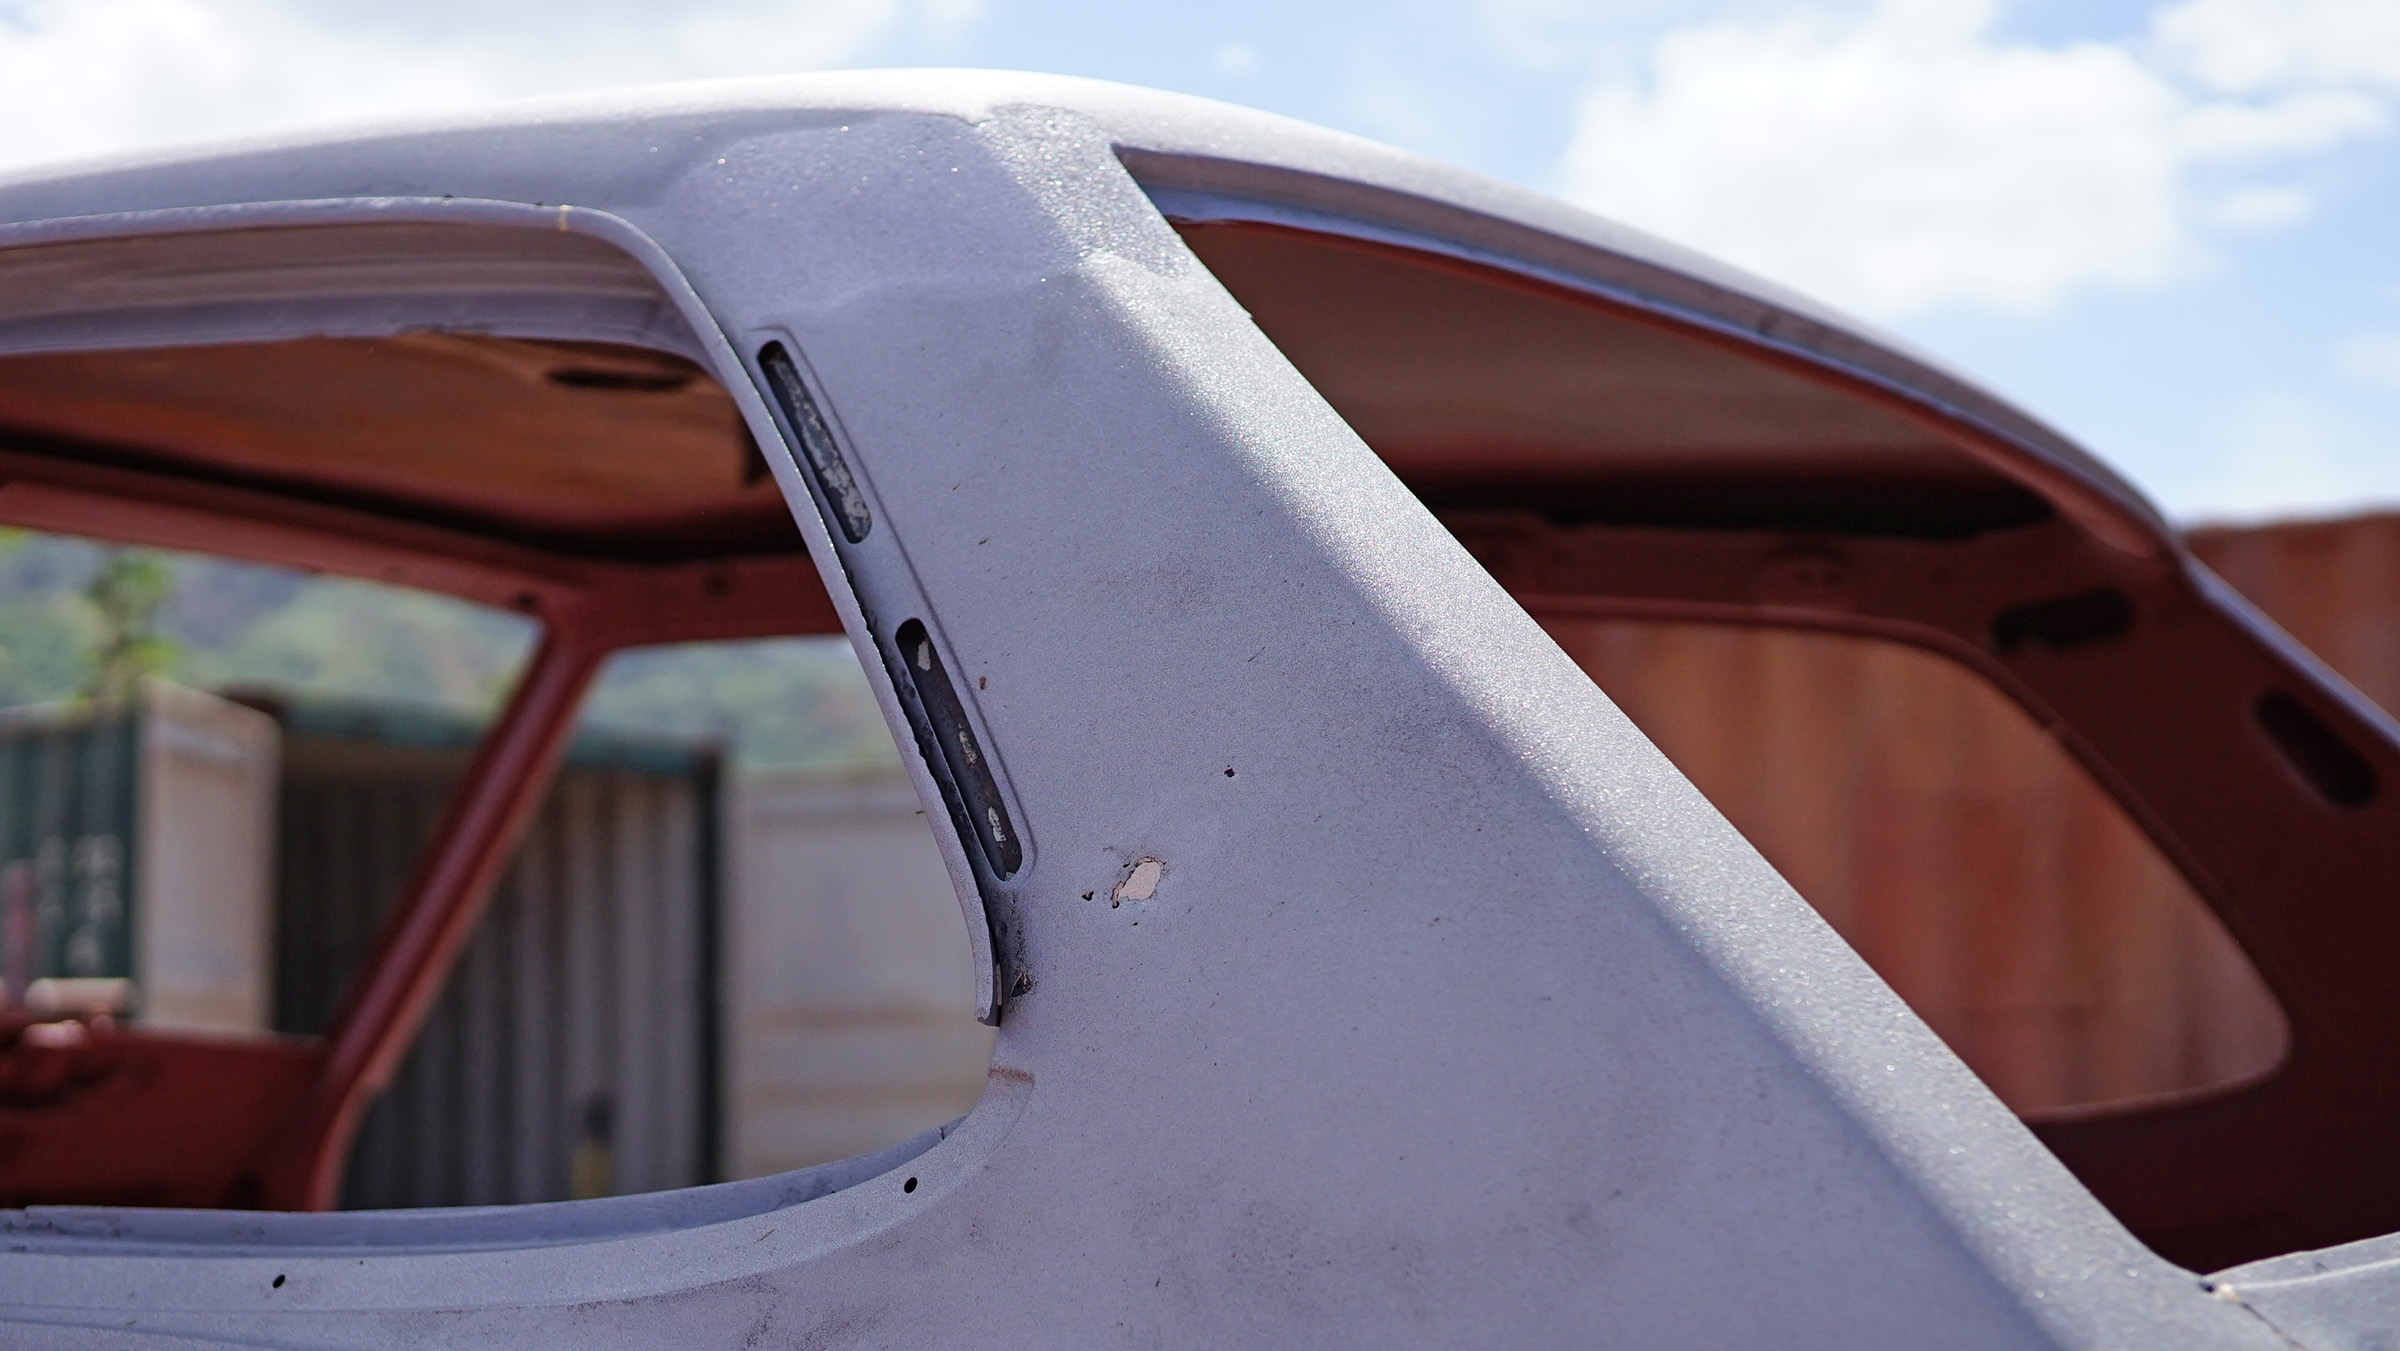
Desperately wishing for a NOS panel right about now!

Open in new window


Open in new window


Open in new window


Open in new window


Open in new window


Open in new window


Open in new window


Open in new window

Posted on: 2015/8/19 9:40
Transfer the post to other applications Transfer


Re: The Resurrection of a Classic
Guest_
Love it Chris. Now is the volcano still rumbling. I need another pic if your car with the volcano in the background. Love that pic

Posted on: 2015/8/19 12:55
Transfer the post to other applications Transfer


Re: The Resurrection of a Classic
Home away from home
Joined:
2014/2/18 9:33
From Melbourne
Group:
Registered Users
Posts: 322
Offline
Fantastic documentation. I love the effort that you put into everything, including the restoration.

I'm curious to see how you repair those rear quarters, they look like crumpled paper!

I can't wait to see more.

Posted on: 2015/8/22 1:06
Transfer the post to other applications Transfer


You can view topic.
You cannot start a new topic.
You cannot reply to posts.
You cannot edit your posts.
You cannot delete your posts.
You cannot add new polls.
You cannot vote in polls.
You cannot attach files to posts.
You cannot post without approval.

[Advanced Search]