3 September 2011 - Front Suspension II

A lot has happened since the last update, basically 3 additional weekends passed that I visited the car, I must admit, some other work kept me from being 100% focussed on front suspension, for example spending a complete Saturday in front of the lathe to machine bushes for the front suspension. Never in my life will I under estimate the amount of worked that went into those bushes. In between the front suspension, I found the time to get a plan together for an oil block, this had me standing in front of the lathe for a couple more hours. Received the front anti-roll bar mounts back from machining.
Track Rods


These have been finished with their M14 x 2 left hand and right hand threaded bushes, those coupled with the rod ends really makes adjusting castor on the vehicle quite a breeze and will aid al lot with setup.
Track Rod Mountings


These parts have two sides to them, the mountings on the Lower Controls Arms that have been finished previously and then those on the chassis, this was probably the area of the front suspension that took the most time to finish, not to mention planning etc., as they will also acts as the mounting place for the anti-roll bar. We had to be very careful with these as space around them is limited and a rather thick piece off spring steel will be mounted to them. We used as much off the original mounting holes on the chassis to get these units as strong as possible.
Pillow Ball Shock Mounts


With me making a few measuring mistakes about 3months ago, I had to redesign the mounts, at least we had something to keep the shocks steady while we designed the rest of the parts. In the meantime the new units have been designed, cut, fitted and plated, ready for fitment to get the wheels back on the ground, I actually think this car has been more in the air than on the ground since I started with it.
Lathe Work


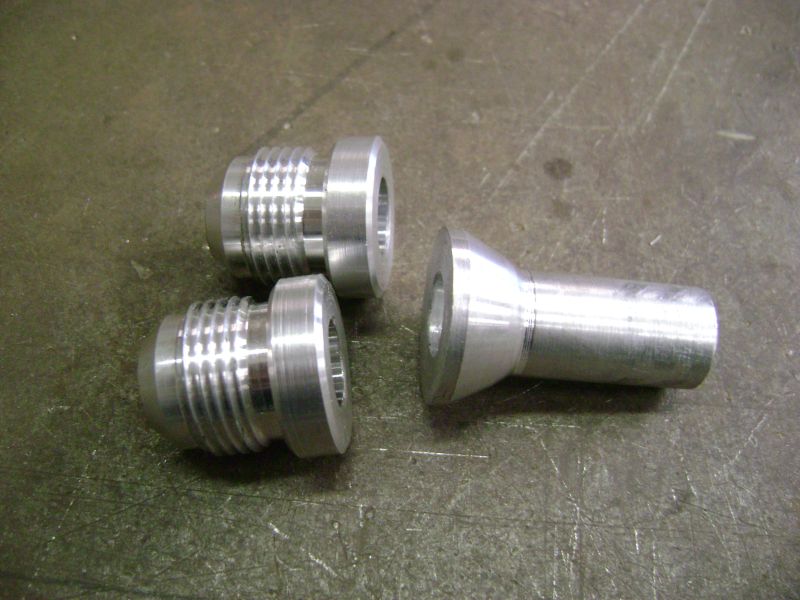


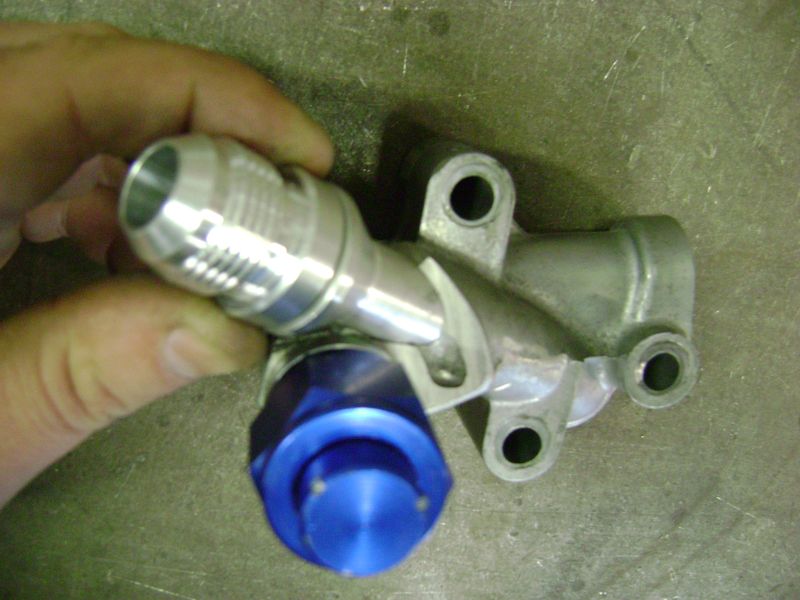
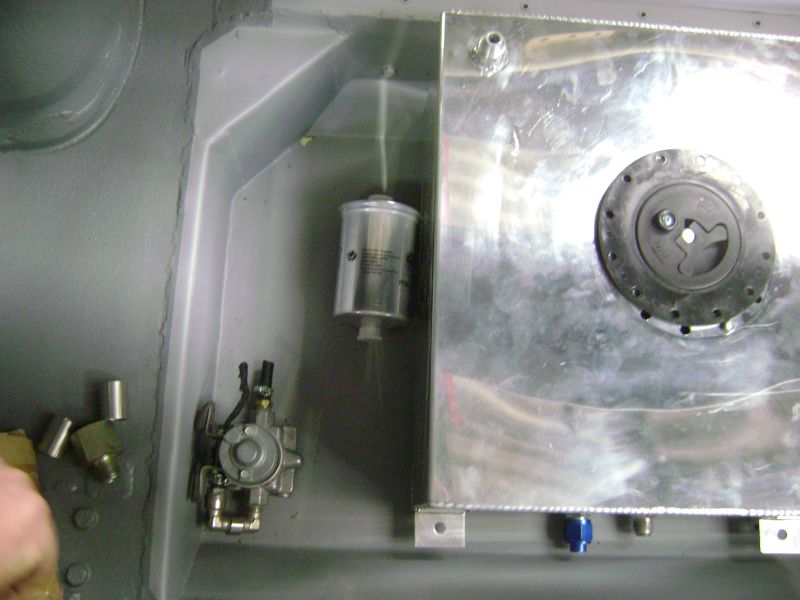
All the bushes for the front suspension that goes between mounting and rod ends have been finished. Adaptors have been made for the adjustable steering arms, which will be used between rack end and rod end. Aluminium milled and a rather big hole machined for a healthy piece of spring steel, these would be the basis for the anti-roll bar mounting, just need some time to drill and tap them. A few weeks ago I decided to remake my baffled oil sump, this round from Aluminium which meant I had to create a rather accurate Acad drawing to get everything correct, which in turn meant I had to get all the machining done for the parts that would be used on it, I ordered some threaded bushes that I machined to act as Weldon bungs.
Battery


After a few headaches, I at last laid my hands on the perfect battery for the car, a AC Delco NS40ZSMF, this particular unit is almost the exact size than it's better known racing variants, but the punch line of this unit is it's starting amps, which exceeds that of the better known racing units. Henk the owner of Sparxx Automotive, also the sole supplier of all my Auto Electrical goods, offered me one of these batterys to measure, at least the Aluminium mounting bracket finished the designing phase and just needs to be cut and welded.
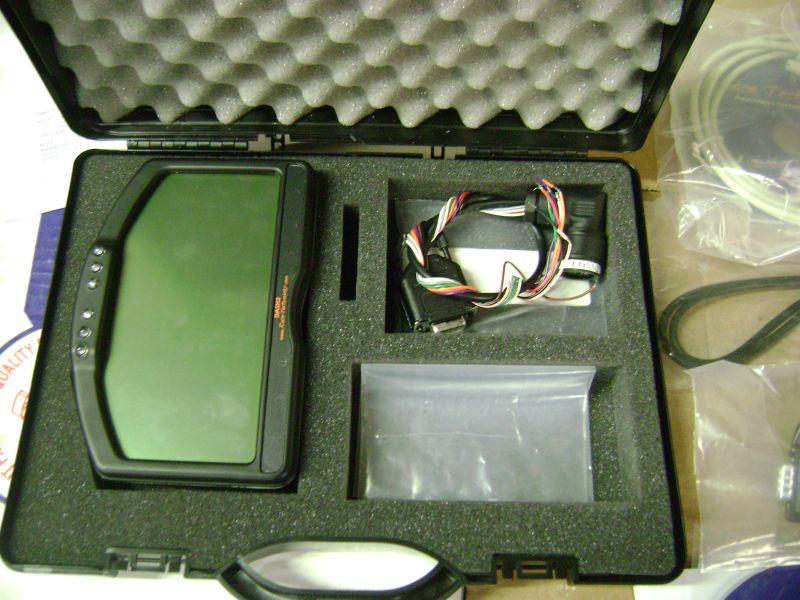
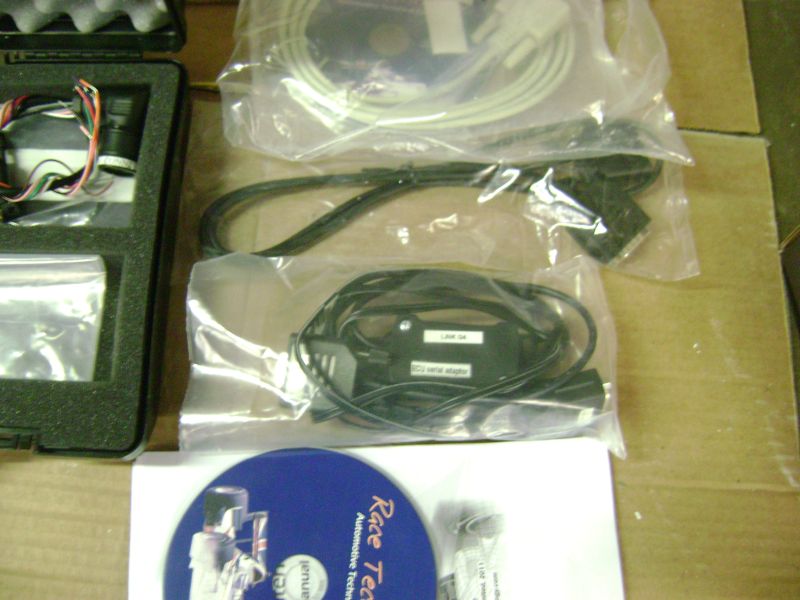
Parts that arrived since the last update:


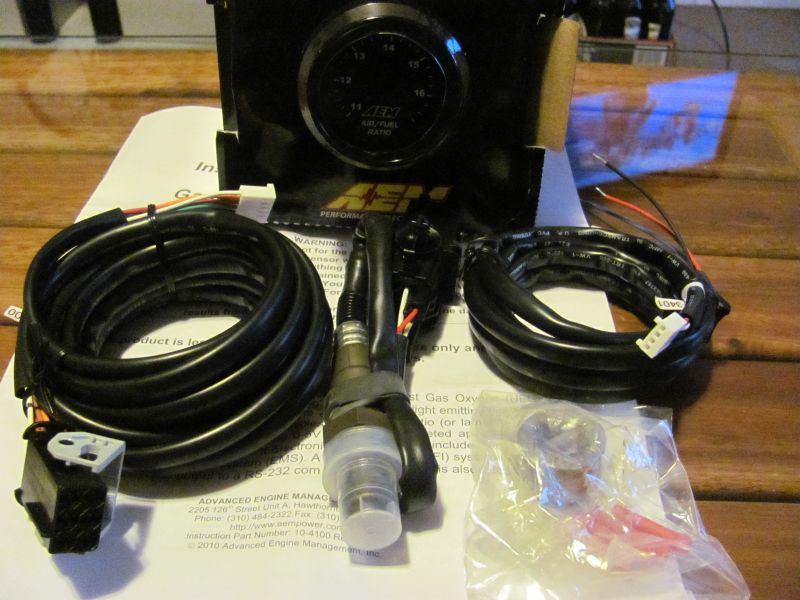
AEM Digital Air/Fuel Ratio Gauge with 0-5V Output
AEM 100 PSI Pressure Transducer
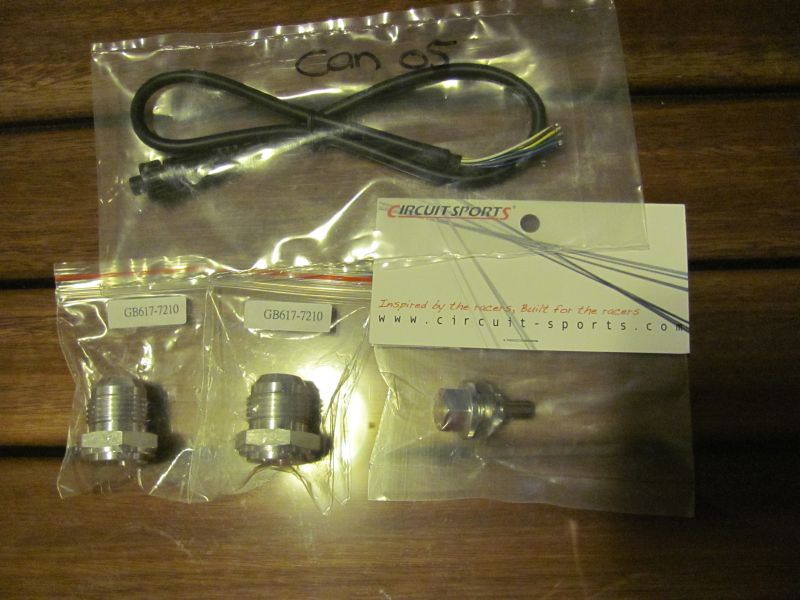
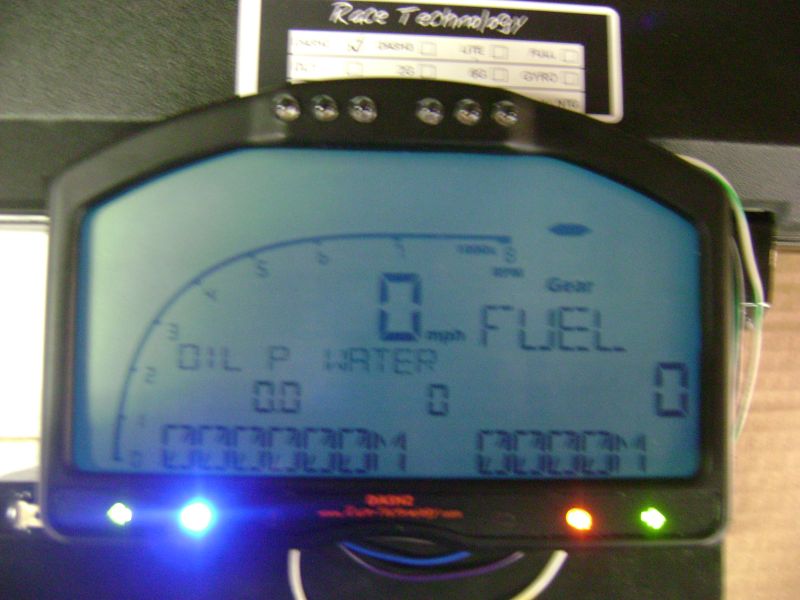
LinkECU - DASH2 Communication cable
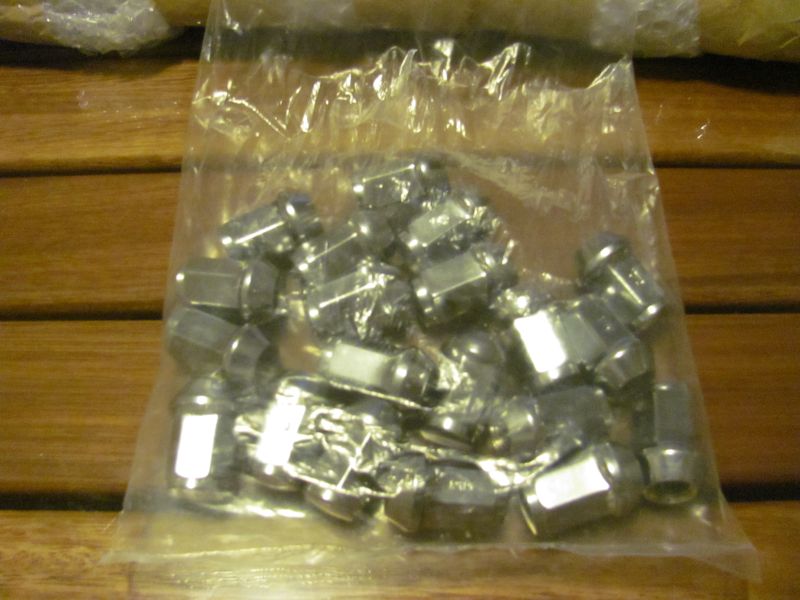
AN10 Aluminium weld on bungs
Magnetic Oil drain Plug

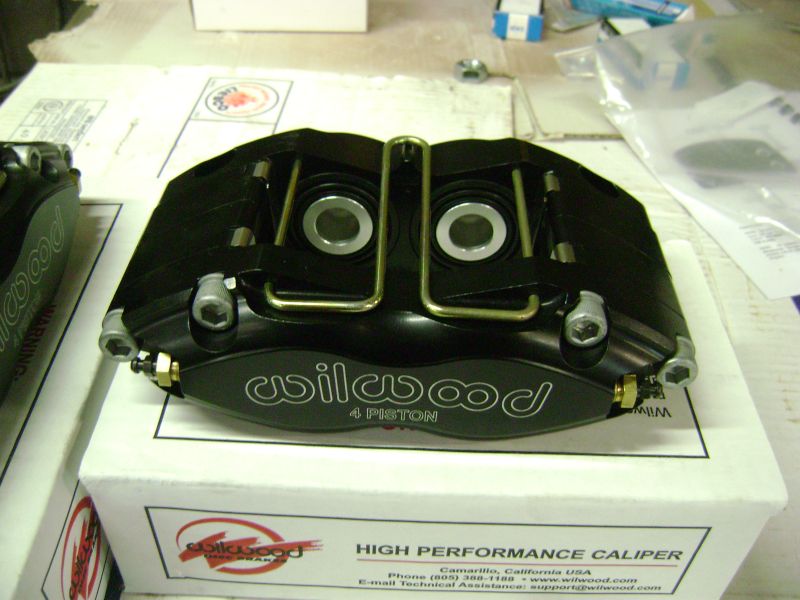
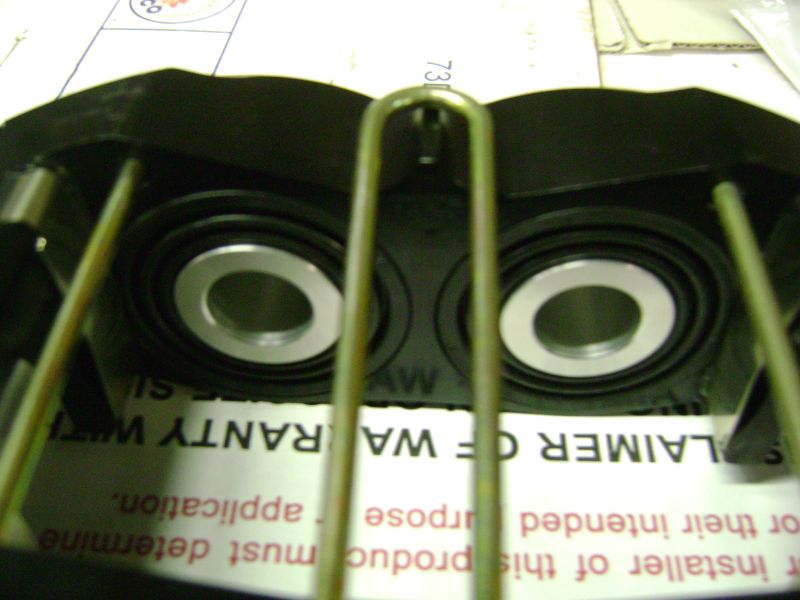
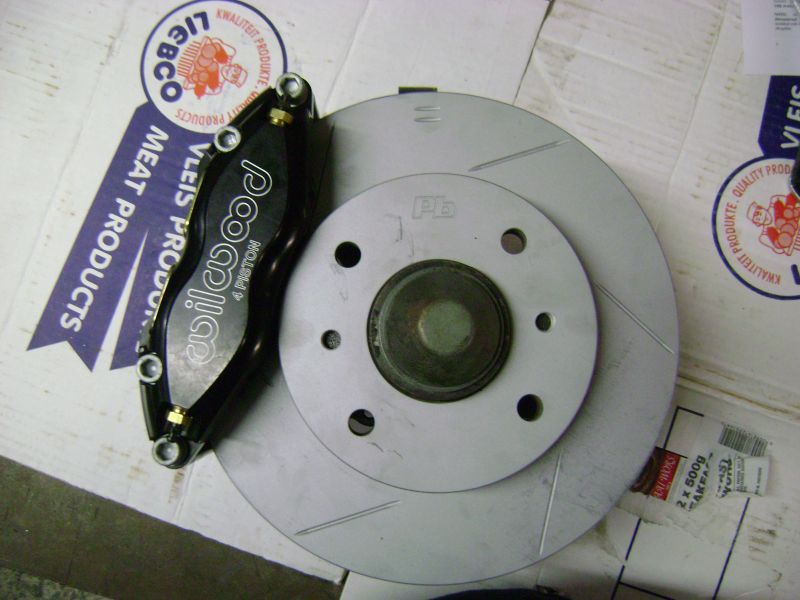
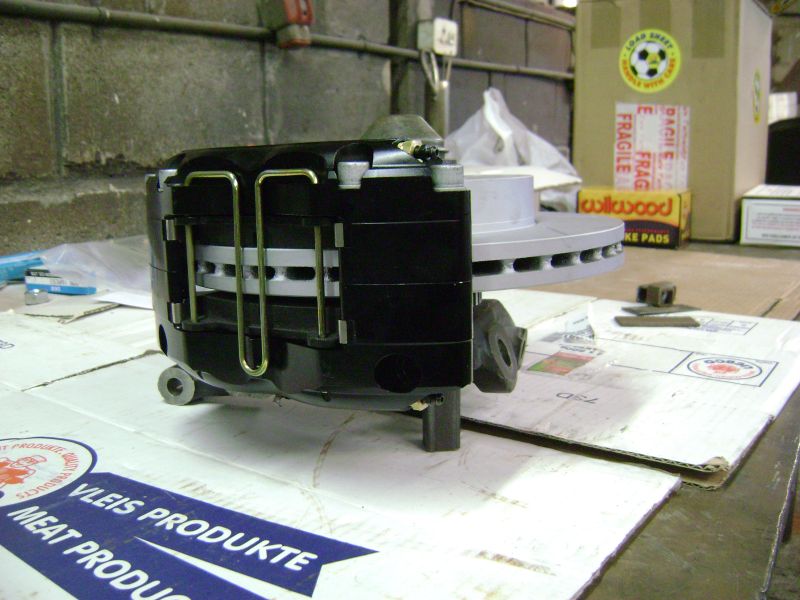
To conclude, the front suspension is 80% done, the callipers must be mounted and then the drop links have been machined, they are ready for test fitment this weekend, these were made to reduce bump steer and form the link between the steering arms and knuckle. This weekend will be used to do the final preparation work before the colour paint can be sprayed, if the weather is good enough, we will spray the interior of the car.


 Datto20AugParts2.jpg (67.50 KB)
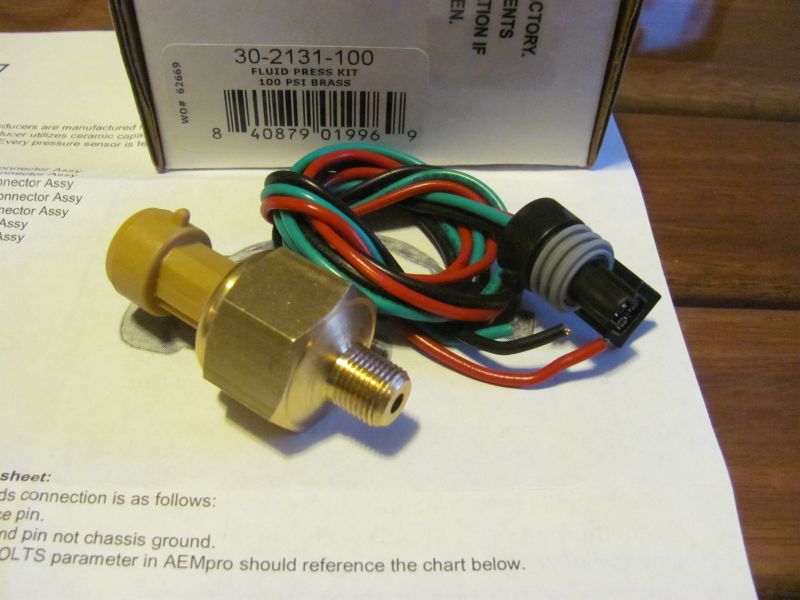
 Transfer


;)
;)
;)
;)
;)
;)
;)
;)
;)
;)
;)
;)
;)
;)
;)
;)
;)
;)
;)
;)
;)
;)
;)
;)
;)
;)
;)
;)
;)
;)
;)
;)
;)
;)
;)
;)
;)
;)
;)
;)
;)
;)
;)
;)
;)
;)
;)
;)
;)
;)
;)
;)
;)
;)
;)
;)
;)
;)
;)
;)
;)
;)
;)
;)
;)
;)
;)
;)
;)