| Revision as of 08:49, 22 April 2010 ddgonzal (Talk | contribs) <- Previous diff |
Revision as of 22:20, 8 May 2011 ddgonzal (Talk | contribs) (->Sunny Truck Kit) Next diff -> |
||
| Line 98: | Line 98: | ||
| [http://datsun1200.com/modules/myalbum/photo.php?lid=20087 http://ddgonzal.members.winisp.net/getThumb.aspx?width=400&uri=http://datsun1200.com/modules/myalbum/photos/20087.jpg] | [http://datsun1200.com/modules/myalbum/photo.php?lid=20087 http://ddgonzal.members.winisp.net/getThumb.aspx?width=400&uri=http://datsun1200.com/modules/myalbum/photos/20087.jpg] | ||
| + | |||
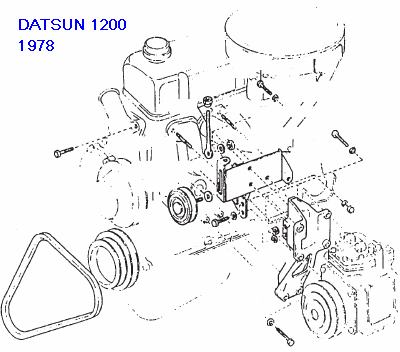
| + | 1978 with York compressor | ||
| + | <br>[http://datsun1200.com/modules/myalbum/photo.php?lid=23103 http://datsun1200.com/modules/myalbum/photos/23103.jpg] | ||
| + | |||
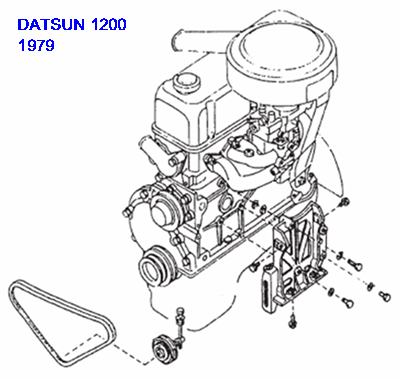
| + | 1979-up with Denso compressor | ||
| + | <br>[http://datsun1200.com/modules/myalbum/photo.php?lid=23102 http://datsun1200.com/modules/myalbum/photos/23102.jpg] | ||
| + | |||
| + | [http://datsun1200.com/modules/myalbum/photo.php?lid=23101 http://ddgonzal.members.winisp.net/getThumb.aspx?width=400&uri=http://datsun1200.com/modules/myalbum/photos/23101.jpg] | ||
| You need all these parts: | You need all these parts: | ||
Revision as of 22:20, 8 May 2011
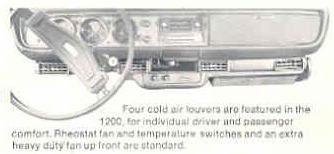
Datsun 1200, unlike the Datsun 1000, was designed with air conditioning in mind. However, it was still a dealer-installed add-on option and so varied by country and region. In April 1978 it became a factory option for Japanese market Sunny Truck. The interior cooler protrudes into the passenger legroom and precludes using a package tray.
Contents |
Parts Needed
- Pump
- Condensor (cooling radiator)
- Double crankshaft pulley. (The extra pulley runs the compressor)
- Under-dash vents
- Hoses
- Wiring
Since B110 A/C is fairly rare, you can source most of the parts from a B210 or B310. Only the interior vent setup is needed for a B110.
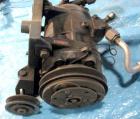
Compressor
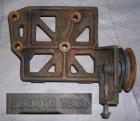
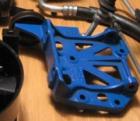
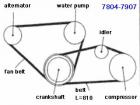
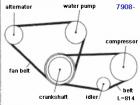
The compressor pump bolts to the engine and is driven by a v-belt
 Crankshaft pulley double belt
Engine Brackets
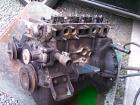
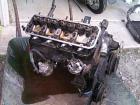
Various types were used. Early A12 and late A12 brackets differ.
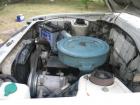
Late Engine
For late model A12, there were two versions of brackets.
New Compressor-type

Old compressor type

Engine Brackets, Early
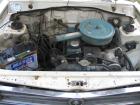
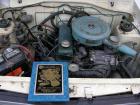
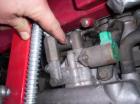
Compressor on early A12. This in an Australia 1200. It uses a humongous bracket to space the compressor out past the low-mounted alternator.
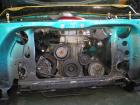
Here is a USA 1200 with a slightly different setup:

Left-hand Drive
Ecuador
USA Type 1
USA Type 2
USA Type Frigette
Frigette Brand. Aftermarket kits still sold at JC Whitney!
Optional Fan
Nissan option flex-fan
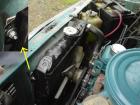
Dealer item
From USA catalog:
- 21060-H1001 FAN-COOLING A12 (standard B110 fan)
- 21060-A4605, 21060-N0100 FAN-COOLING D=330 FOR TROPICAL USA (330 mm diameter)
Sunny Truck Kit
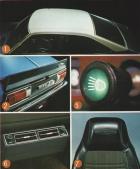
From October 1979 a uniform kit was offered.

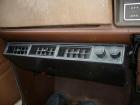
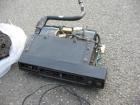
This kit is beautiful and easy to install. Unfortunately the interior cooler unit is bulky and protrudes farther into the passenger legroom than other types.
You need all these parts:
- Twin Condensors (before radiator, radiator horizontal)
- One has an electric fan
- Pipe connecting twin condensors
- High-pressure flexible pipe (from compressor to condensor)
- Low-pressure hose (from evaporator to compressor)
- Tube-Liquid Tank to Evaporator
- Liquid Tank
- Bracket to mount Tank on core support
- Receiver tank (Liquid tank)
- Relay (for compressor)
- Wiring harness
- Capacitor for electric fan
- Engine Mounted 9810- Fast Idle Control Device (FICD)
- 14875-G5105 Manifold Connector [right next to carb base plate]
- Vacuum Hose L=370
- 27654-H8500 FICD Actuator
- 92551-95W00 Actuator Bracket
- 27720-G2500 FICD Lever
- 92255-G5100 Solenoid Valve
- 92256-95W00 Bracket
- Vacuum Hose L=270
- 14875-G5105 Manifold Connector [right next to carb base plate]
Vents may be opened or closed:

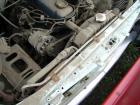
Twin Condensors and Liquid Tank with connecting pipes.

Condensor-to-Liquid Tank hose is routed along the top of core support.

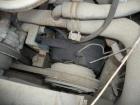
Compressor is mounted low on left side of engine.

Cooler Unit lines: Evaporator Inlet & Outlet and drain hose

Legroom
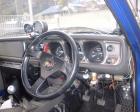
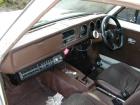
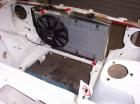
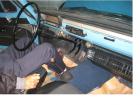
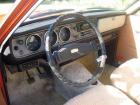
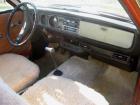
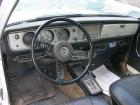
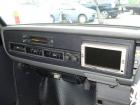
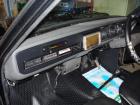
Since the cooler unit takes up some of the passenger legroom, what to do? One enterprising 1200 fan mounted the cooler unit in the dash:
Of course the downside is there is no glove box.

![[Datsun 1200 encyclopedia]](/wiki/upload/wiki.png)
