Contents |
Dashboard
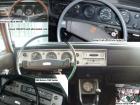
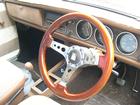
Various dashes were used. Check your owner's manual for particulars of your model.
See the main article: Dashboard
Gauges
Tachometer
See Tachometer
Clock
See Clock
Fuel Gauge
1972 USA Owners manual
The position of the pointer will vary slightly during acceleration, braking and when the car is going up or down a hill.
Also see: Fuel tank
Indicator/Warning Lights
- Ignition Warning Light
- Oil Pressure Warning Light
- Headlight Beam Indicator Light
- Brake System Warning Light
- Turn Signal Indicator Lights
Also see: Wiring
Water Temperature Gauge
Also see: Thermostat
Switches
Also see: Wiring
Heat Glass Switch
Optional equipment.
1972 USA Owners manual
Horn
Just press the button to sound the horn.
1972 USA Owners manual
Also see: Wiring
Ignition Switch
See Keys
Light Switches
Light switch operation differs between Australia models and other markets. Turn Signal operation (T/S) is the same?
1972 USA Owners manual
...first of two positions, parking lights, taillights, license plate lights and instrument panel lights are turned on.
Also see: Wiring
Wiper and Washer Switch
Also see: Wiring
Glovebox
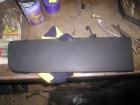
Hot tip: replace the B110's cardboard glove box with a plastic unit from an early B210.

Hinge detail. If often wears away the box material. The B210 unit will fix this.
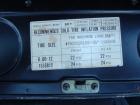
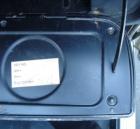
1972 USA tire inflation sticker and key sticker
Parking Brake Lever
1972 USA Owners manual
If the ignition switch is on when the parking brake lever is applied, the brake warning light will glow.

![[Datsun 1200 encyclopedia]](/wiki/upload/wiki.png)


