2 April 2011 Roll Cage IV & D2 Coil Overs Roll Cage, whenever I walk into the workshop and have to work on the cage I'm always looking around for something better to do, Yes I know this is the most important safety aspect of the car, but I'm tired of it, the sooner this can be done the sooner I'll get my smile back and continue with the nice work, at this stage even sanding and prepping the car for spraying will be better, at least I can see something that is done at the end of the day. The biggest downside to the cage is the fact that I'm only working on it during weekends, If only you can make one pipe per week day fit you would finish this thing within a month, not 5 months like currently. Luckily stuff like the steering column, pedal box and seats have been mounted during this time, otherwise I would have been insane by now.
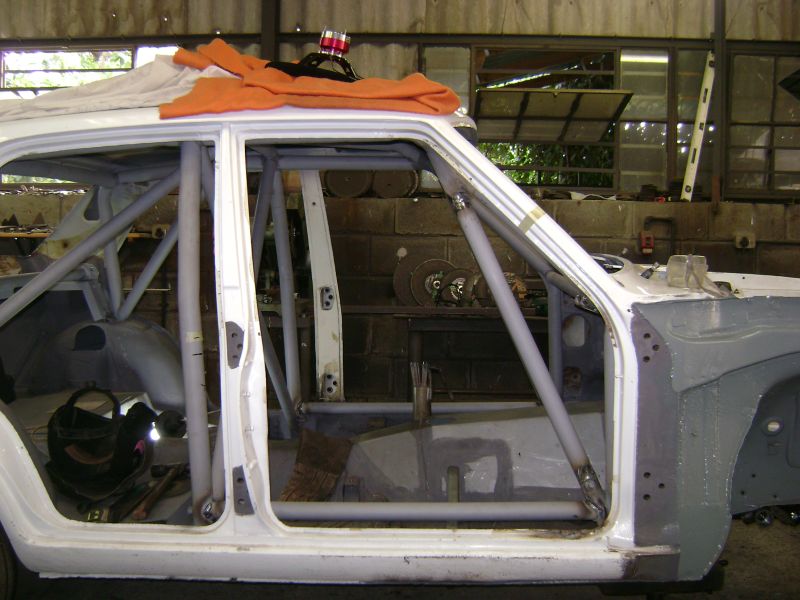
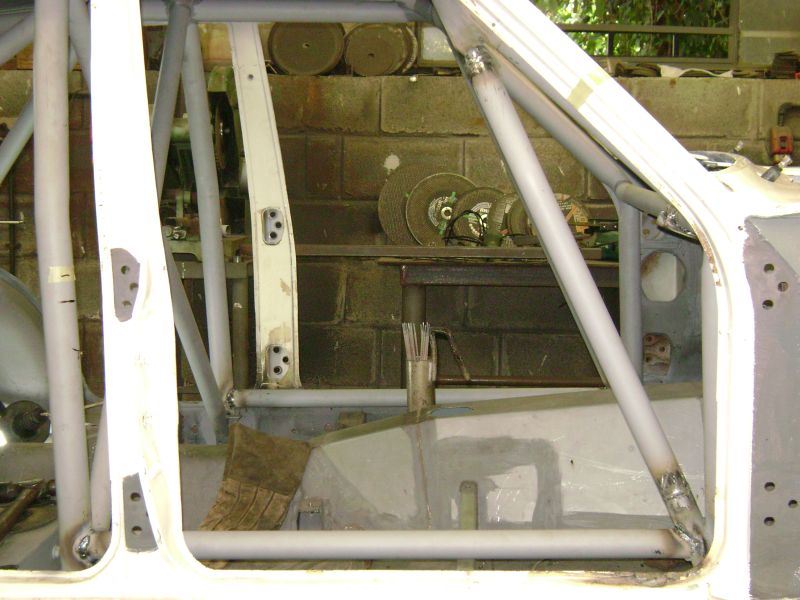
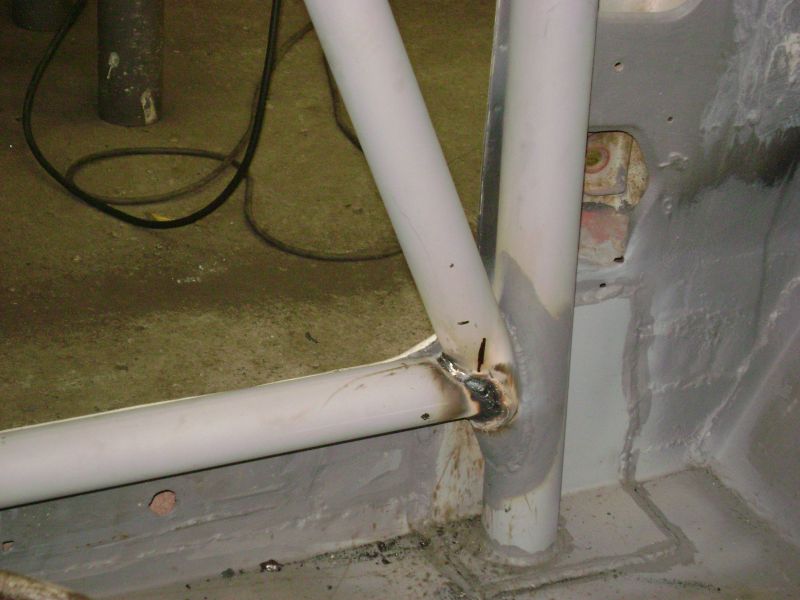
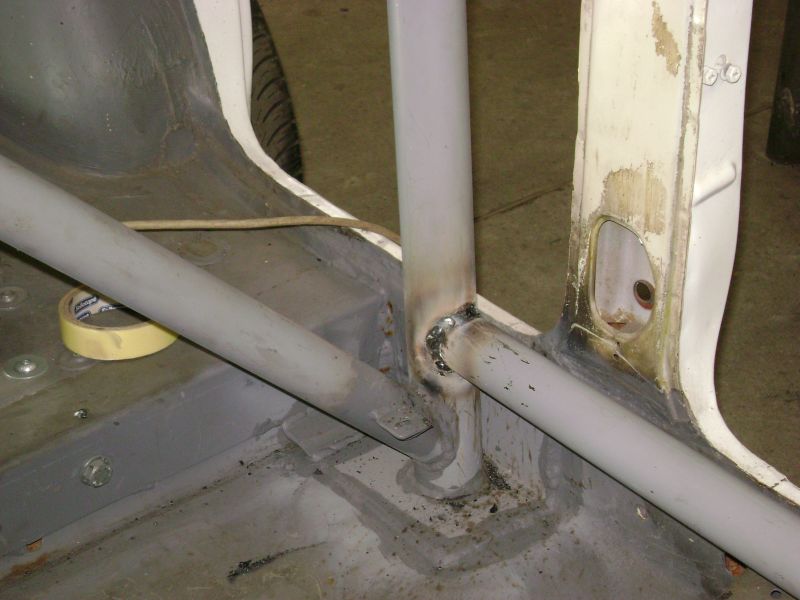
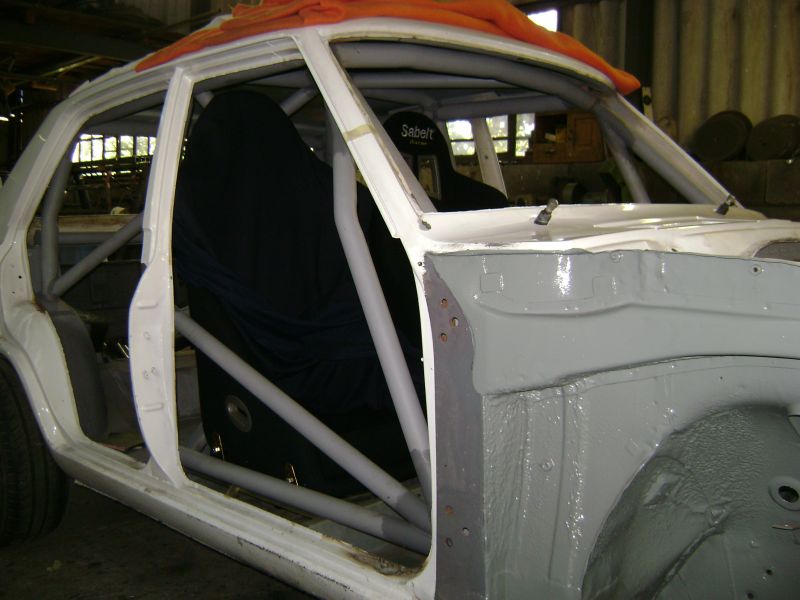
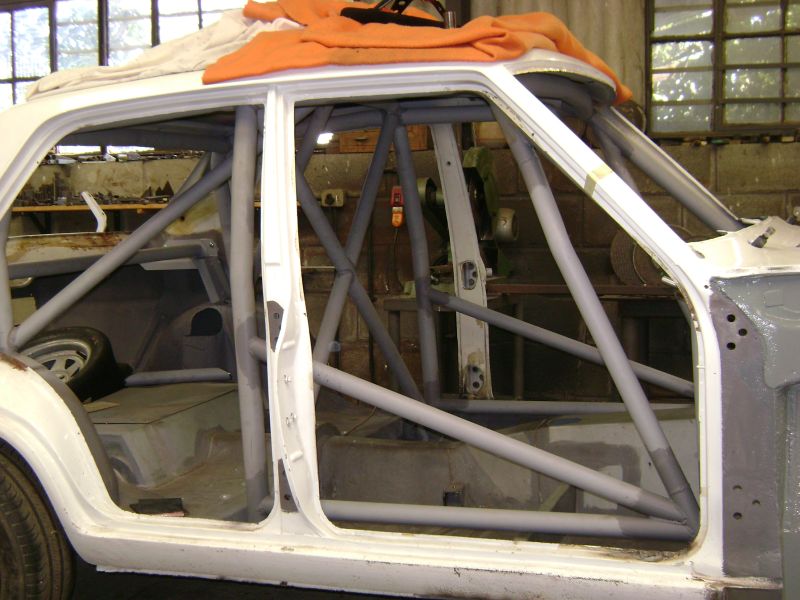
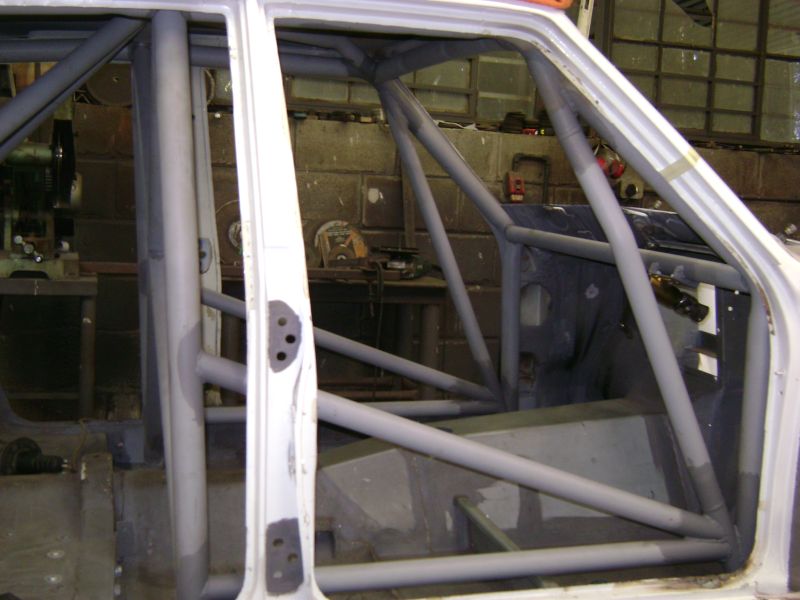
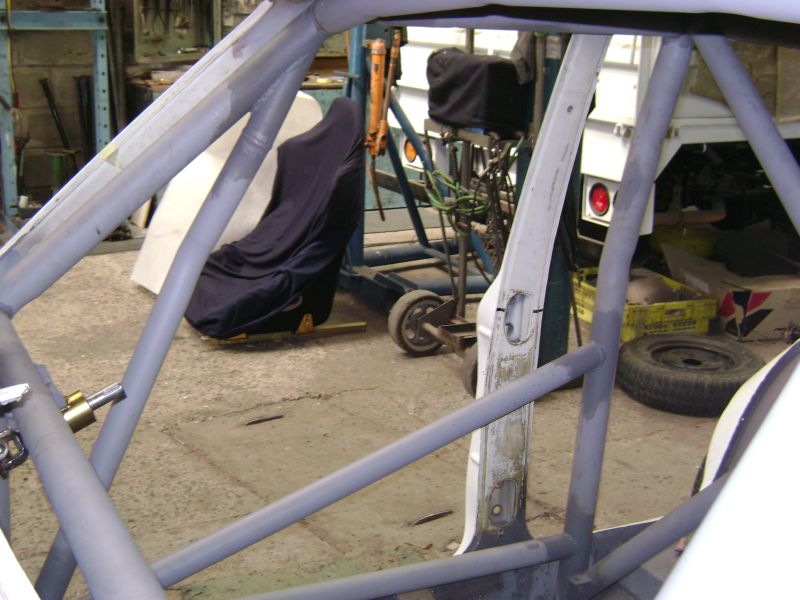
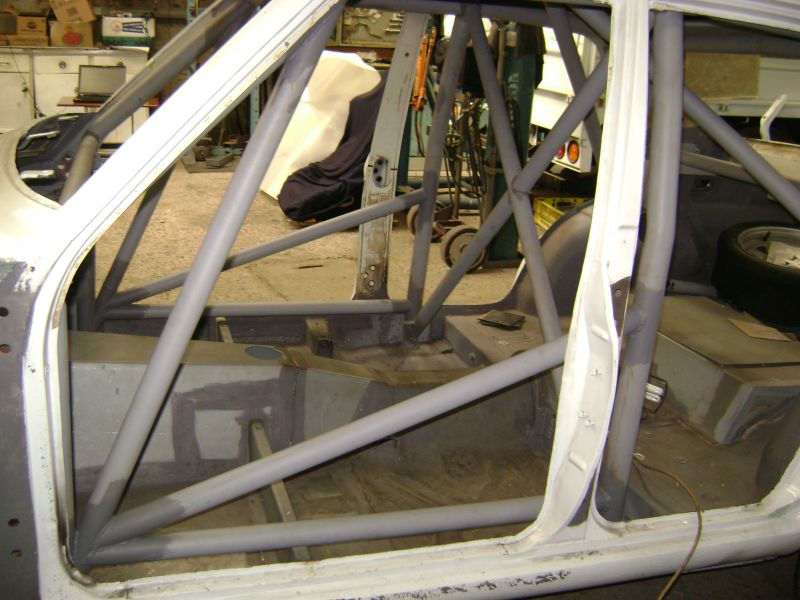
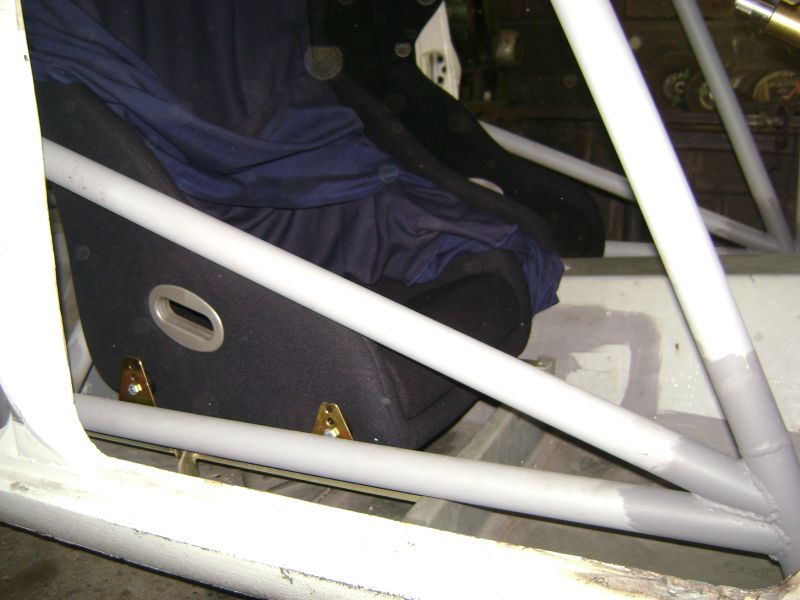
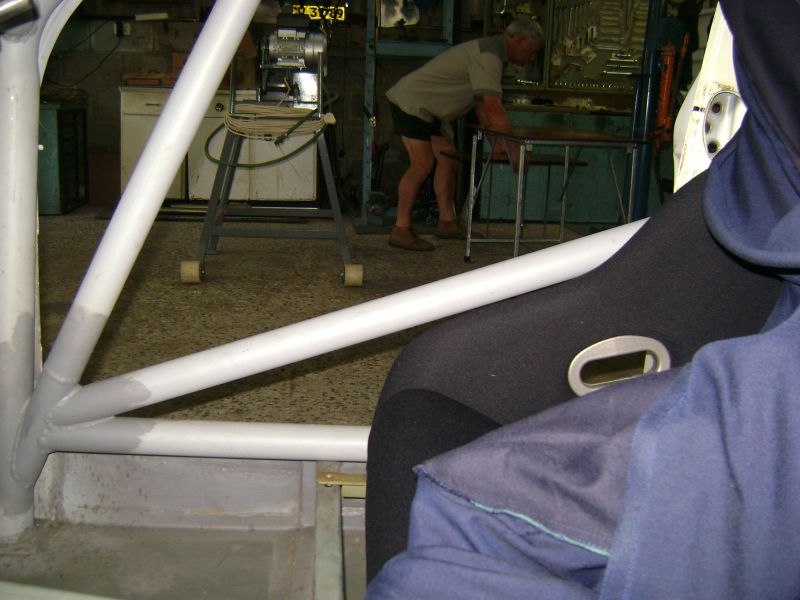

Work started on the right hand side windscreen reinforcement, being a straight pipe from bottom to top, left me with no room to turn the steering wheel, well we had two options, move the steering and be seated in a very awkward position or replace it with a bend pipe and stay within regulations, well we opted for the latter option, but took the easier route out of this situation, we cut the pipe out and welded a new bend piece in, not 100% correct, but seeing that 80% of race cars in RSA doesn't even have these pieces fitted. There was actually no option to remove the old pipe completely as we were unable to get a grinder in the confined space. Once this was finished we could continue with door bars as the top door bar attach to the windscreen reinforcements. The bottom bar went in with ease and a little planning was to be done with the top one, as the FIA states that it must be below half the door opening, I wanted this bar to be as low as possible in the front for easier entry seeing that the 1200 door opening is so small and the rear to be high in order for the total downwards slope to protect the seats from in and out climbing. The seats was installed and the necessary measurements taken in order to achieve the goal. This kept us busy for the majority of the day to get the driver and navigators side done.
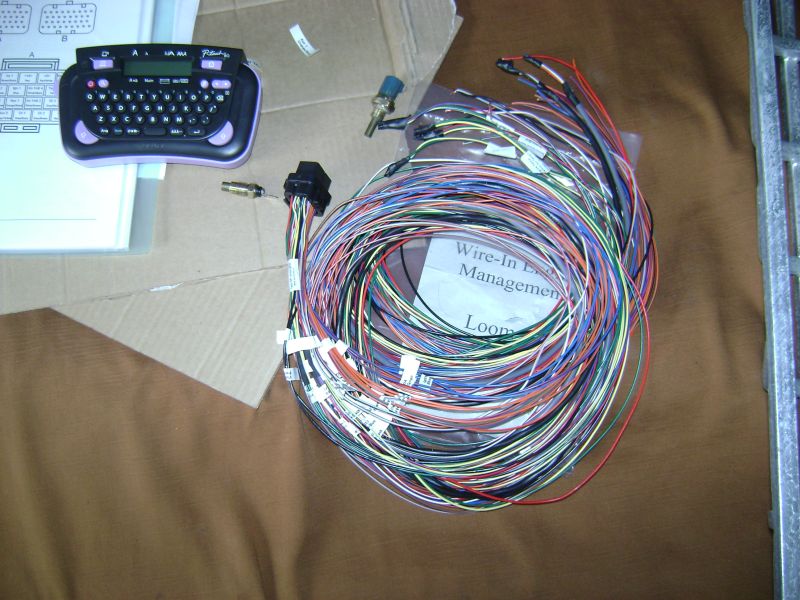
During the construction of the door bars I found some time to finish labelling the one loom of the
LinkECU G4 Xtreme engine management and start with the planning of the coil overs.
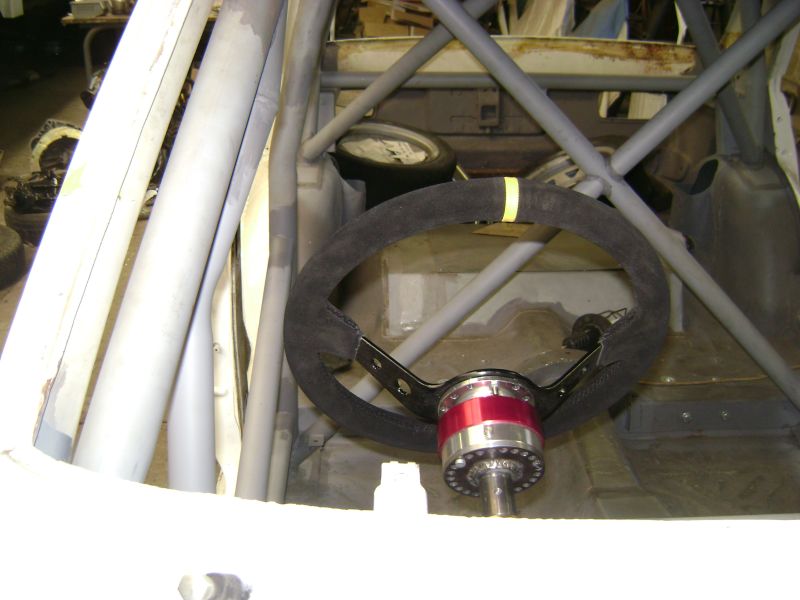
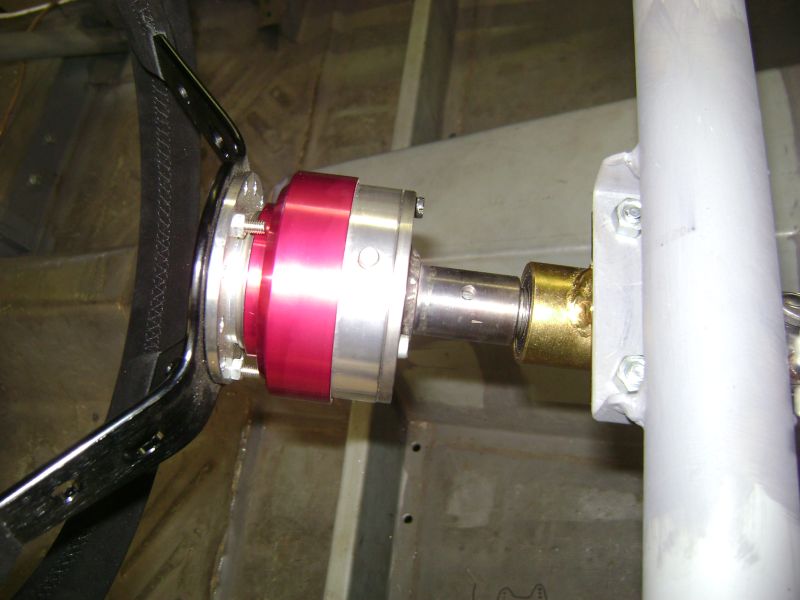
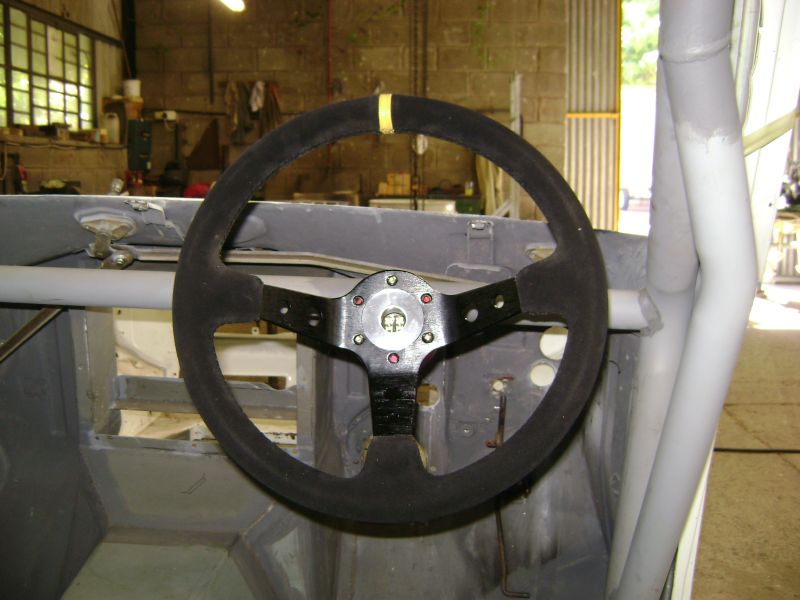
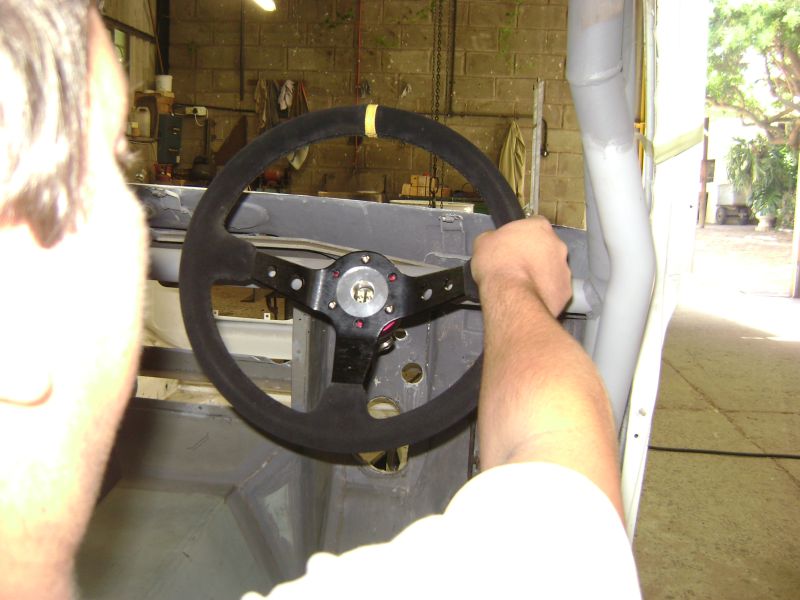
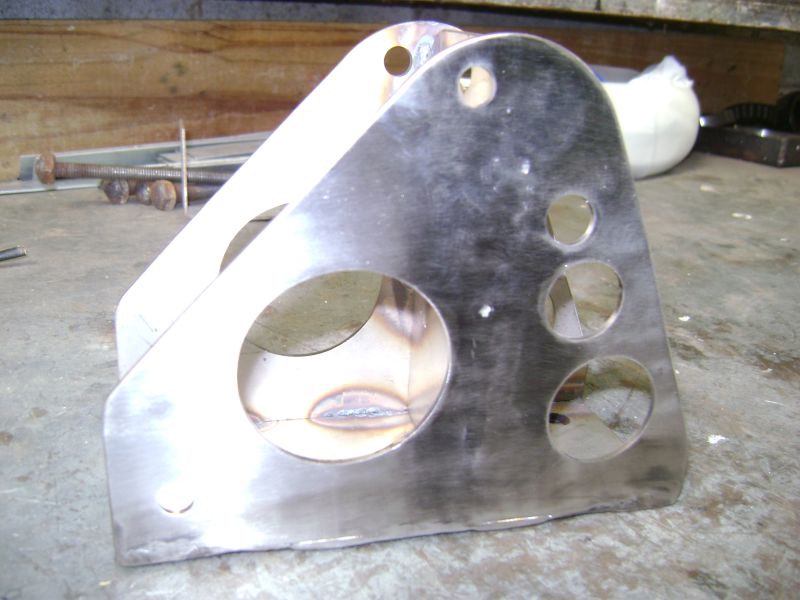
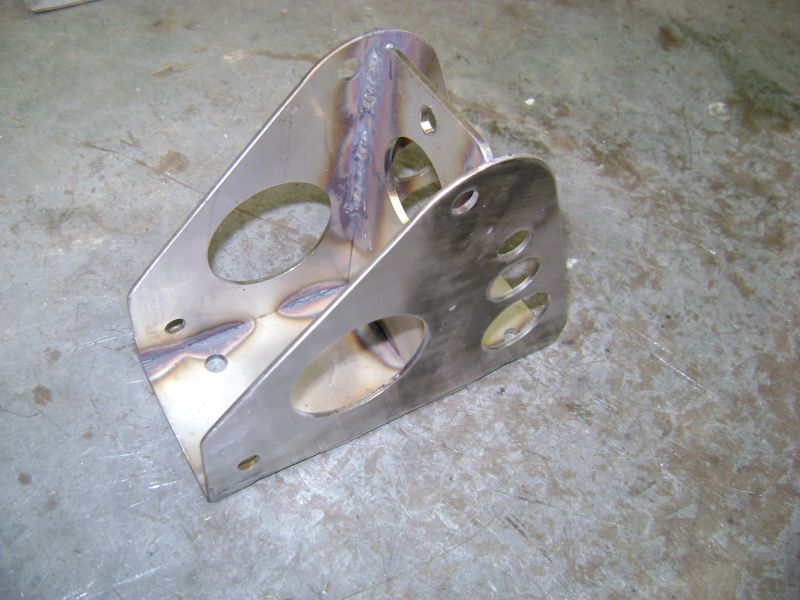
After the door bars was fitted we had some time to complete the steering adaptor between the column shaft and quick release/spacer. This was quickly fitted to check for hand movement between roll cage and steering wheel, the clearance is much better and if needed I can move the steering wheel 10-20mm inwards if this is a problem later on. The one thing that became apparent out of this exercise was the need for a spacer as the wheel is way too far frontwards, another item added to the list. I'm also not 100% convinced with the red anodizing on the quick release, maybe it is time to put it in the lathe and get rid of this ricer colour. We also Tig welded the hydraulic handbrake base together, this is the 2nd variant as the first one was too bulky and not to my liking, the new one is from Stainless Steel and currently send for electro polishing, just hope the results is to my liking, if it is to shinny afterwards I'll just take some water sanding paper to it to get rid of the shine.
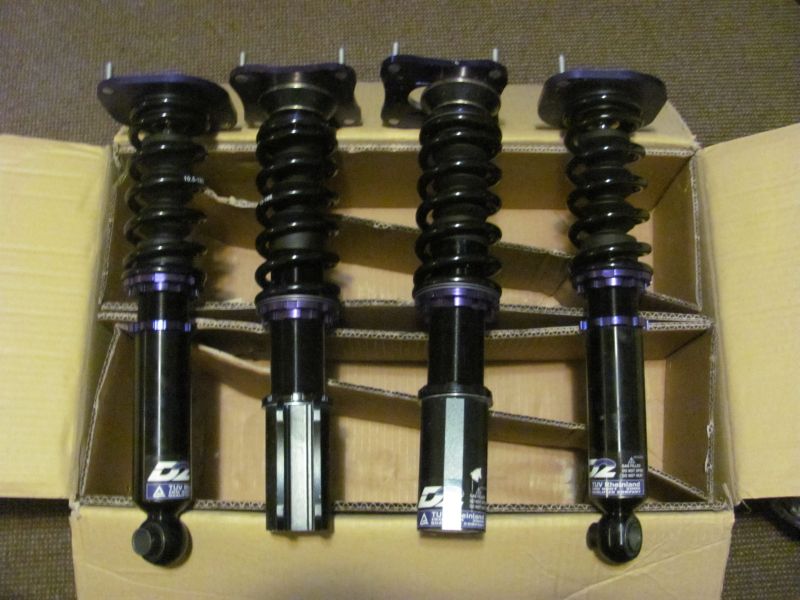
Sunday morning started with planning on getting the coil overs to work in the "Datto". Seeing that these
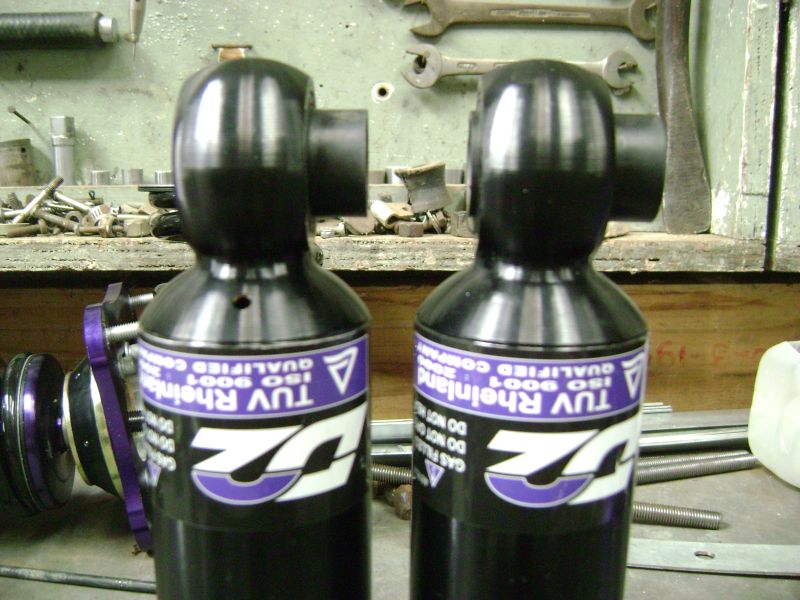
D2 coil overs is Mazda RX7 units this modification is no drop in solution and a lot of time will need to be spend to make them work in the car. Seeing as this conversion is only in the initial planning phase, this is the way I'm leaning towards to get these units to work.
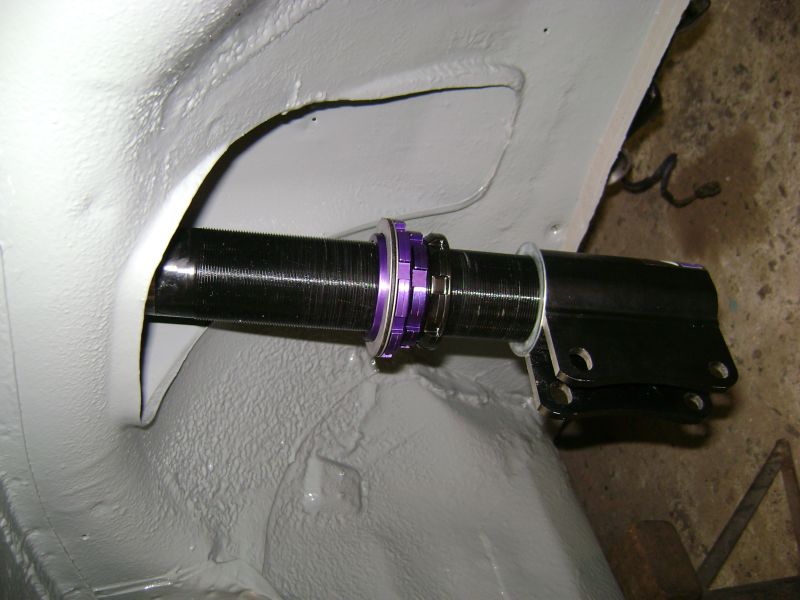
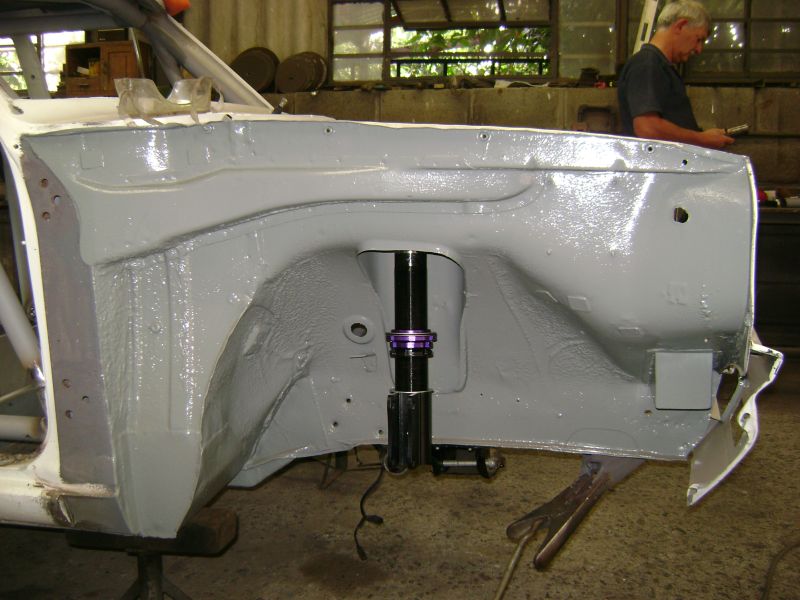
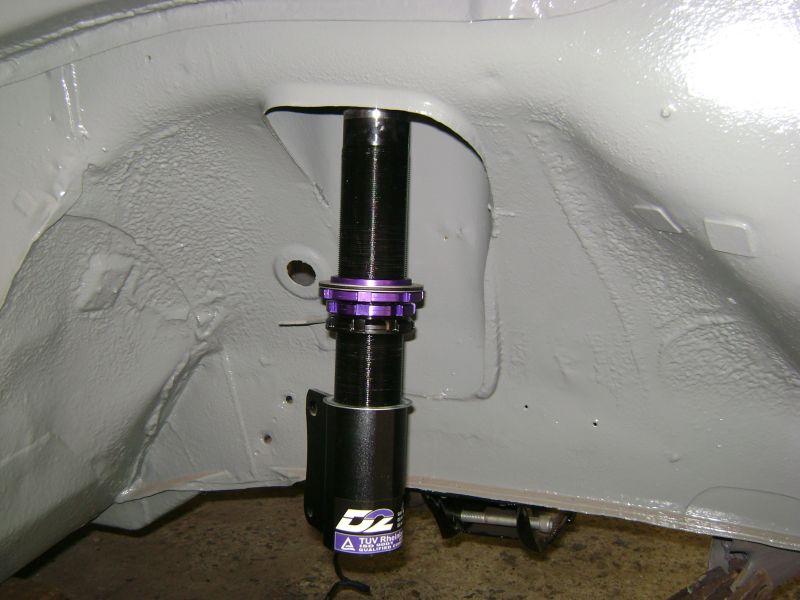
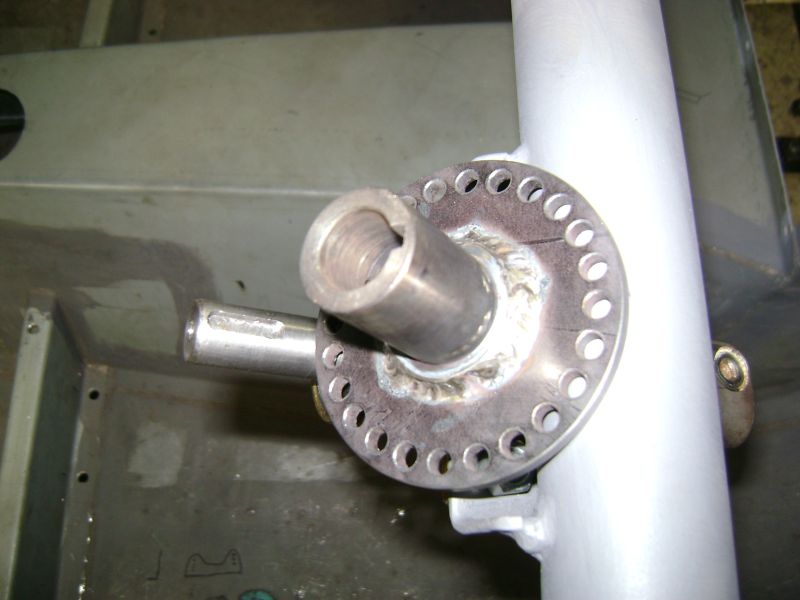
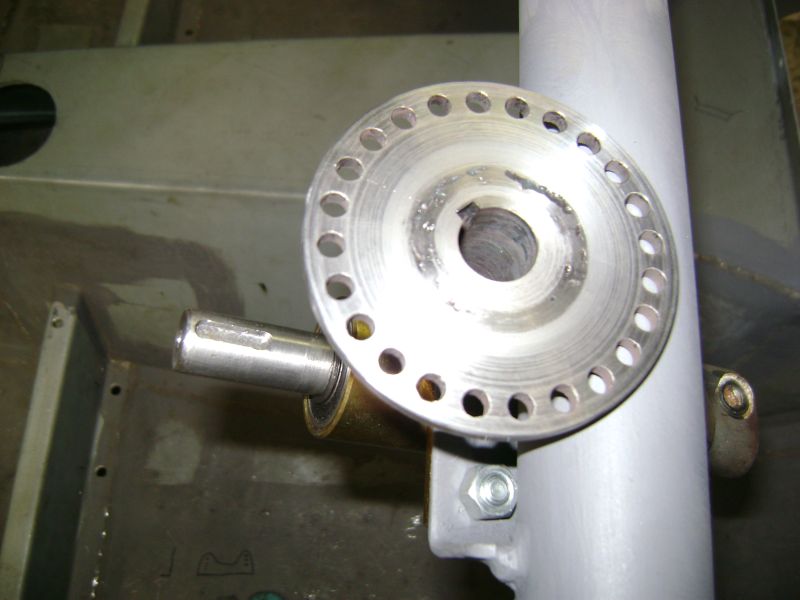
Front: Need to find out if the 1200 sedan and 1400 RSA Ute share the same size bearings as I have two sets of 1200 struts, if the bearings is smaller, I will need to purchase a set of 1400 struts. I'll need to purchase 1400 steering arms that bolt to the bottom of the struts seeing as they use a larger ball joint, which will last longer. The strut tube itself will be cut down and two ears with additional supports welded to the tube to make the coil overs fit, there is a few advantages to this configuration. Coil over upper angle will be in a more vertical position once the front track is in position, bigger wheels will fit easier seeing as there is no tube which it could rub against eliminating the need for spacers to clear it and mounting of the Nissan S14 4 pot calipers will be easier as there is more space available. I also decided on going with a rotor hat design for the front brakes, this will be easier to get the correct offset. New Camber/Castor adjustment pillow ball mounts will designed for the top.
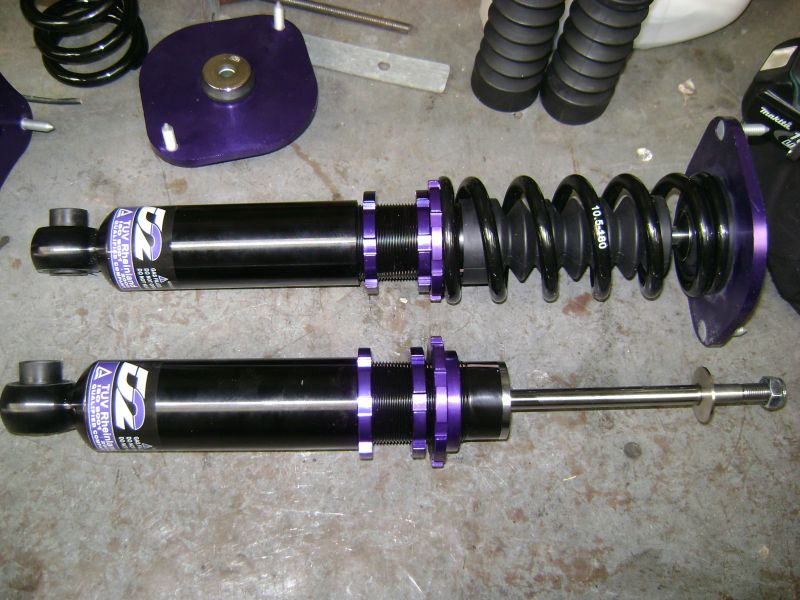
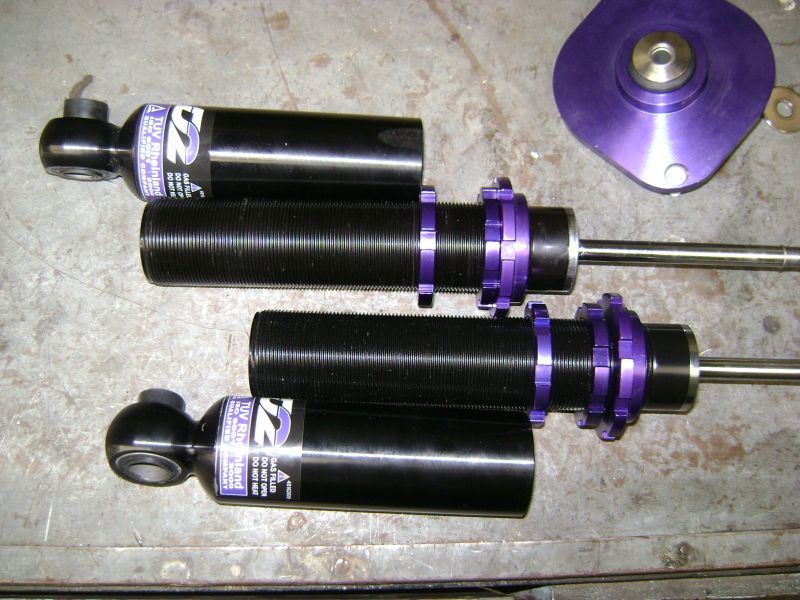
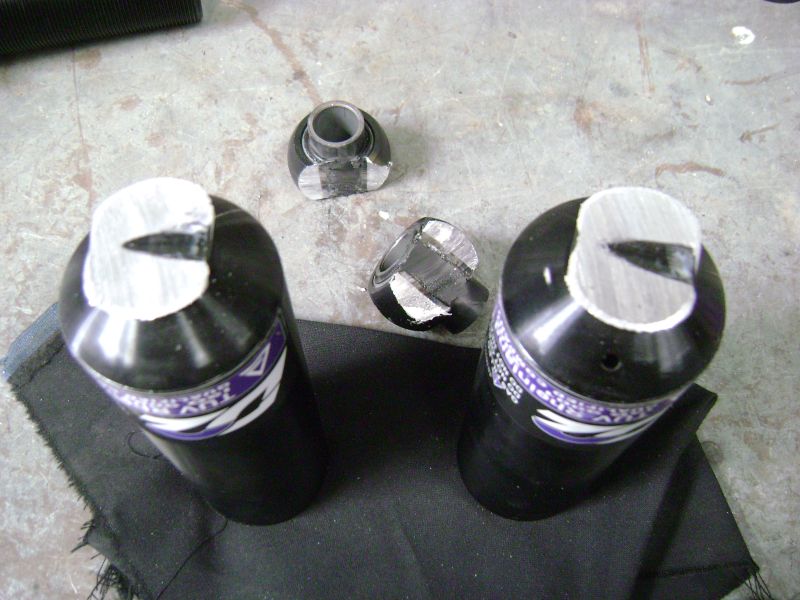
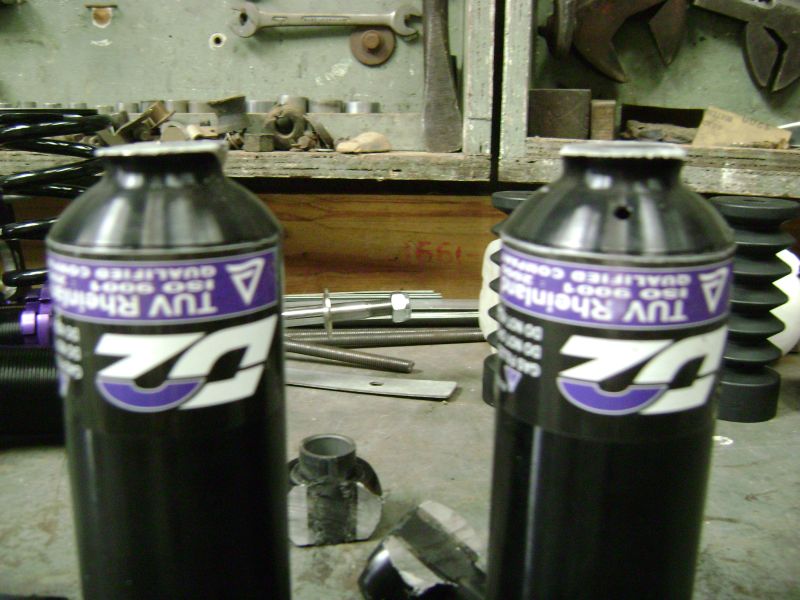
Rear: The rear D2 units came with moulded bush design on the bottom part, due to the slight rearwards angle at which the coil overs will be mounted this was not going to work, the easiest solution that I could came up with was to remove this part and get M16 thread cut in order to utilize a rod end on the bottom. Keep in mind there is method to the madness in cutting a new pair of coil overs. Seeing that the shock adjusters on the D2's is at the top this was the next challenge; as screwing a female rod end on the top would make life very hard in the future as I'll need to strip half of the coil over to adjust the shocks. The solution to this was to design a very small variant of a pillow ball mounting. I'll share the pictures once this done, the only down side to this design is the price of the pillow ball bearings and rod ends, these four units costs almost R1400, but it is one of those solutions that will almost never require replacement.
If anyone is interested in how all the parts of these D2 Mazda RX7 coil overs fit together, have a look here:
D2 Mazda RX7 Coil Overs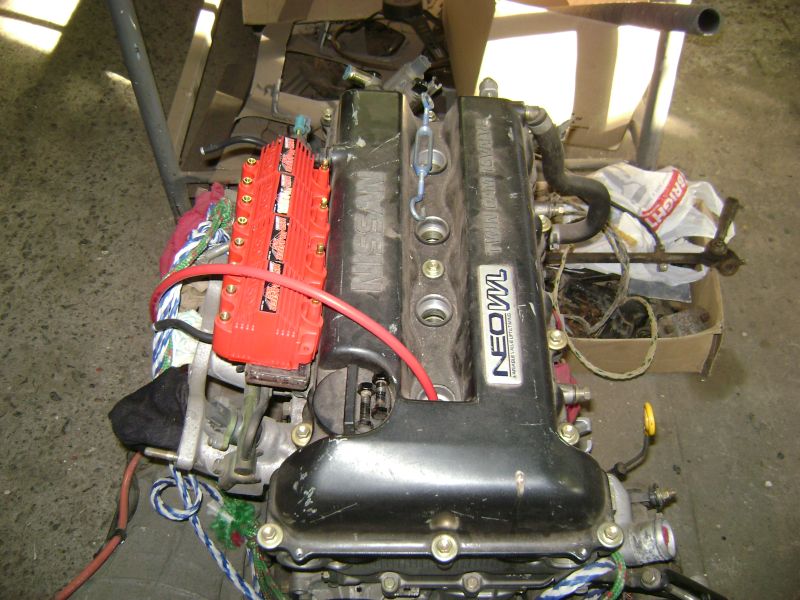
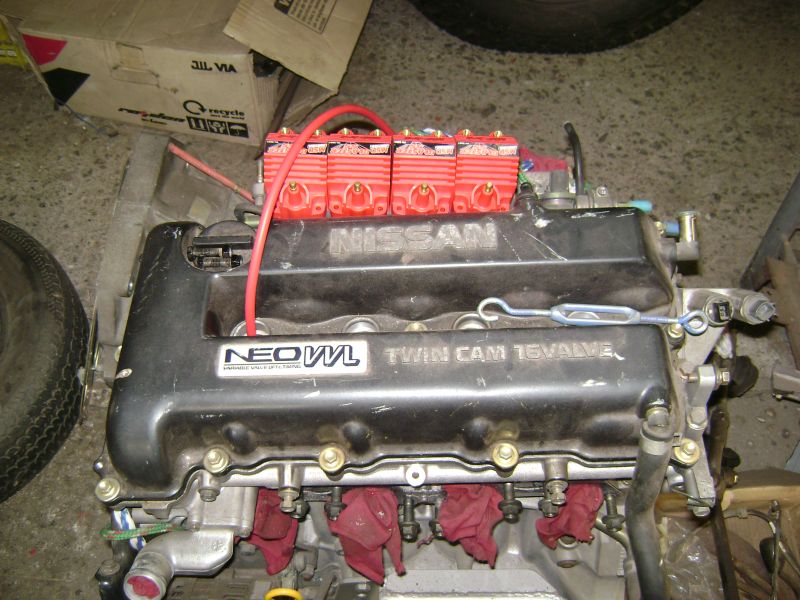
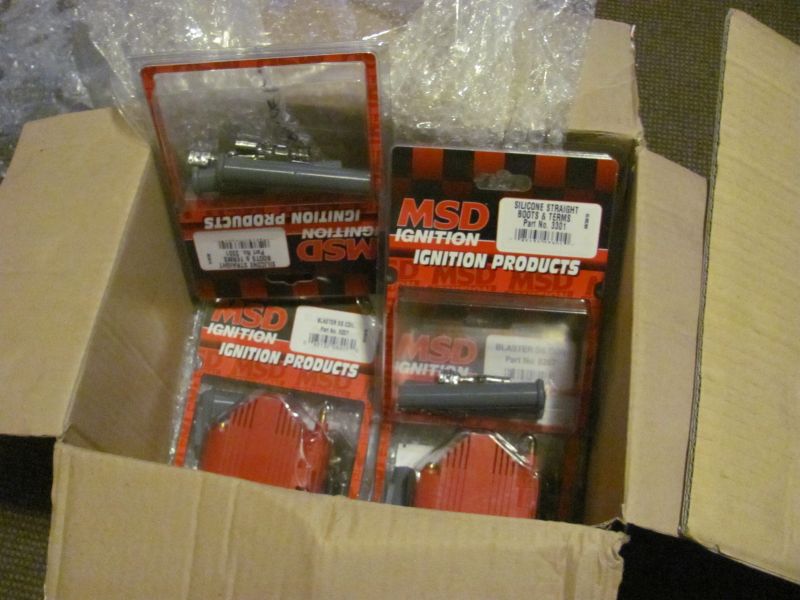
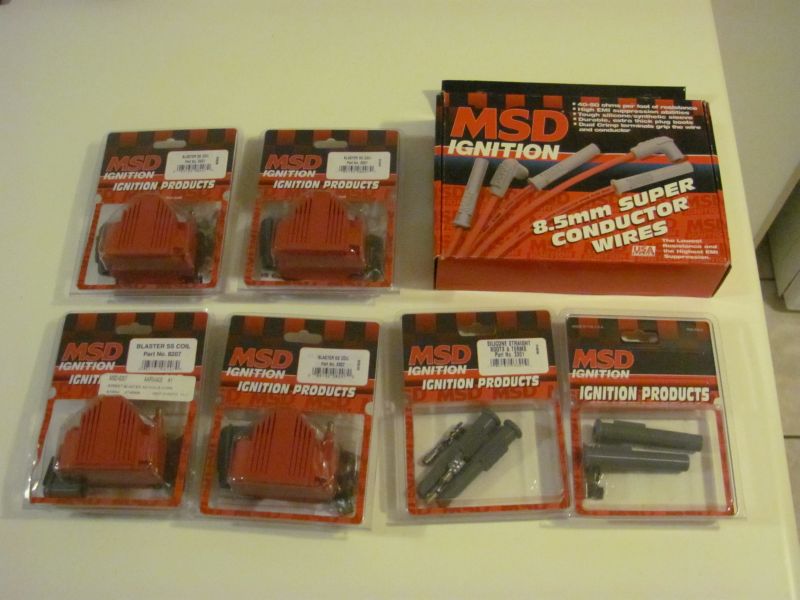
Later the afternoon I started mocking around with the placement of the
MSD Blaster SS coils, but soon left it for later in the assembly phase as there is too much other stuff to consider. The current idea is to mount the above the intake manifold for heat reasons, but space is the problem, on the exhaust side there is much more space, but then the heat become an issue, if I can find a way around it, this would the ideal location, maybe some heat wrap around the branch and a heat shield under an aluminium mounting plate will do the work.
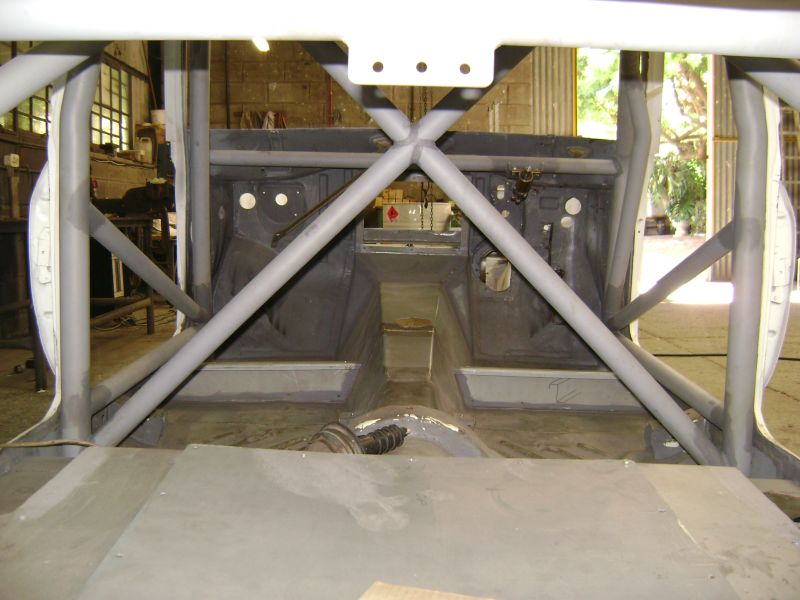
On my next visit we will complete the roll cage which consists of a pipe behind the seats on which the harnesses will mount and supports to the front shock towers, then we will start with the cutting of the rear fenders in order to lower the car to the desired ride height. Luckily for me I have a weeks holiday coming up which will help a lot with the progress on the car.


;)
;)
;)
;)
;)
;)
;)
;)
;)
;)
;)
;)
;)
;)
 Transfer

;)
;)
;)
;)
;)
;)
;)
;)
;)
;)
;)
;)
;)
;)
;)
;)
;)
;)
;)
;)
;)
;)
;)
;)
;)
;)
;)
;)
;)
 Datto14March02.jpg (86.70 KB)
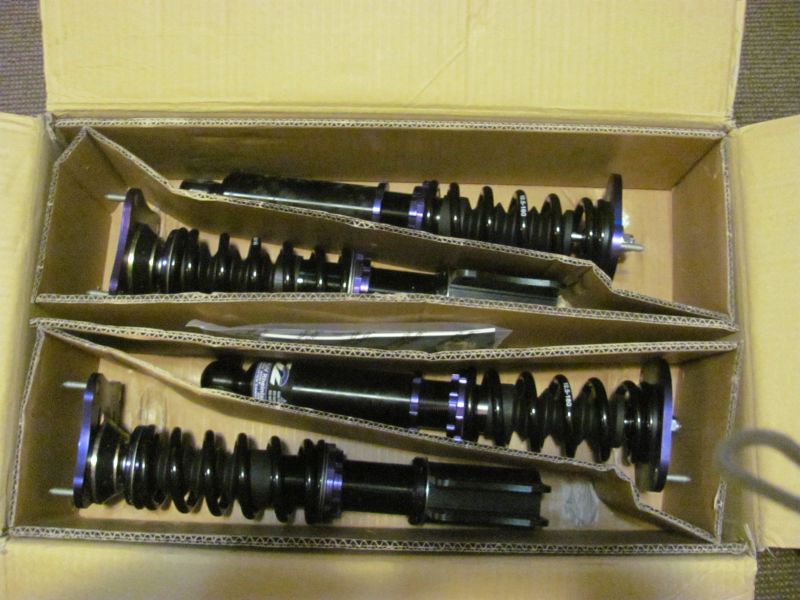


;)
;)
;)
;)
;)
;)
;)
;)
;)
;)
;)
;)
;)
;)
;)
;)
;)
;)
;)
;)
;)
;)
;)
;)
;)
;)
;)
;)
;)
;)
;)
;)