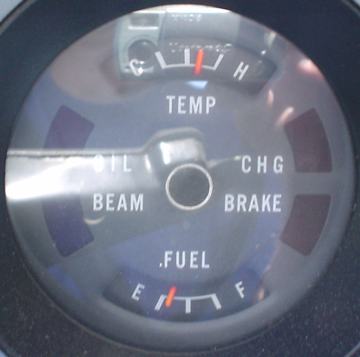
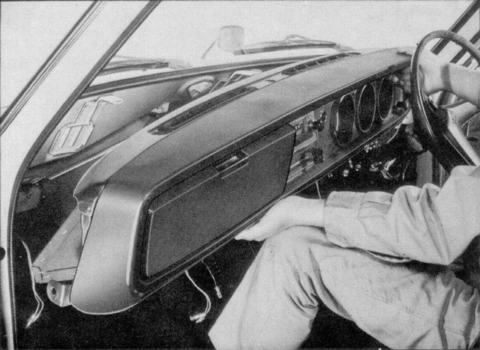
The facia sits inside the opening of the dash pad and is bolted to the metal dash frame.
|  |
Overview
The facia sits inside the opening of the dash pad and is bolted to the metal dash frame. It's held in place with:
- The two radio shaft nuts
- The cigarette lighter nut
- The choke cable nut (if equipped with a choke) unscrews from behind
- Shaft nut for Lighting switch
- Shaft nut for Wiper switch
Cluster Lid Removal and Replacement
The "Cluster Lid" can be removed with the dash in the car — if you remove the steering column plastic cover first. Some say you need to remove the steering wheel as well, but it is not necessary. Of course, it is easiest of all if the dash assembly is out of the car, but it is not too difficult with the dash still installed.
Removing the instrument panel cluster lid is not too difficult. It is needed to replace the Speedometer as well as the fuel gauge, temperature gauge, or instrument voltage regulator. It is also recommended when replacing burned out bulbs (though you can replace the bulbs without removing the cluster).
When replacing the Clock or Tachometer it is also recommended to remove the cluster lid. Sometimes you can do it without removing the cluster, but the wiring is not easy to get to.
Instructions
The only tool needed to remove and replace the cluster is:
No. 1 (small) Philips head screwdriver
Instructions
- Remove top half of steering column shroud (two screws on bottom. Leave the large-headed screw alone)
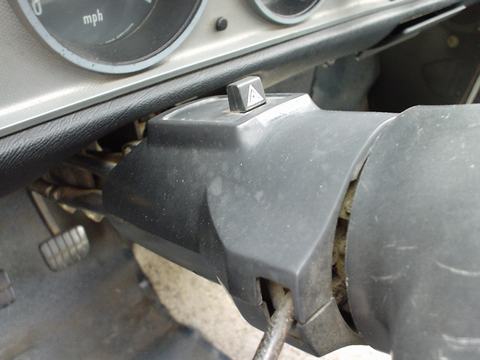
- Remove the two heater control knobs. The fan knob has a tiny Philips screw on the bottom. The cold-hot lever may also have a screw (I've seen it both ways) so if you don't see a screw, simply pull the knob off
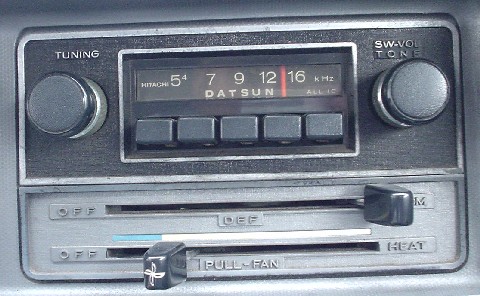
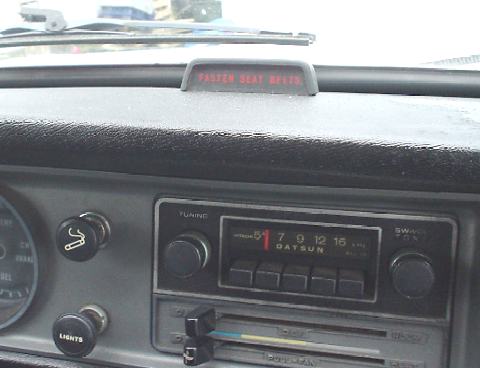
- Pull the Radio knobs off. Then remove the shaft nuts. Remove faceplate
- Behind dash
- Unplug the round cluster wiring connector. On the back of the gauge assembly, pull the main round gauge connector off. Just rock it off, there is no screw holding it on

- If the speedometer cable is still attached, reach up under the dash and unscrew it
- At the bottom of the gauge cluster (behind dash face) are two screws holding it to the bottom of the dash metal. (if you can't find them, wait until the last step. When the cluster is loose, you'll see how the bottom is fastened to the dash frame)
Unscrew both these screws. You may need to lie on your back with a flashlight to see these. Use a No. 1 Philips stubby screwdriver (look for screw below tachometer)
Cluster bottom screw (above connector No. 5). The other screw is below the multi-gauge (on other side of steering column)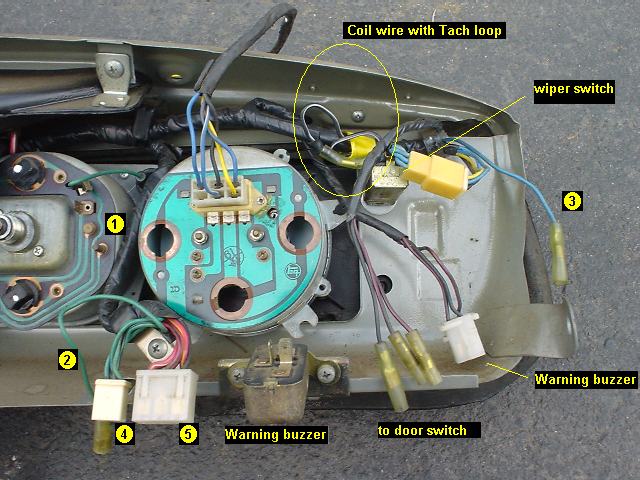
- Unplug the round cluster wiring connector. On the back of the gauge assembly, pull the main round gauge connector off. Just rock it off, there is no screw holding it on
- Remove 4 knobs from face. IMPORTANT: there are a flat washer on the back side of each switch — don't lose it
- Choke knob (if equipped). TIP: for the choke cable, pull it all the way out, grip the shaft with pliers, then push-n-turn the knob
- Wiper knob and nut. Simply push in and turn counter-clockwise 1/4 turn. Then pull off. Unscrew the nut with your fingers
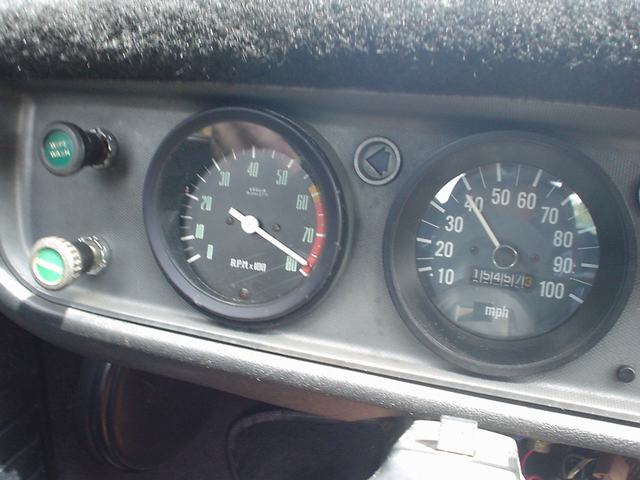
- Headlight switch knob and nut. Removes same way as wiper switch.
- Cigarette lighter. Reach up from under dash and unscrew the housing (unscrew the collar of the lighter from the back). Then the lighter body pulls straight out of the lid. Pull the L (blue) wire off the cigarette lighter when you can see it.
- Finally:
- Open glovebox door to prevent the dash from scratching the side of the door.
- Push the headlight switch and wiper switch through
- Tilt the top of the cluster out. Pull towards you and up. It should come right out.

![[Datsun 1200 encyclopedia]](/wiki/upload/wiki.png)


