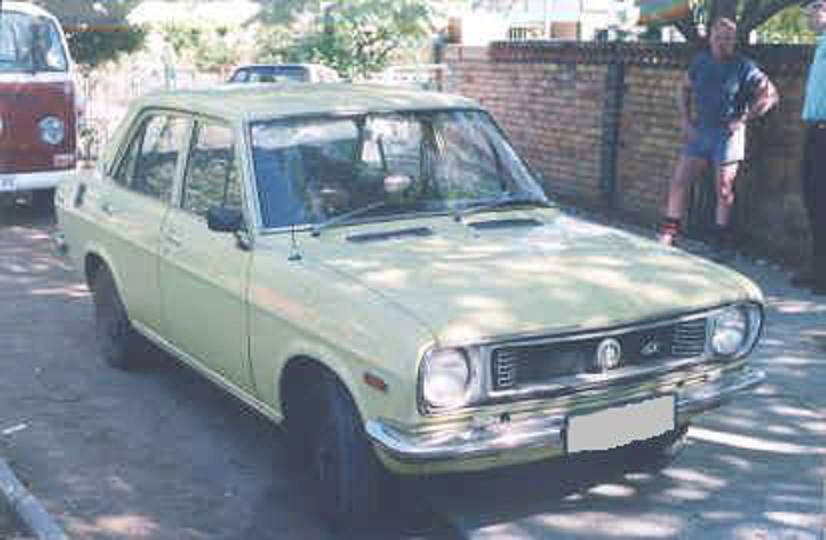
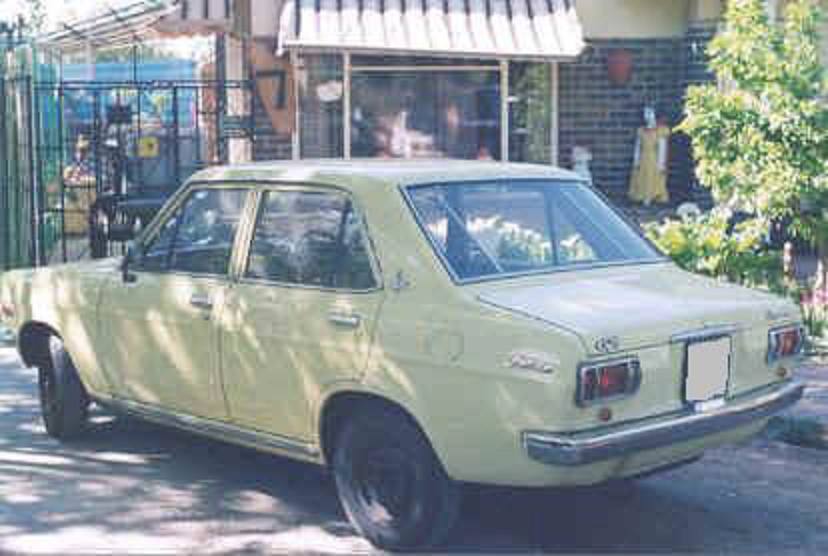
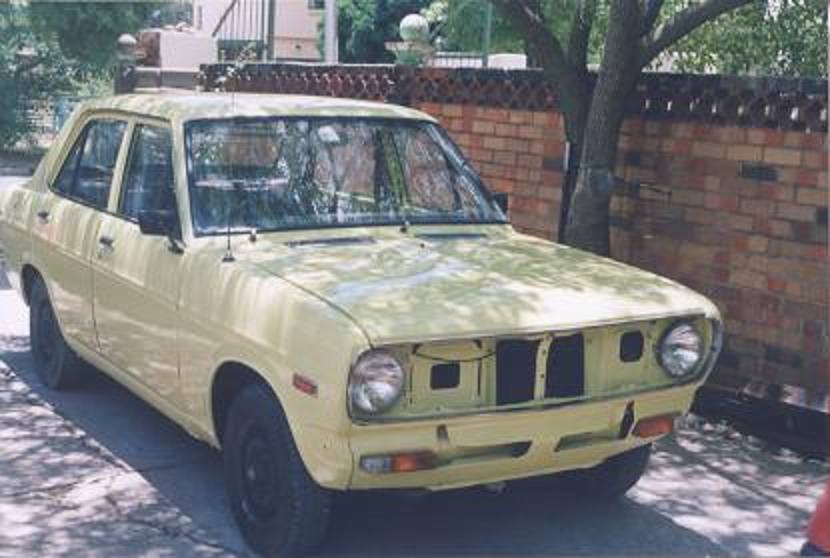
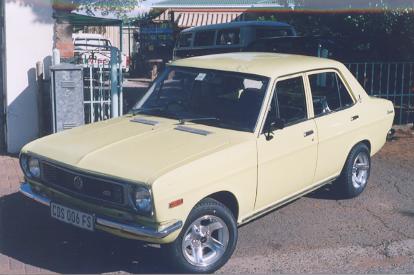
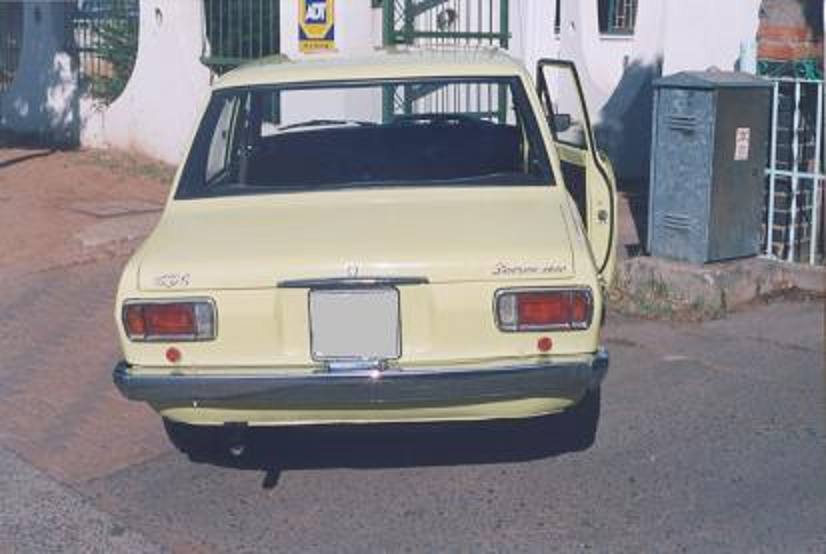
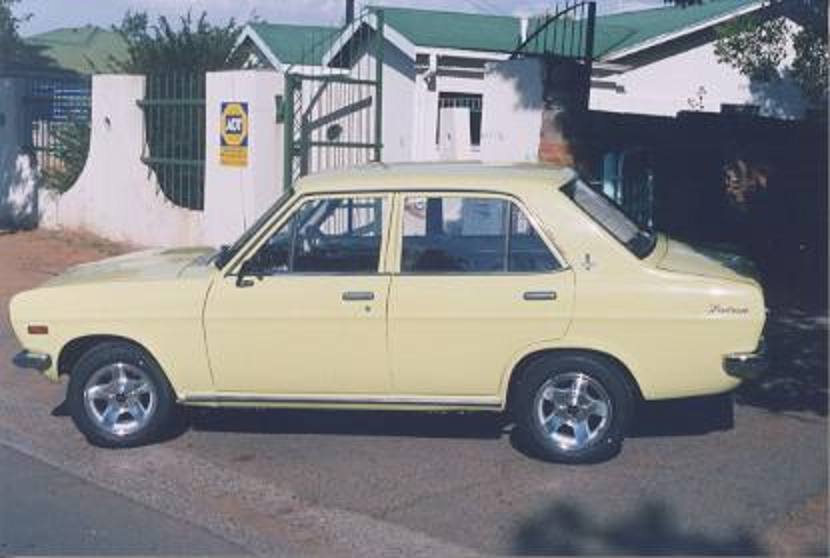
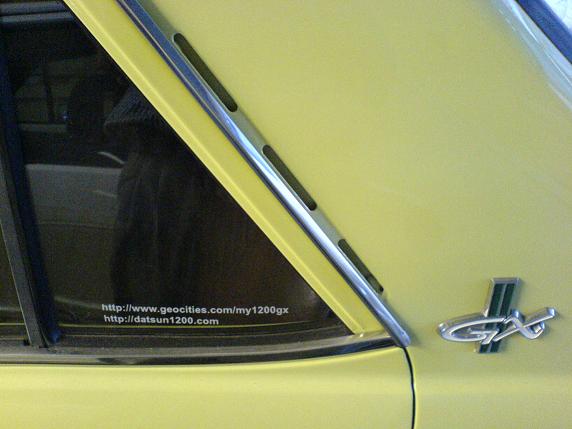
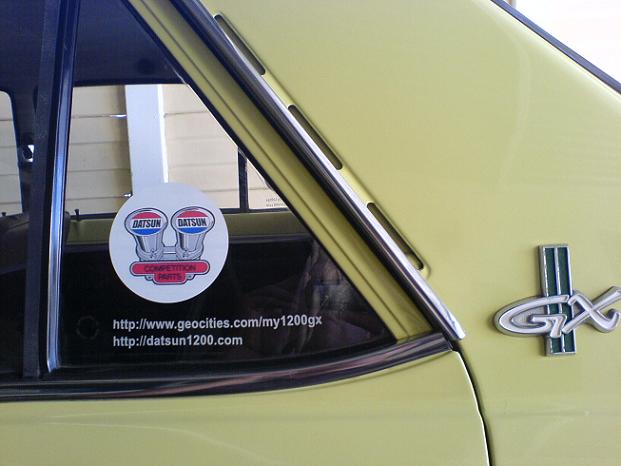
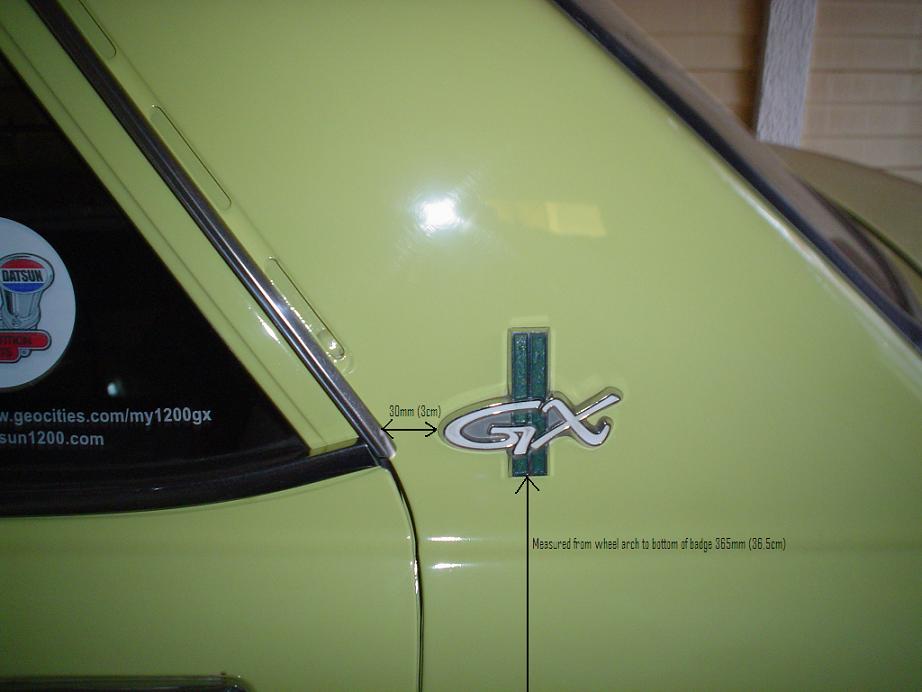
Club member Hendrik (1200GXman) is out of South Africa. He has a nice, well cared-for original condition Datsun 1200 GX sedan.
Contents |
Home Page
archive: http://geocities.com/my1200gx
Please be patient as there is allot of pictures that must load......
If some pictures have poor quality, it is due to it being scanned as I did not have a digital camera at the time.
This website is about my Datsun 1200 GX that I have restored to how it currently looks on the photos.
Please go through my website and enjoy the story of what has been done.
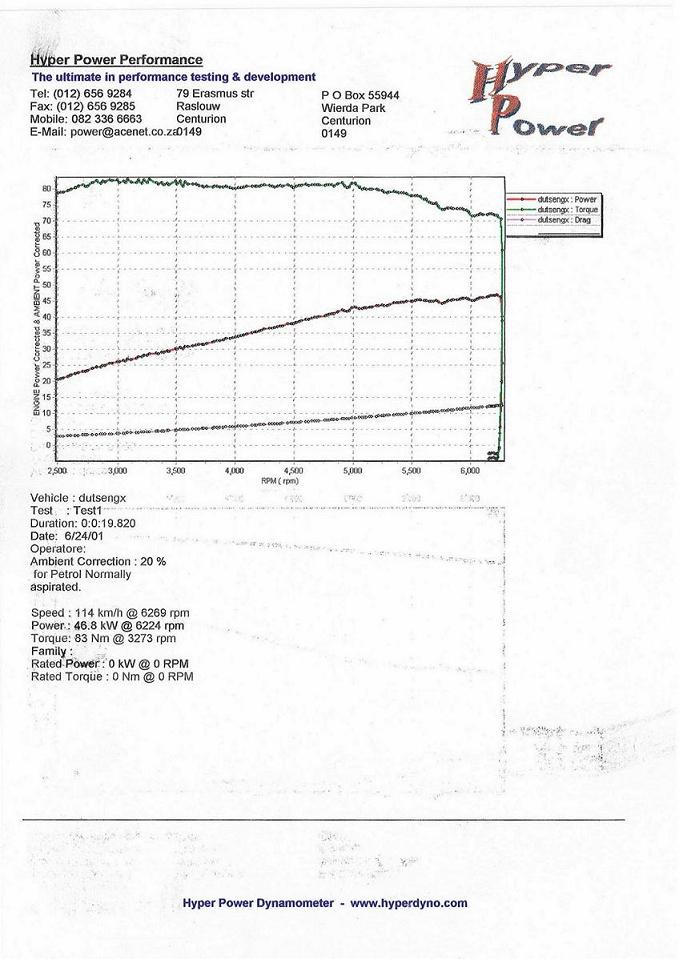
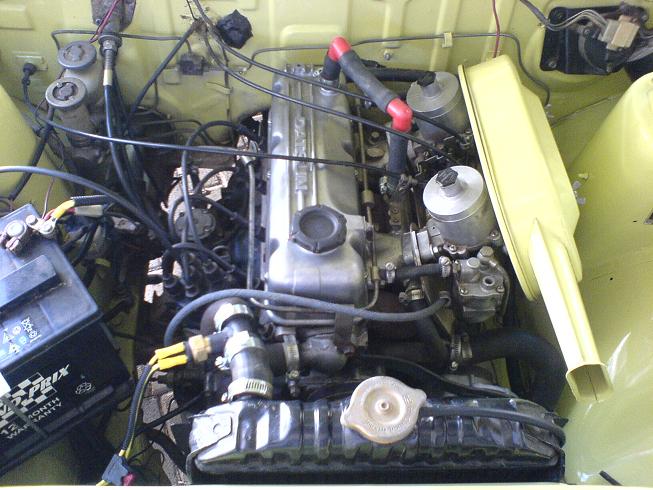
At the moment it is a stock A12 GX engine with the following specs:
2. GX Exhaust Manifold. They work out of the factory just as good as a performance extractor.
3. Two Hitachi SU's carburators. The GX came out with twin carburetors. They gave the GX it's low torque and very good fuel consumption with good power. Personally I would say they are after the Weber sidedraft the best carb you can fit to your Datsun engine. These carbs are still being sought after by Datsun/Nissan people.
The following is pictures I took prior to the challenge of taking it apart and respraying it.
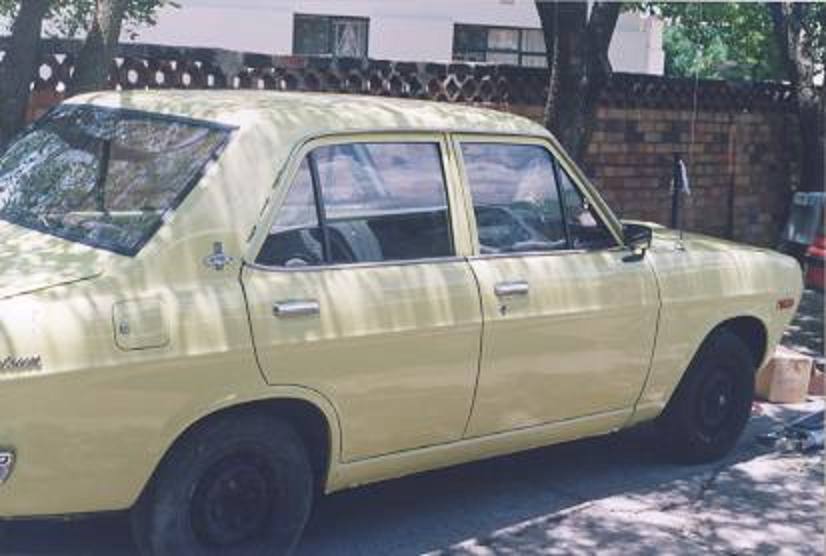
The color that it was resprayed with is the same color the car was originally sprayed with at the factory, lime yellow.
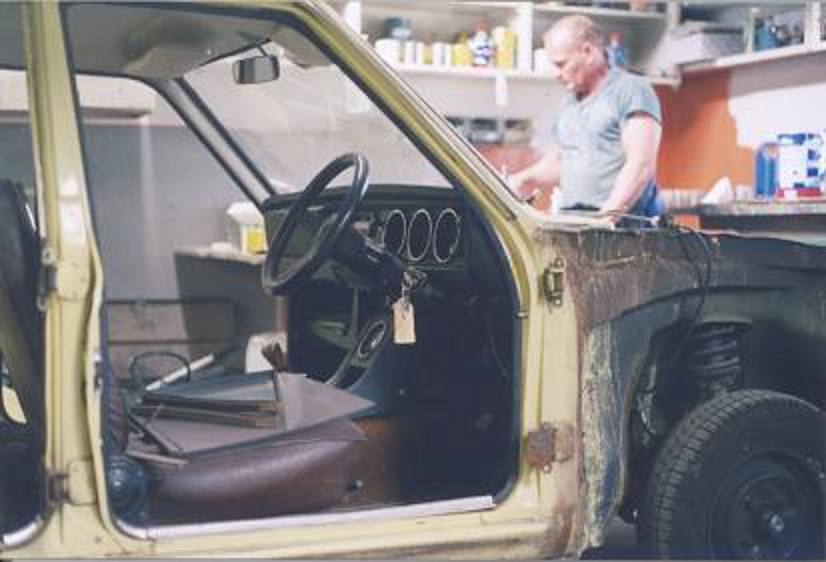
Here is the pictures at the spray painter's house. In the left picture he is visible. To this day I am still thankful towards him in doing
this job for me with the most detail I have ever seen.
He works from his home and has converted his garage into a good and clean sprayroom.
Front View (Left Picture): Here you can see how ugly it looks without the wheel caps.
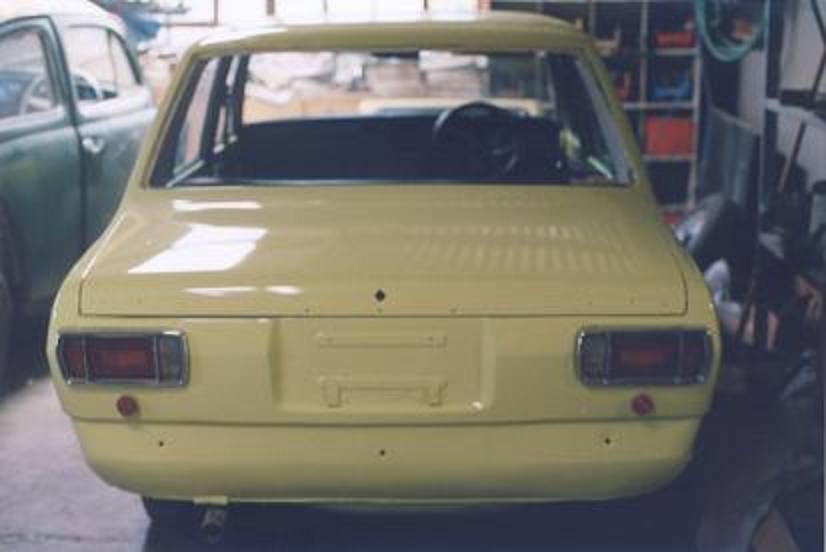
Left Back View (Right Picture): If you examine the picture, you will see that the boot and just behind the back door the color is a lighter color than the rest of the car. This is because it was discovered in the spraying and dismantling process the car had a bit of a hit on the back by the previous owner. The color could obviously not be matched that caused it to look as if color has faded due to sunlight.
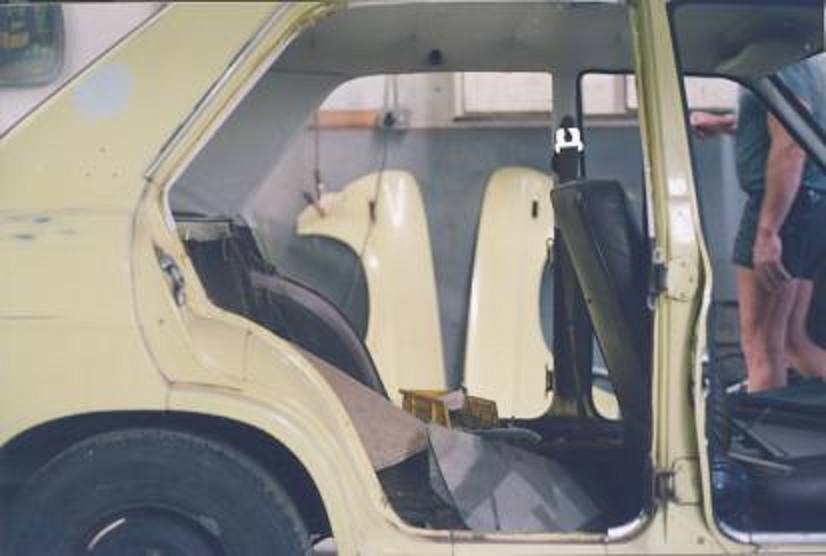
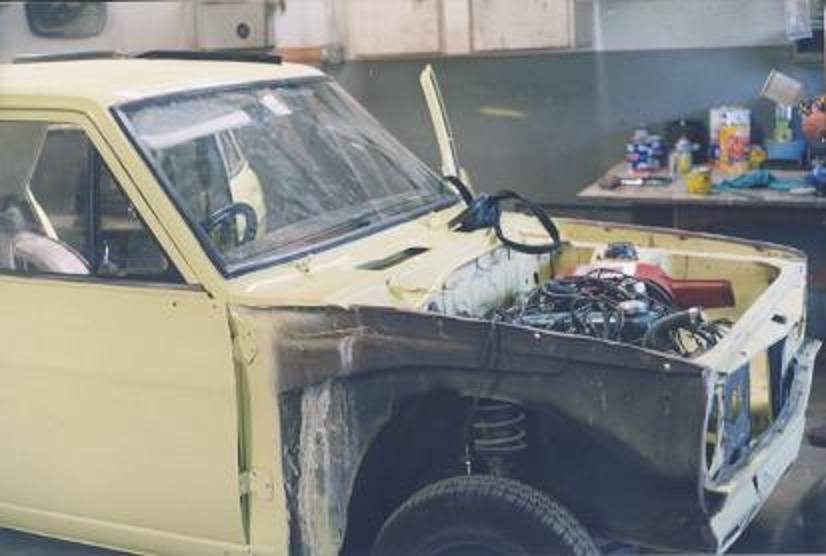
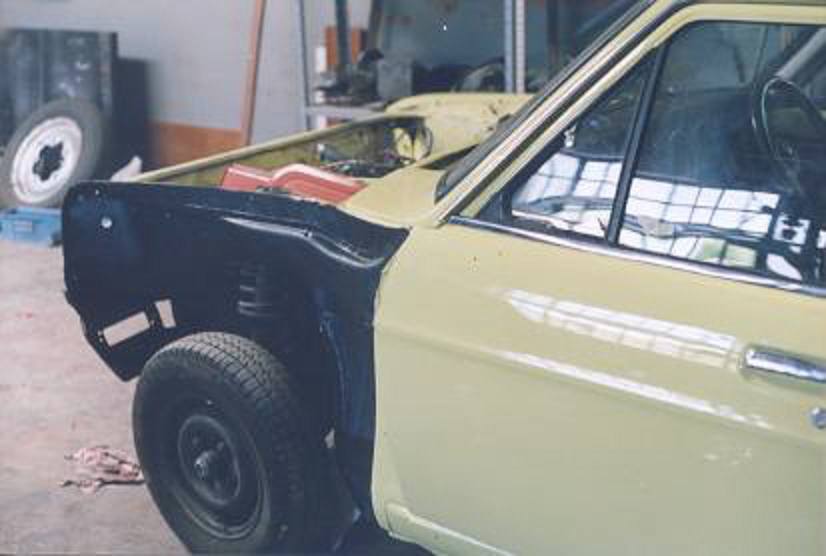
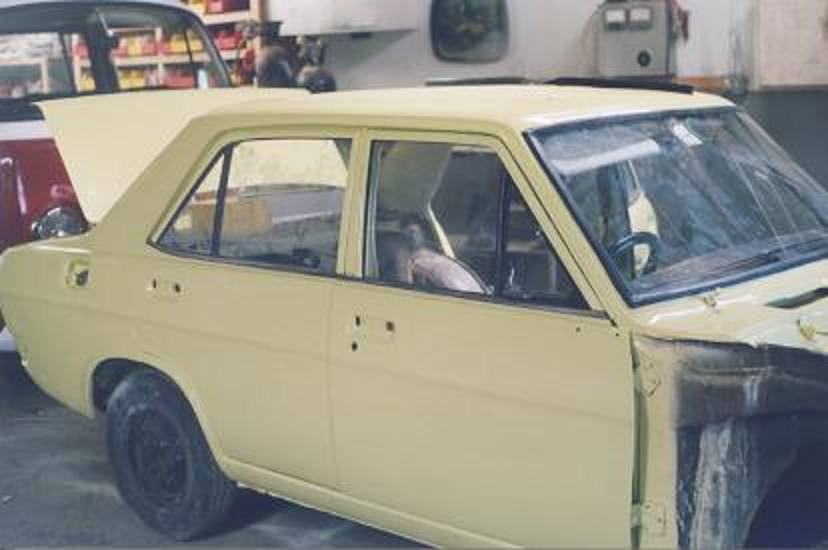
Damn. I almost got them to fit into each other to look as if it is one picture. This is into the project where all doors and panels were removed to be worked with. The windows front and rear were also removed.
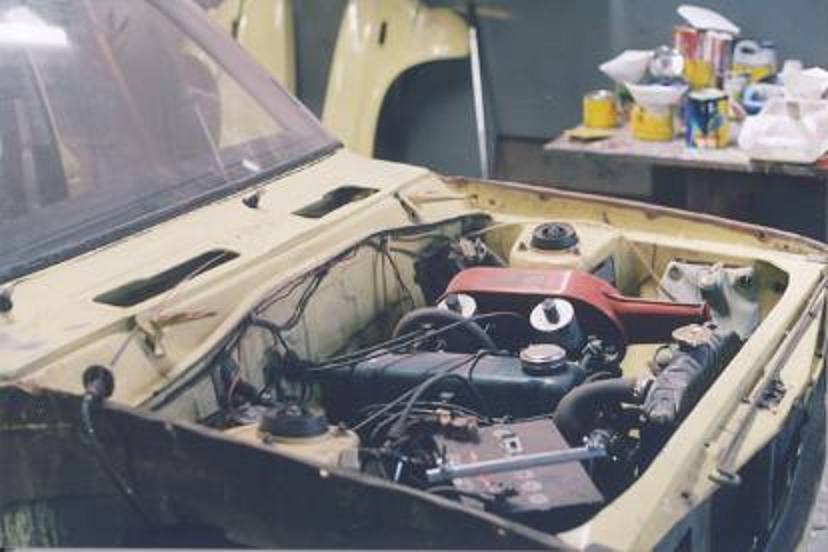
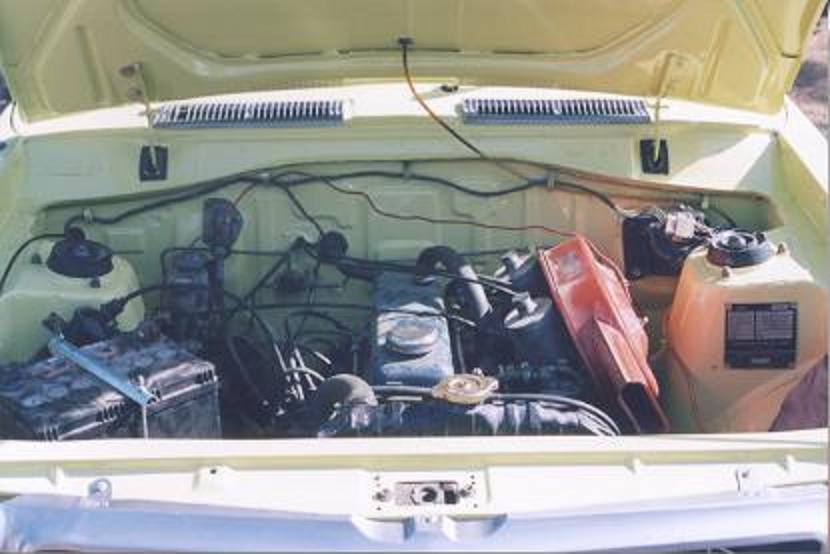
This is the engine bay before it was painted yellow again. You can clearly see in the left picture that the firewall also had a bit of color fade. I think it is due to 25 years of engine heat. In the right handed picture you can see the part above the wheel is still relatively rust free. The spray painter said that he saw cars in much worse condition where it started to rot holes into these parts of the cars. Mine only had little rust in these parts that was cleaned away with a wire brush.
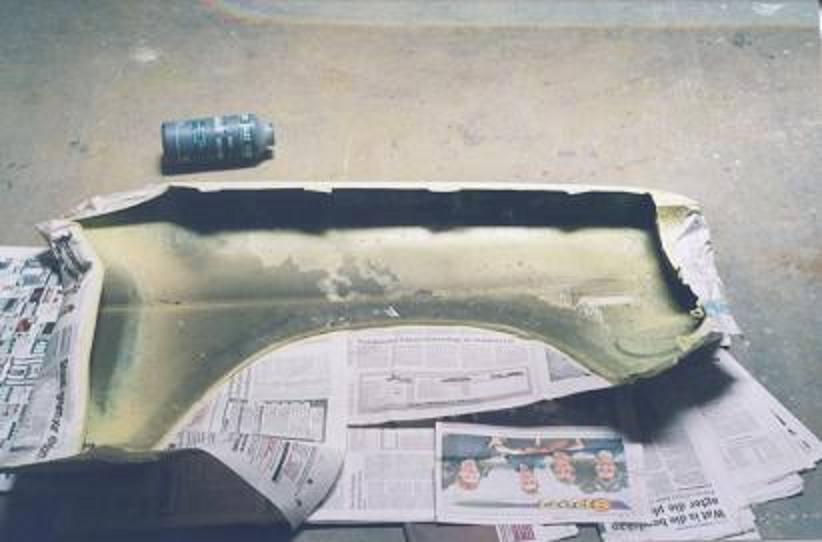
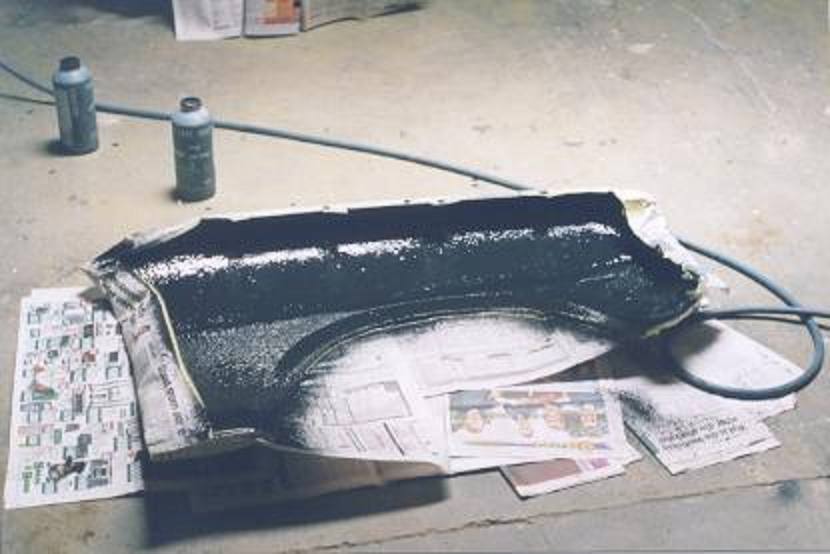
This is the one of the front guards in the spray process. It was sprayed and after the paint dried it was treated on the inside with some rubberizing to keep the rust away.
The spray painter also rubberized the mudguards, front and rear, for rust protection. Right hand picture the lights have been fitted to the body. You can clearly see how good the paintjob looks. When looked at from an angle in direct sunlight the little bit of lime green color can be seen.
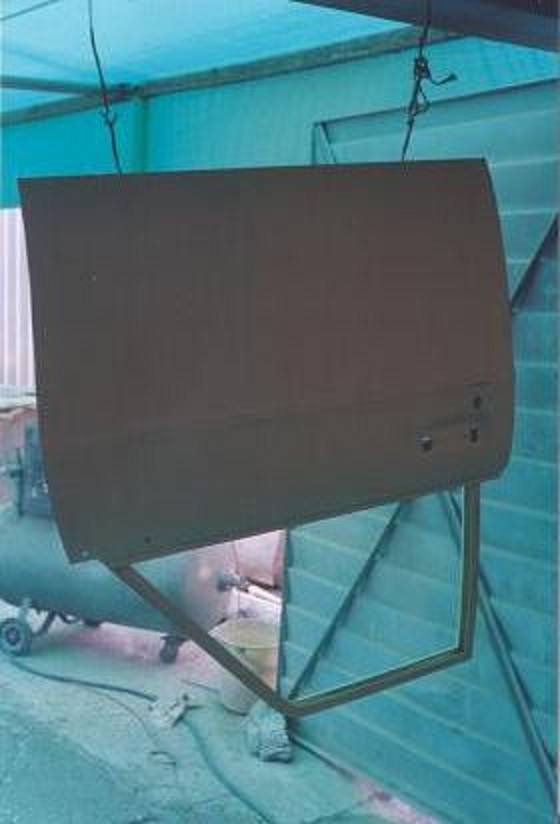
Here is one of the front doors when sprayed. They were also rubberized on the inside for when water comes inside the door during heavy rain. On the right picture is when the doors were assembled and fitted to the car.
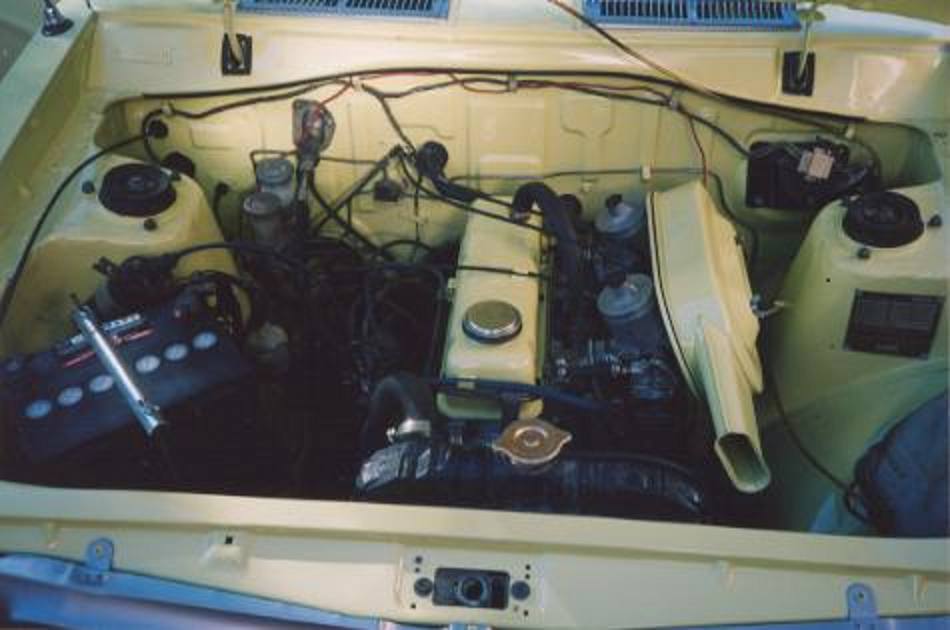
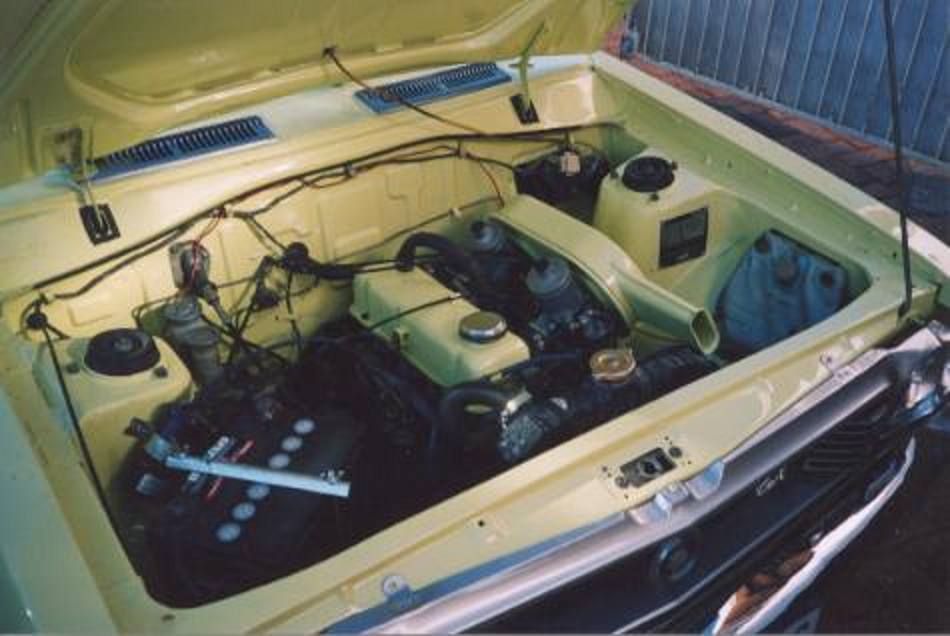
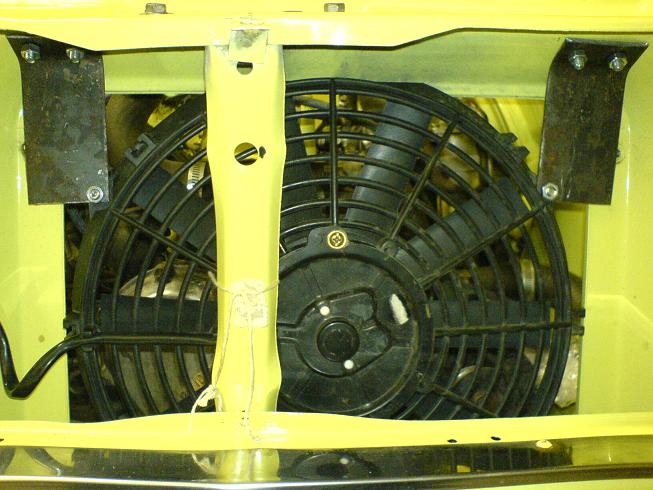
Here is the engine bay after it was resprayed. The engine was not removed, but everything that could be removed from the firewall and sides, including the radiator, was removed. On the right just beneath the rubber where the shock is inserted you can see that I still have the original Datsun engine plate. Here can be seen how plain the engine looks without being sprayed the same color as the body.
The engine bay as it currently is. I removed the tappet cover and the airbox and they were also sprayed the same color as the car. I am really happy with the results.
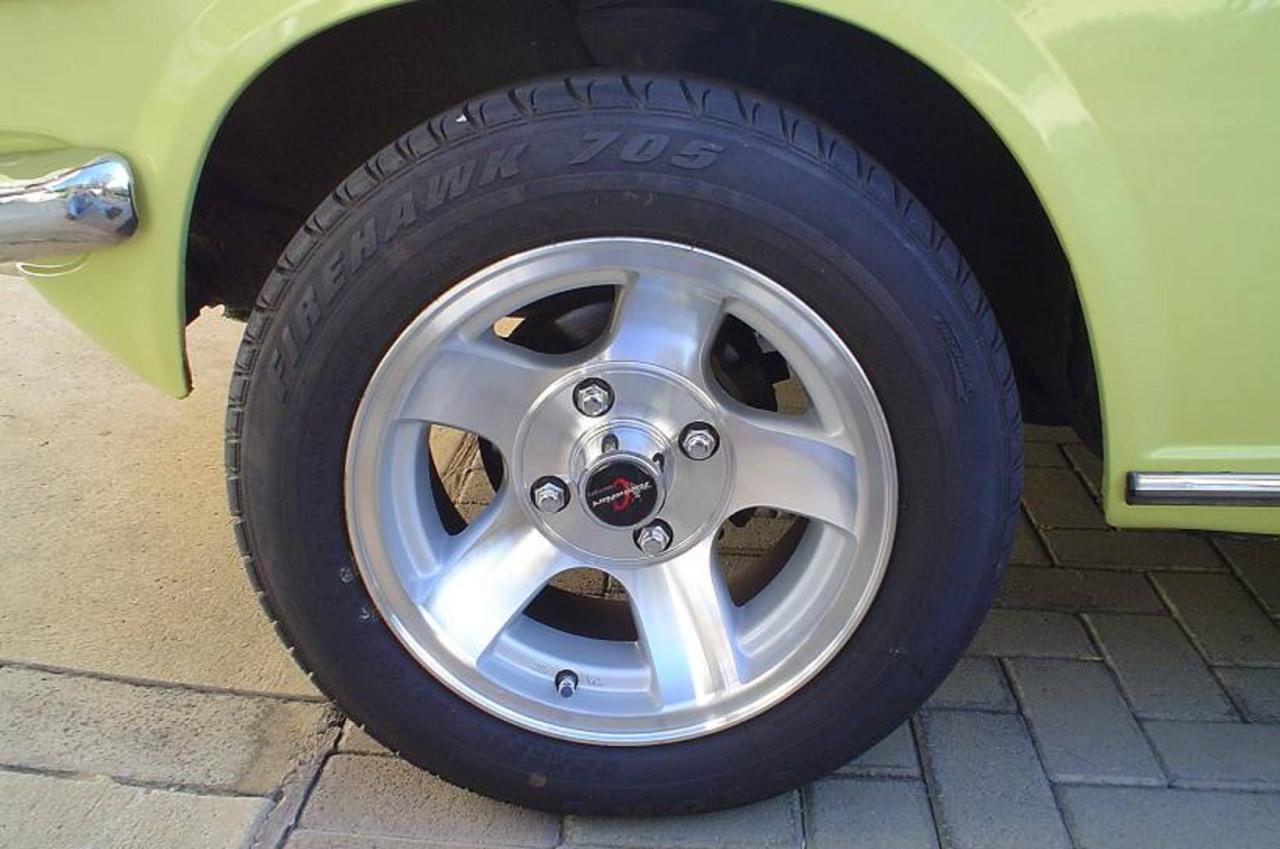
This is the mags I fitted. Make: Racing Heart Concept.
Mags name: Rocketeer.
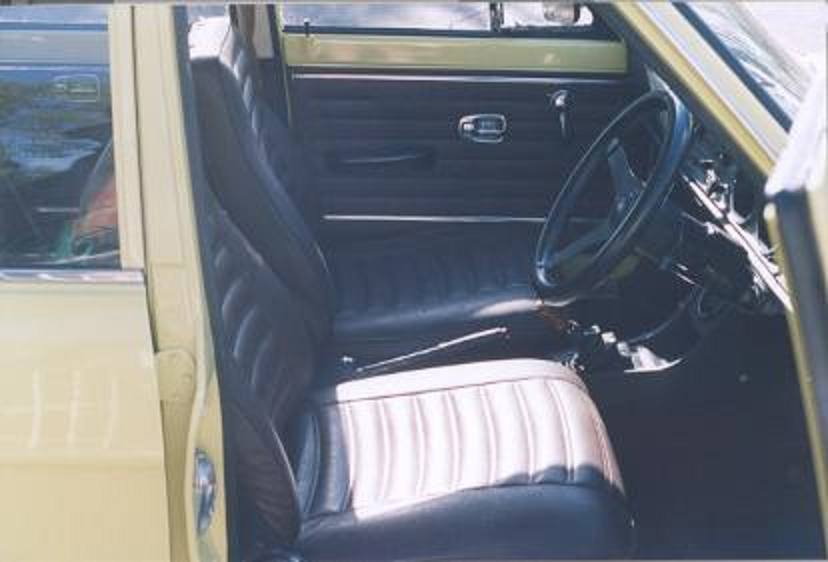
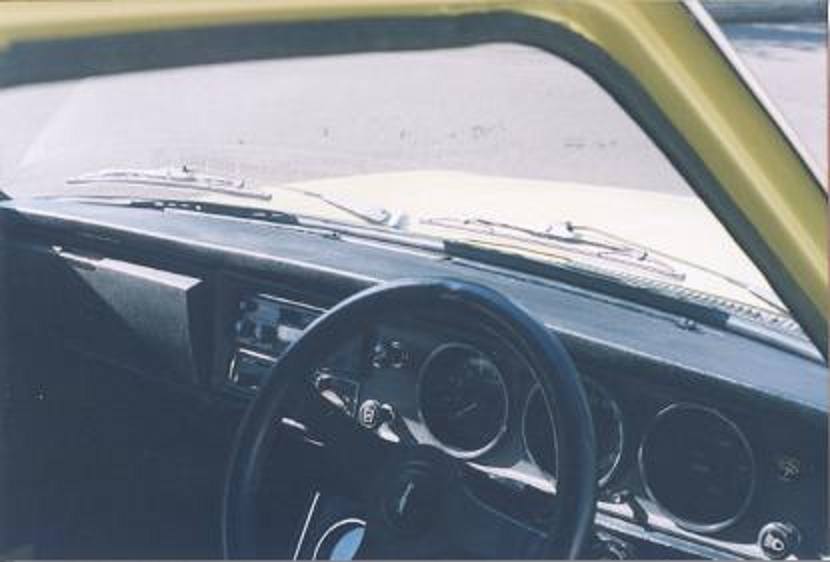
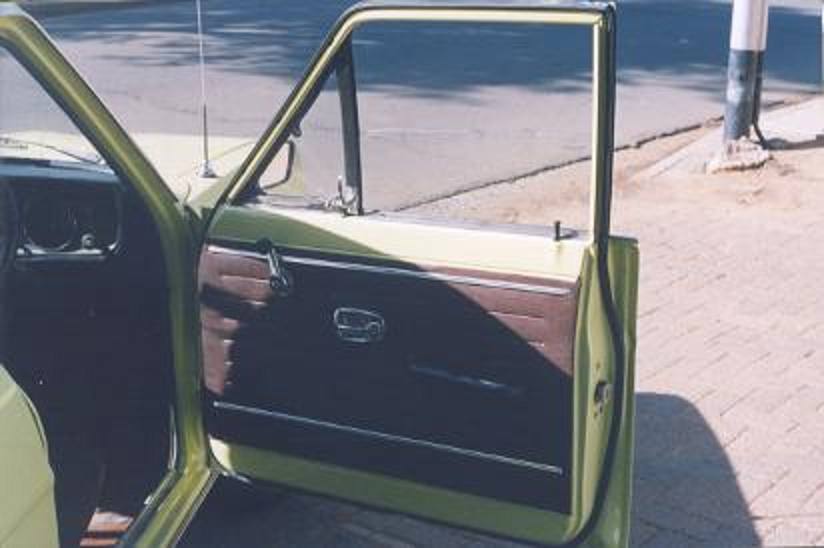
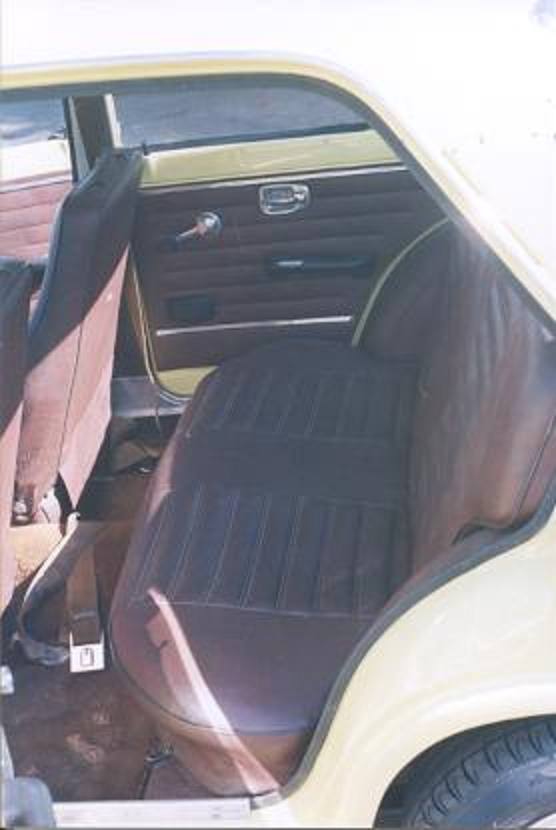
Here is some pictures of the interior.
The seats have no cracks and the dashboard is also still crack free. I try my best to keep the car out of the sun.
Here is some shots of the outside
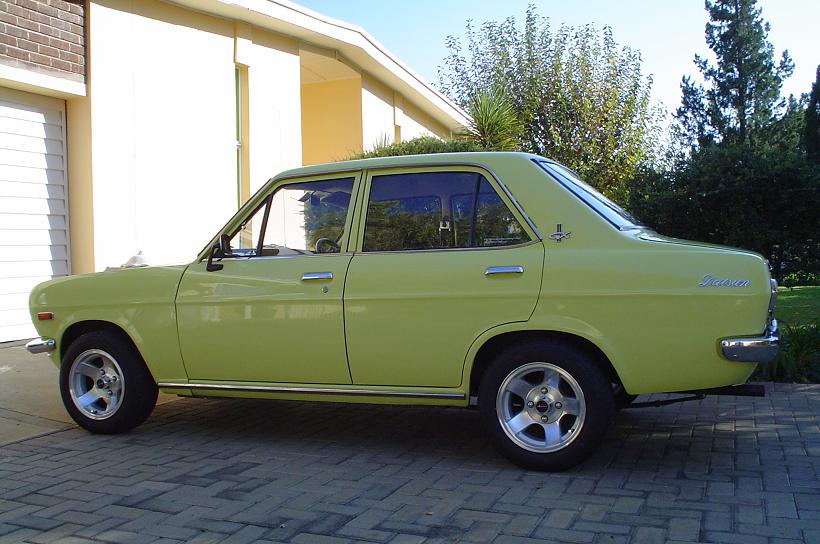
The Finished product that I would like to keep this way for a long time to come.
In direct sunlight it is a yellow color. As can be seen from this picture, in the shade it has a little greenish yellow color.

![[Datsun 1200 encyclopedia]](/wiki/upload/wiki.png)
