![[Datsun 1200 encyclopedia]](/wiki/upload/wiki.png)
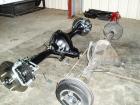
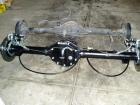
Australian-built R31 Skyline/Pintara came with a Borg Warner 78 rear axle assembly (fitted with M75 crown wheel). The gearset (CWP) is strong, about as strong as the H190 in the Datsun pickups.
Also see Borg Warner 78
Contents |
Overview
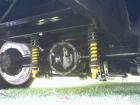
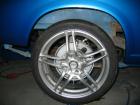
R31 Rear Disk Brakes
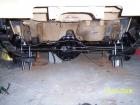
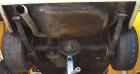
BW78 axle narrowed and installed in 1200
BW78 into 120Y
R31 into B310

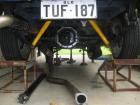
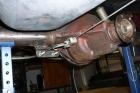
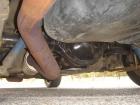
R31 for 1200 Ute. Calipers placed in front for slick handbrake connection
Swap Notes
Converting To Leaf Spring
Creating Leaf Spring pads

Lowering Spring Pads
Handbrake Cable
Handbrake cable considerations
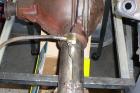
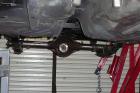
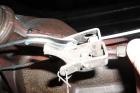
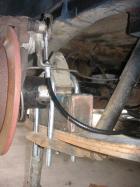
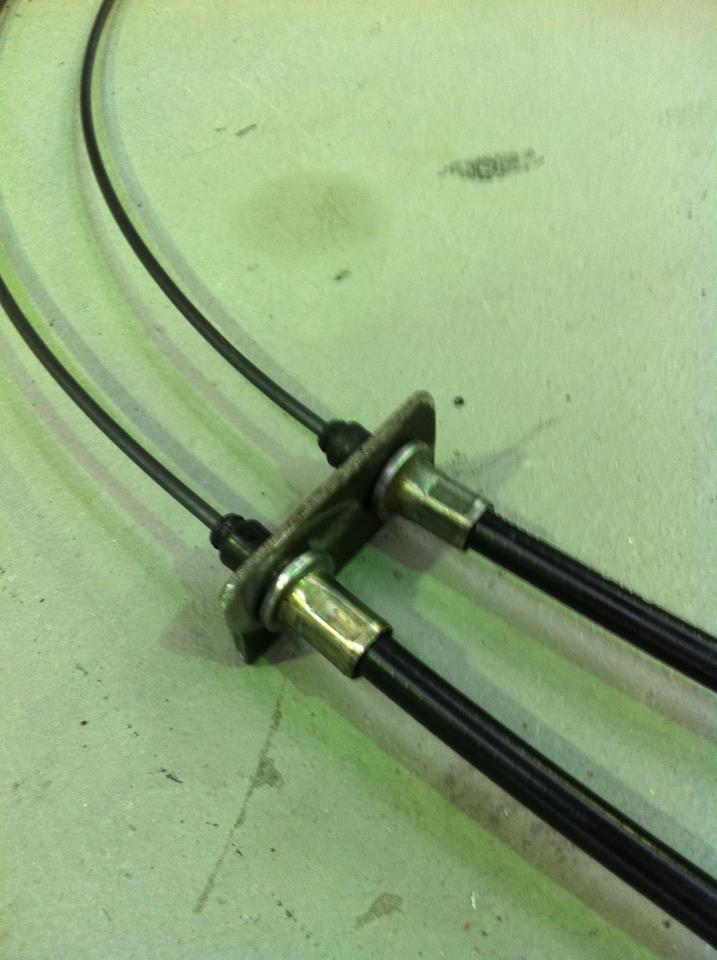
Coops pocketed the R31 pulley thing, cut the bracket off & drilled to suit the 1200 adjustment bracket.
short-coupe said: get all the bits from the R31, including the cable joiner, (my calipers are on the front, not the back), cables go back and i welded a bracket onto the diff to hold the cables. Had a local trailer spare parts mob make up the cables to my requirements, then it was just a matter of machining a piece of 1" x 1" angle iron to suit the cable ends.

Hey guys i know where you can get a hand brake kit to suit the borgwarner diff. I've got one includes every thing, adjustable Call Mark from MD conversions in Blacktown, tell him Brent from Mudgee told you about them. No 96717508
Also see:
Guide
noteven's R31 Diff. Handbrake Cable DIY Guide
WHAT YOU NEED:
- Standard R31 Handbrake cables (just the left and right cables , dont need splitter)
- Diff already in the car
- $200 for Handbrake cables to be made and steel cost
- Few Hours time
- Masking tape
- Decent Mig Welder
- Cordless Drill/Pedestool Drill/Drill Bits
- Tie wire/mig wire/string (used for measuring)
Step 1
I'm assuming the rear brakes are all connected and you still have the standard handbrake cables.
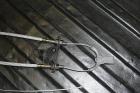
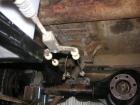
- Connect it all up and push the cables to sit ontop of the leaf springs. prevents them from sagging.
- Cable tie the cable to the leaf to hold it there
- cable tie it to the housing also
You will realise one cable needs to be shortened. one has to be made longer
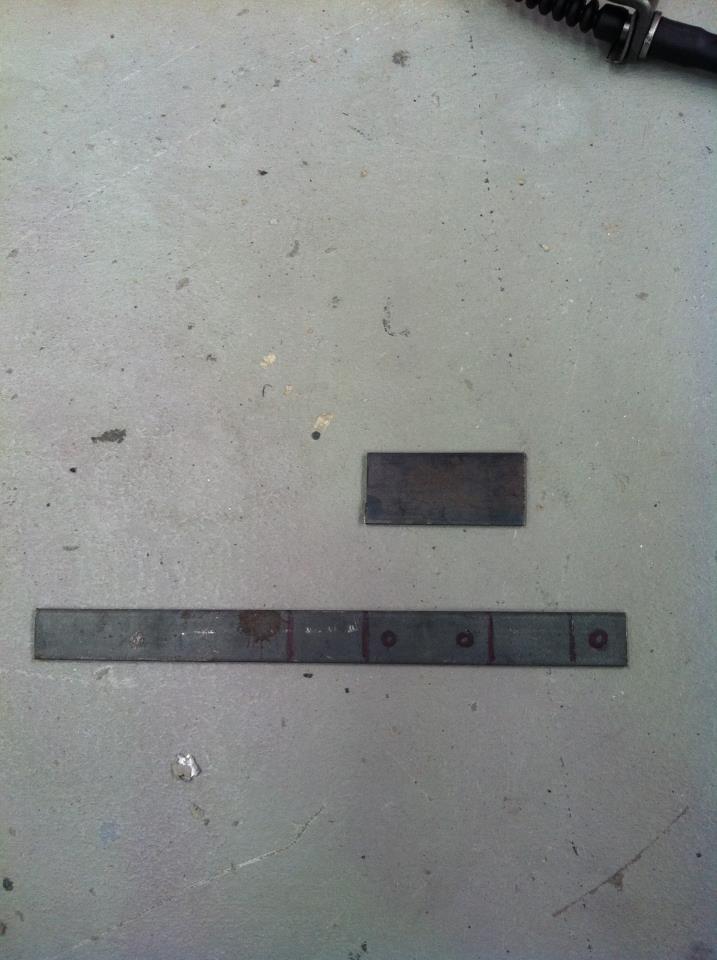
Using my template as a rough guide, make the piece you will be welding to the diff. i forget the hole size but it will vary on cables.
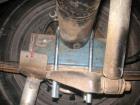
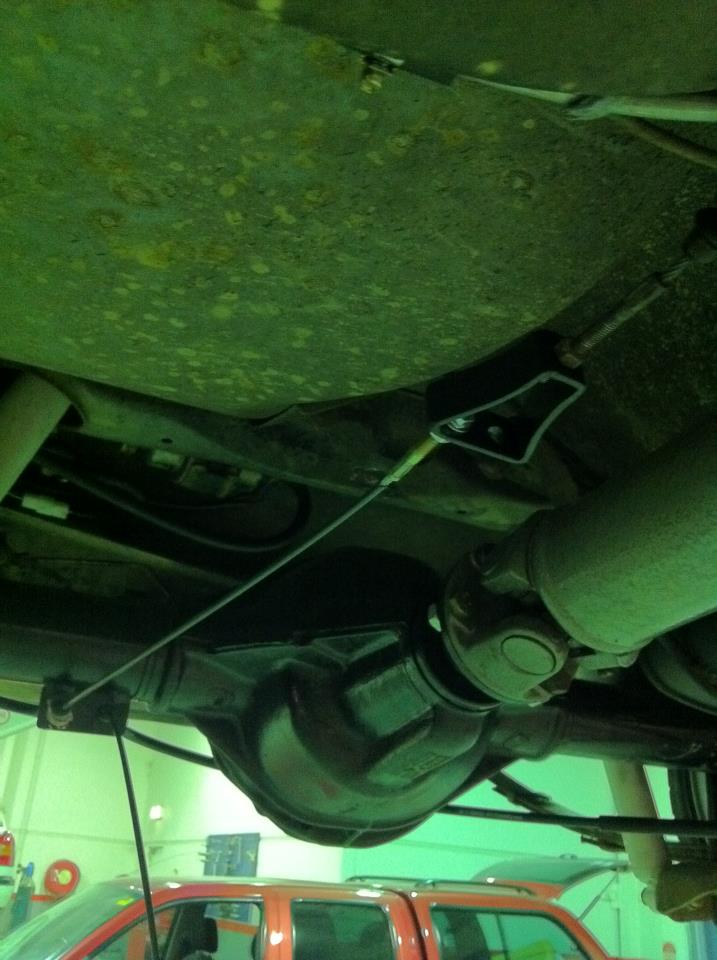
- Tack the piece to the diff inline with the front section of your existing handbrake.
cable
- now tape the wire/string to your cables and run the string/wire to the plate on the diff
- Mark where you want the cable place to add the cable stop
- now make a second mark about 50mm before your existing handbrakes threaded swage end
Now that you have all your measurements, take them down to a handbrake cable/clutch and brake place for them to make you new cables.
NOTE: make sure you get threaded ends put on. or this guide is useless. (took one day , cost $190 . i thought this was reasonable)
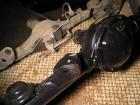
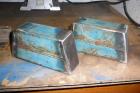
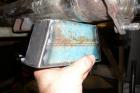
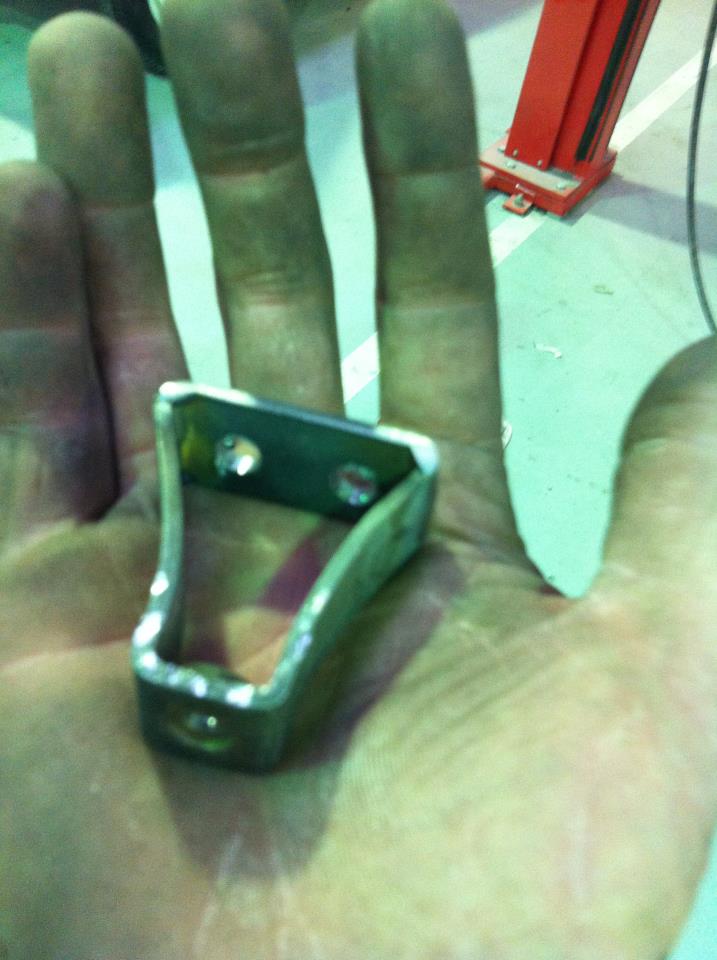
While your cables are being made, get started on the splitter box (see photos). 4 sides, pretty much a triangle shape, which is going to allow you to bolt it to your existing handbrake cable end and have 2 holes for your new cable ends. Very simple.
After everything arrives. put it together and enjoy having a handbrake that doesn't slap on your tailshaft.
Mad Dat
$2345 Product No - DIFR31: Diff Housing & Rear Disc Brakes
Shortened R31 28 spline. Rebuilt calipers, new wheel bearings, new seals, new U-bolts, new discs, new pads. Includes hand brake cables and brake lines. Shortened to your specifications. Calipers painted red or black. This item is an empty shell and needs one a gearset fitted.
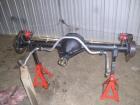
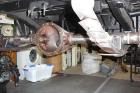
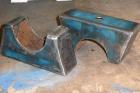
Shortening
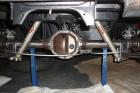
The BW78 can be easily shortened. Shorten the long tube to the same length as the small tube. Machine and respline the long axle down to length. The diff wont be centered, normally the diff is offset a bit to the driver's side, but in doing it this way it offsets it to the passenger side. It's the cheapest way to do it and its fine. The R31 diff has the centre pretty well in the middle of the housing, meaning the pinion is slightly off to one side. When shortening it swapping axles and just cutting down the long axle it ends up with the whole centre off to one side but the pinion is still only slightly off centre, just in the opposite direction to what it started.
$900 to $1600 AUD for this shortening which also includes a remachined axle, and welding on leaf spring plates. It does not include new bearings or LSD or new brakes.
Or if you do it yourself, it's only $50 for an additional good used short-side axle and some work cutting/welding. Some say you shouldn't use a left-side axle on the right (or vice-versa) but hundreds of folks have had no problems.pigdog:
neither me or him have ever has a problem with using the axles in reverse. both in daily driven turbo cars for over 3 years.
Or buy a completely rebuilt shortened unit ready to fit into a 1200 for $2345 AUD from Maddat: Mad Dat Diff.
Discussion: Where to shorten diff housing
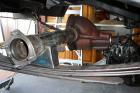
Where to cut
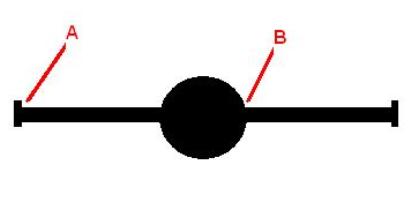
- Set diff in a jig to ensure alignment
- cut the axle tube in the middle (between Point A and Point B)
- shorten tube, and chamfer to tube-ends
- weld end back on, use a chamfered butt weld
- optional: use a sleeve tube over the splice and weld to both tube sections
The axle tube has the recess in it for the bearing, so point A cannot be cut flush. The axle tube must be cut in two and then re-joined.
When doing it at point B you can cut it flush. It takes about 20 ton of pressure to get the tube back in again and its in there a good 3 inchs or so...ain't nothing going to move it even without welds on it.
Cutting the end off is quicker and easier to line the end flange up again.
Comparo
M78 vs H165 Ute
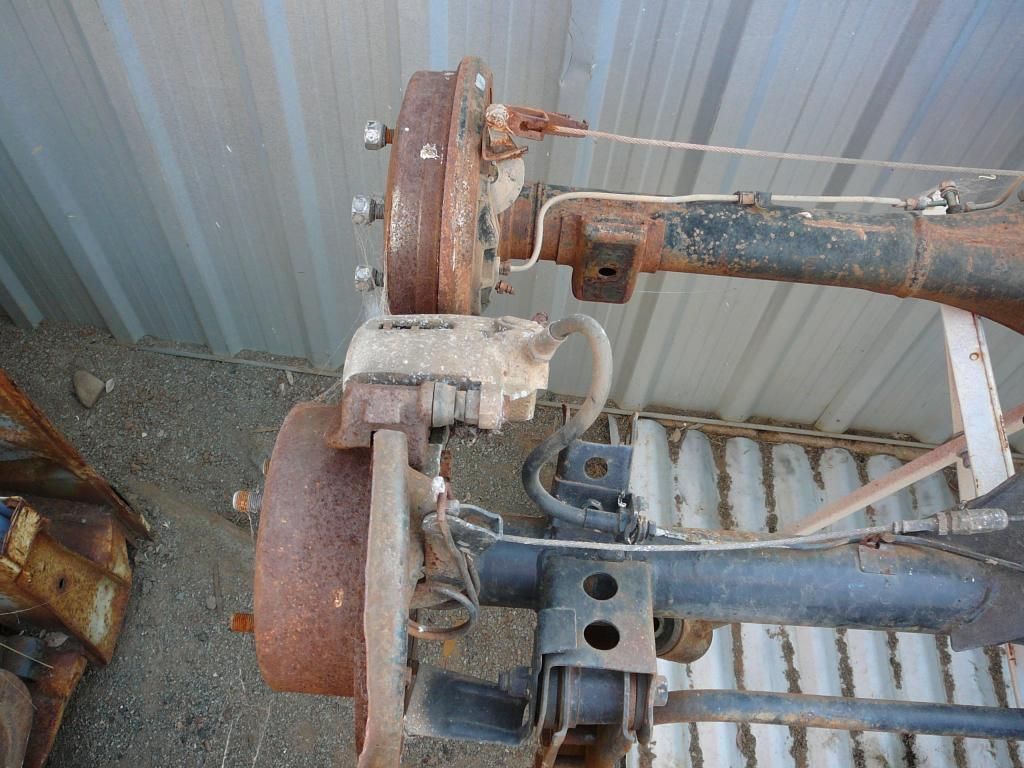

Photo Index