![[Datsun 1200 encyclopedia]](/wiki/upload/wiki.png)
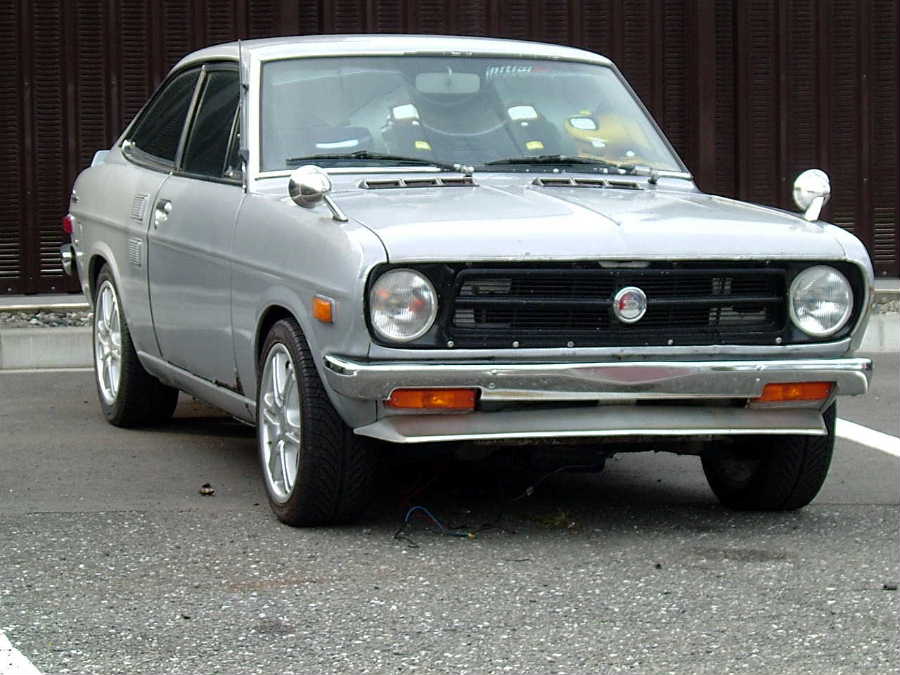
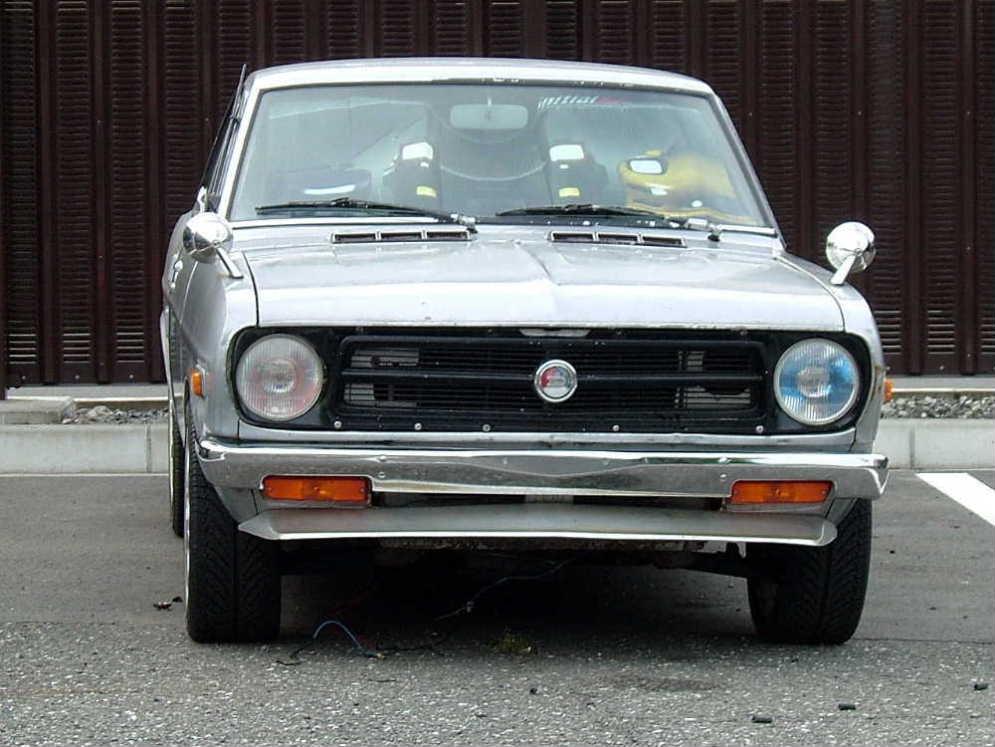
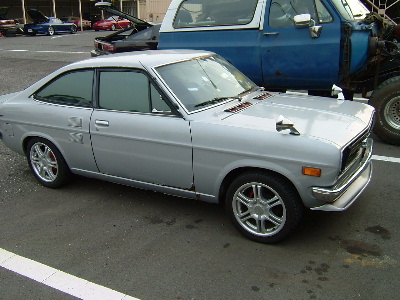
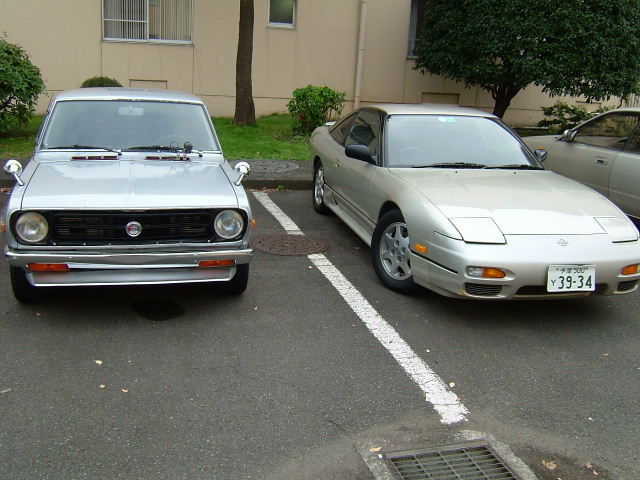
SR20DET-powered Datsun 1200 coupe. 'Nuf said.
Contents |
Overview
Club member AFRacer built one of the first SR20 Turbo 1200s back in 2004-2005. He used an automatic-tunneled 1200 to make the fit easy.
1999: I'm looking for some kind of Nissan Fuel Injected Turbo engine swap to try in a couple years.
Build Thread: SR20DET into 1200 Coupe Project
Looking good with S30 fender mirrors
 album
album
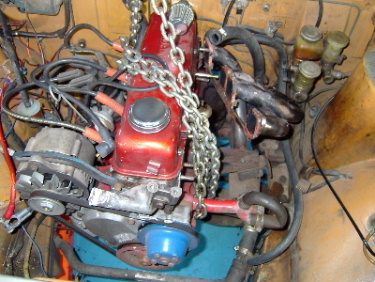
Engine out
 album
album
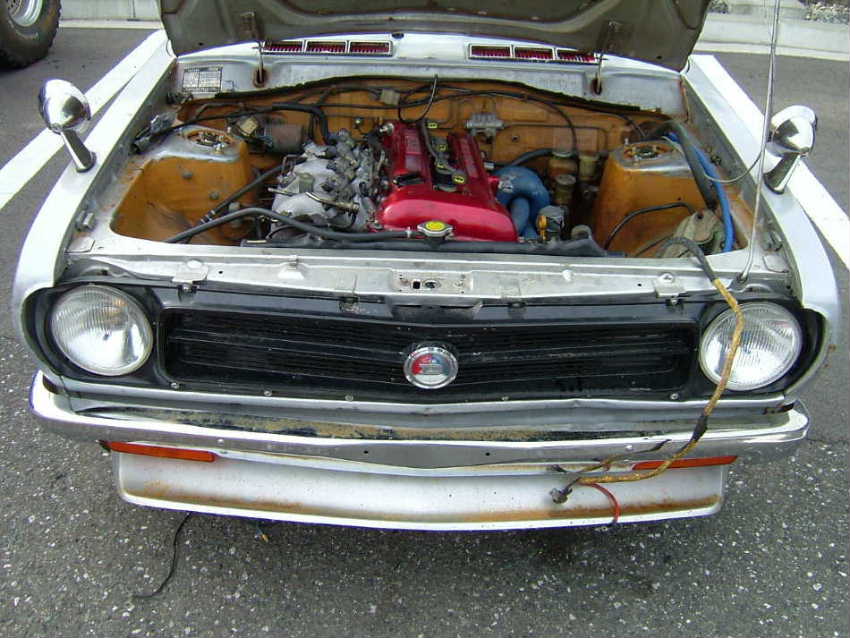
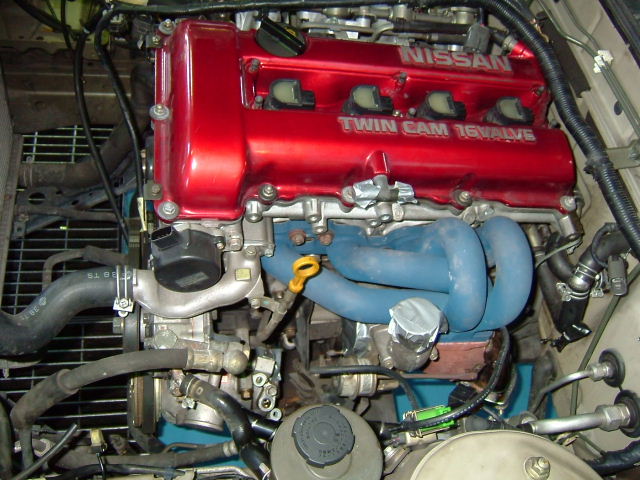
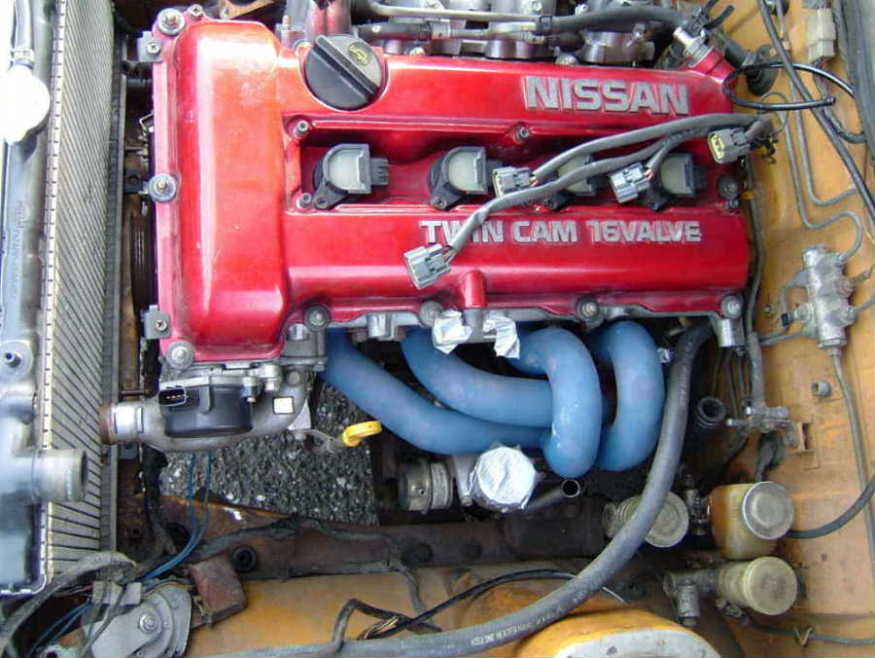
SR20DET DOHC Fuel-Injected donk in
 album
album
Donor
S13 "180SX" is a Silvia Coupe (RS13) bought at auction 25 February 2004
 album
album
* $1400, runs and drives
* 5-speed car
SR20DET
 album
album
The red 180SX turned out to be TOO GOOD for a parts donor. Andy decided to keep it and part out his daily driver 1993 180SX
 album
album
Engine still in RS13, 3 April 2004
 album
album
1200 Prep
Start with one A-series powered Datsun 1200
 album
album
1500-powered
 album
album
Getting it ready - 8 May 2004
 album
album
Remove the A15 engine, note the A15 motor mounts
 album
album
Engine Trial Fitting
The SR20 actually dropped into the auto-tunnel 1200 pretty easy, I took the sway bar out to make things a little easier, although the engine just barely fits inside the aftermarket 7/8" thick sway bar. The GREAT news is that I can use the stock turbo location and outlet pipe!
14 May 2004
 album
album
Also see article: SR Crossmember
Firewall clearance
SR20DET
 album
album
Room enough, Engine can go back another inch
 album
album
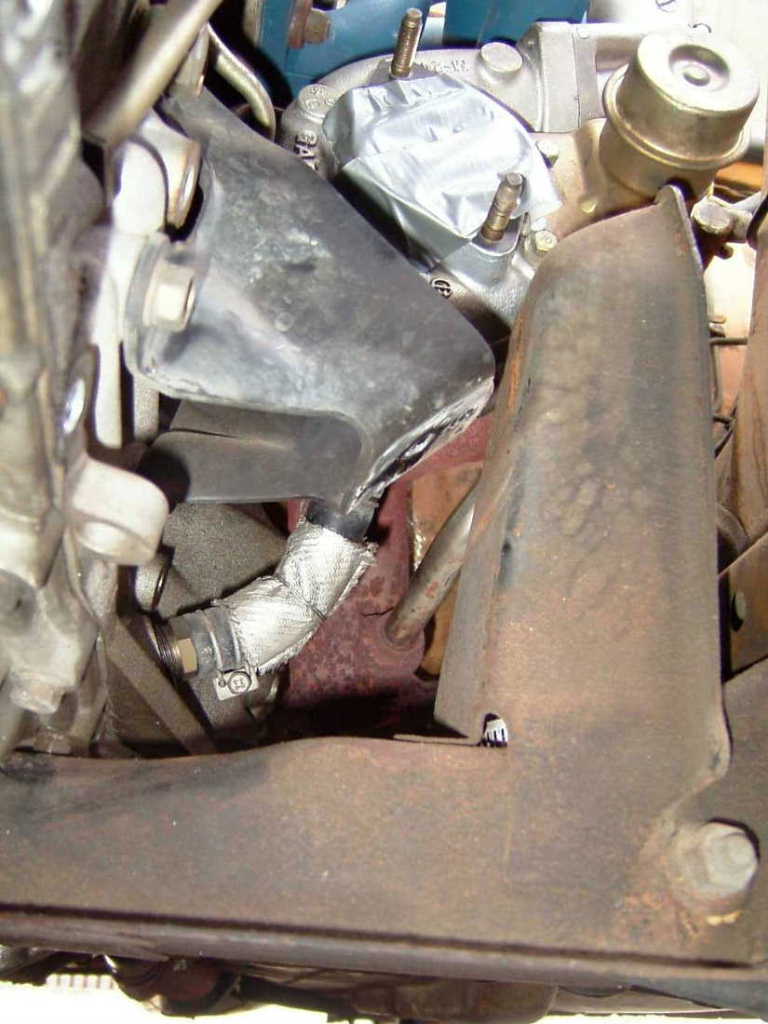
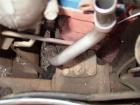
Rear. Here's a pic from behind the engine in a automatic tunneled 1200. The coolant lines running behind the engine should be run elsewhere to allow more space behind the engine. Also the brake and fuel lines need to be redone from at least half way back so they're not inside the tranny tunnel
Left side. Plenty of room for headers, put a shield next to brake cylinder
 album
album
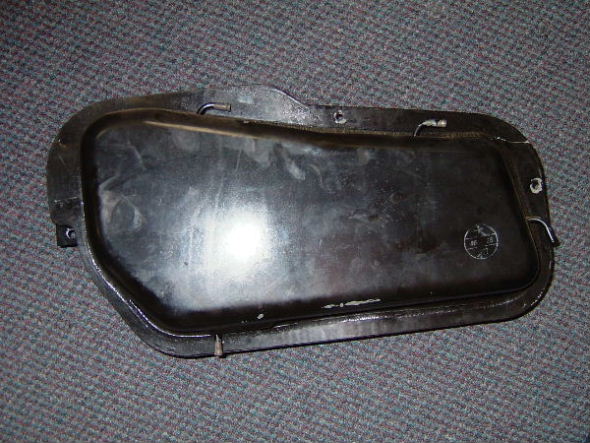
Oil pan fits inside the sway bar like it was made for the 1200!
Clearance of steering gearbox on LDH 1200
Plenty of room - everything on the engine in the picture is stock except for the headers
 album
album
Matsuoka
trucked down to Matsuoka to get exhaust and wiring
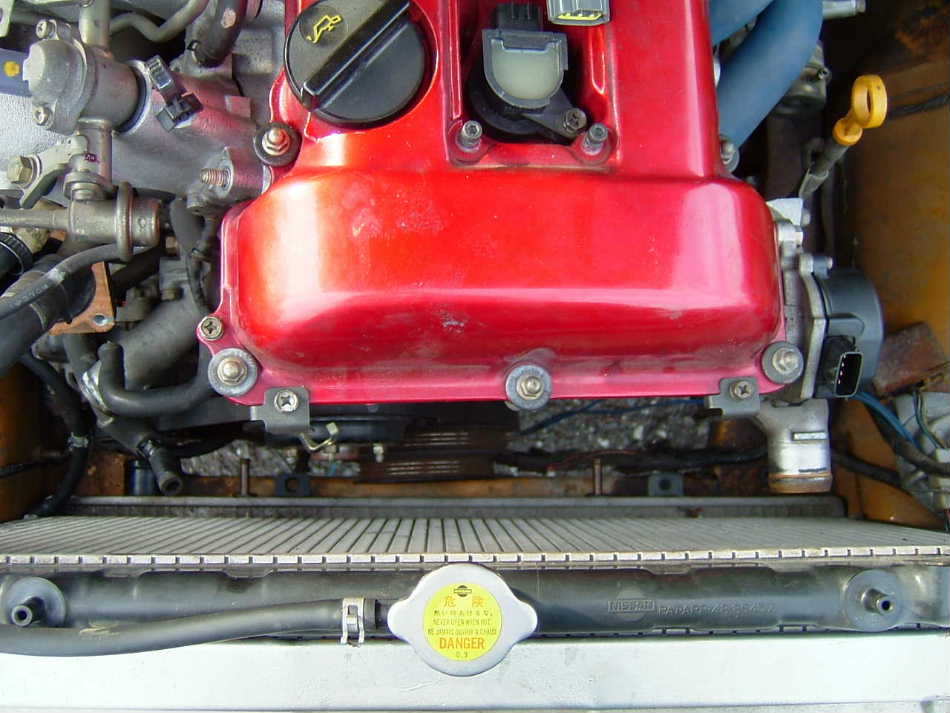
Cooling System
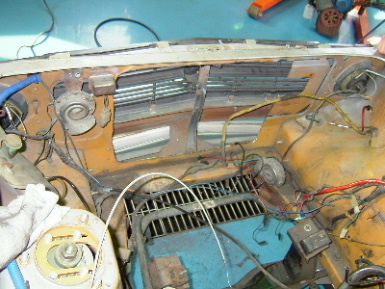
Remove radiator extension and battery tray
 album
album
Stock 180SX radiator fits PERFECTLY in the 1200
album
The length of the SR20 is what can bite you in the butt if you're not careful and you will want to keep the radiator and intercooler as THIN as reasonably possible so you can also fit in a slim electric fan.
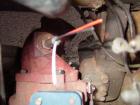
water outlet off the engine will be cut and reweld it so it points 90 degrees straight up instead of straight forward into the radiator (although maybe a FWD SR20 water outlet -- which goes straight out -- might work too)
album
will probably also have to re-route some of the coolant hoses on the SR20 engine too....they're routed all funky and behind the block for the heater and turbo inlets. I just took all that piping off and will route it differently anyway.
I found a partial solution for the heater hoses using the metal heater lines from a CA18DET, they're 5/8" diameter whereas the 1200's are 1/2" and the SR20DET's are 3/4". I'm going to use the 5/8" metal line to run behind the engine where it's really tight. I WILL have a working heater when it's finished. I can't stand seeing guys take the easy way out by just leaving it off or disconnected. I can't have A/C in my 1200, but I will at least have a good working heater! I can't stand a car without a good working heater!
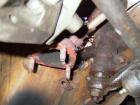
The lower radiator hose is going to be a trick. The alternator sits REALLY close to it, so basically the hose needs to make a sharp 90 degree bend as soon as it comes out of the radiator. I'm going to try to make the 90 degree with a piece of thick plastic plumbing pipe (the radiator's tanks are also plastic, so it should hold up). If it doesn't work I can always use copper or steel bends. I also found copper hose converters at the hardware store's plumbing section. This will be needed to mate the SR's 3/4" heater hoses to the 1200's 1/2" heater inlet/outlet.
Exhaust
You can use the stock (or aftermarket) turbo outlet pipe AND front 2/3rd's or so of the 180SX exhaust pipe! This is awesome! After that front part you'll have to customize your own exhaust to mate it to that, but it helps to already have about 2 feet of the hardest part done!
I found an electric fan to use finally. The 180SX radiator isn't quite 16" high, so I went with a 14" fan made by Zirgo. These are the HIGHEST cfm rating I have seen on electric fans yet! The 14" puts out just under 2700 cfm, it's 3.5" deep, has a replaceable motor, and cost only $70. Their 16" fans put out 3700 cfm! Most 14" fans put out only about 1000cfm, the Flex A Lite DUAL 12" fans put out only 2500cfm!
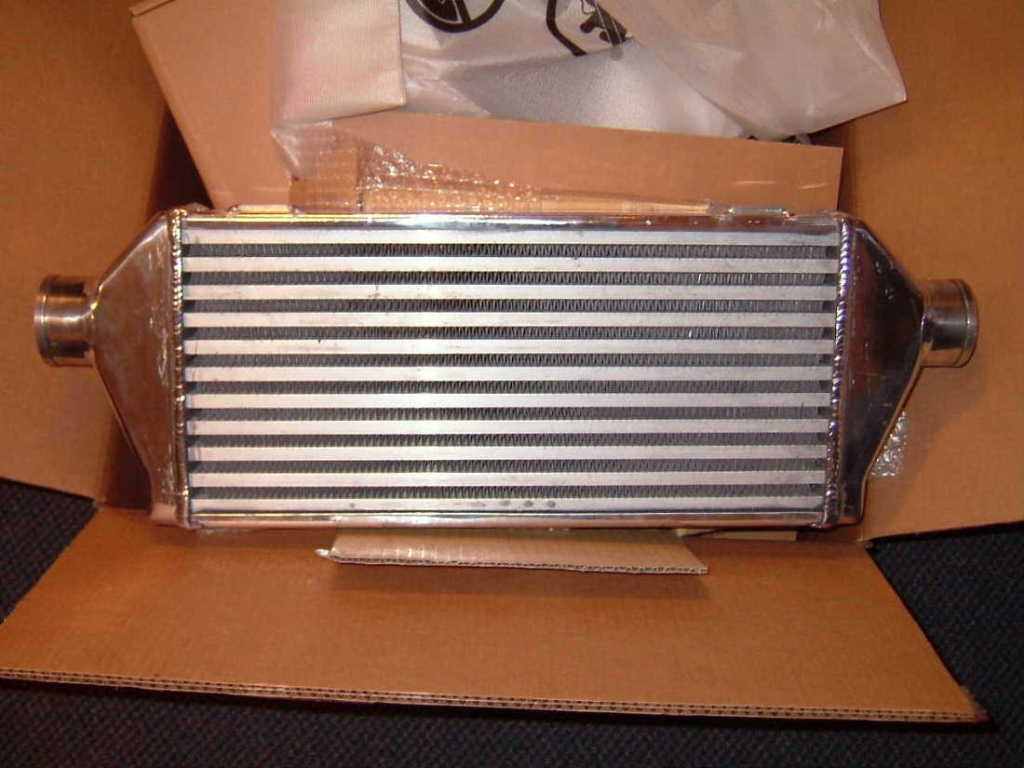
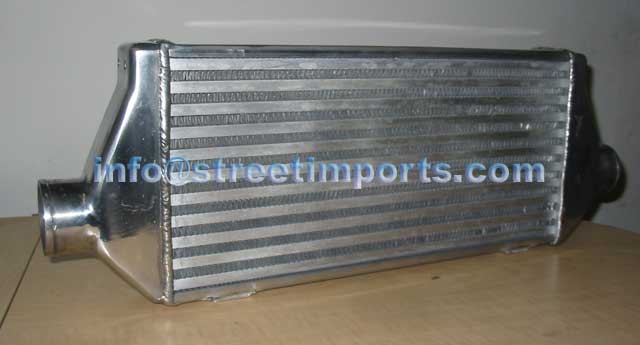
Intercooler
High-boost Forced Induction systems need an intercooler, lest the heat of compression destroy the engine.
Intercooler, 26x9" air-to-air type fits between the grille and the radiator
 album
album
About the biggest intercooler you could fit in front of the radiator without a load of cutting is about an 18" wide core (about 26" TOTAL length MAX) and I wouldn't go much more than 13" high as you will start to interfere with the hood latch mechanism. And for depth, try to keep it under 3" thick. Most intercoolers are 3" thick and if you can get one thinner than that (2" - 2.75") it will only make the job easier with less cutting and less protrusion into the engine bay.
12 November 2004 - I bought a whole bunch of mandrel bent 2.5 and 3 inch pipe and just cut it to fit using silicone connectors to join them up. We ended up not having to weld a single pipe (except the Blow off valve flange). I'm still waiting for one silicone 90 degree connector to get here to be completely finished, but everything else is done.
Fuel System
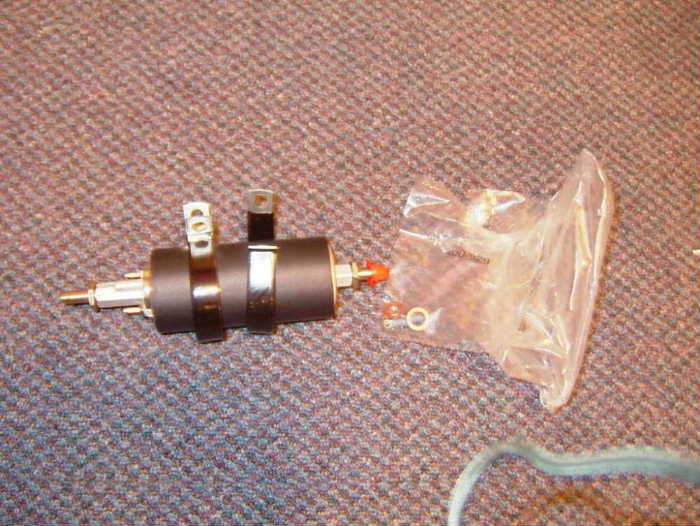
The fuel system will consist of a high volume low pressure electric pump (Holley) sucking out of the gas tank into a surge tank, then the Walbro will suck out of the Surge Tank to the engine.
5/16" fuel line is plenty enough for the SR20. The SR20DET runs 5/16 stock, and is well capable of over 400 rwhp.
Walbro 255LPH inline fuel pump, high pressure for EFI and plenty of volume for high horsepower
 album
album
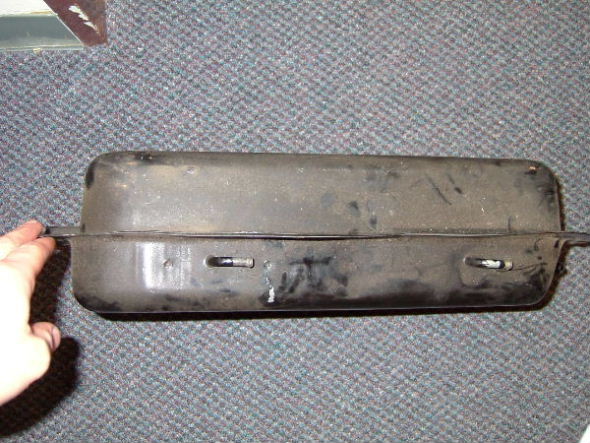
Surge tank made from stock coupe tanklet
 album
album
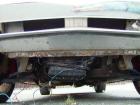
Holley Red electric pump mounted on the frame rail behind the right rear tire to put gas into the surge tank inside where the fuel evaporator tanklet used to be. Then just below that (gravity feed) I'll mount the EFI Walbro pump with a Z32 fuel filter in front of it, and then I've got to mount new 5/16" fuel line from back to front twice for the return line as well. Keep in mind you're going to need just about 12 feet for each line, so 24-25 feet total minimum, and don't forget to use EFI specific fuel line and clamps -- standard fuel line won't hold up to the pressure!
The Holley Red fuel pump will mount behind the right rear tire. There is a metal mud/stone deflector there to protect the rubber filler hose. I removed that piece and there is plenty of room for the Holley to mount to the frame sideways. will then reconstruct the stone guard out of aluminum and mount that in front of the fuel pump to protect it from rocks and LOTS of hot rubber.
The stock fuel and brake lines are routed through the transmission tunnel, which is already pretty crowded and the stock lines are too small anyway, so you'll have to install all new lines and route them differently.
I ended up using the 180SX accelerator cable as it's length is perfect. I had to shorten the cable a few inches and also had to get rid of the original throttle cable threads on the firewall. I just cut a hole there big enough to fit the 180SX throttle cable and ran it to the throttle body.
Transmission
The automatic tranny tunnel is big enough for the 180SX 5 speed, but it looks like it might be pretty tight at the rear on the sides...if anything a very slight amount of cutting and rewelding on the tunnel might be necessary, but not a big deal.
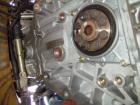
The engine and transmission can be installed and removed together as one unit -- it can be raised up from underneath, after the crossmembers are removed. So keep that in mind when you do your conversion! HINT: Make sure you put a NEW or resurfaced flywheel, clutch, pilot bushing, and throwout bearing in the first time!
The starter and upper transmission bolts will have to be installed with transmission lowered, before the tranny mount is bolted to the car. Even with the auto tunnel, it's still a tight fit, but really not any worse than a 180SX is.
Gearbox mount details: post 51
Cut a hole yet for the SR20 shifter which sits further back where the tunnel gets a lot smaller. So, I cut out the metal inside the car, which ended up being a bit. Also had to bang/bend the tunnel just a little on the sides, no big deal. I need to trim a little more, but it looks pretty good so far.
Wiring
I have not cut or modified the 1200's wiring at all. Instead I used all the connectors already in place to feed the proper power to the ECU and Alternator/charging system. I had to extended the alternator wires to the other side of the engine bay, but that's about it.
Because I kept all the wires long, I was able to mount the ECU just under the glovebox, and the ignitor ends up inside the car, right near the hood release.
Using the S13 factory ECU and engine wiring harness makes wiring up an SR20 fairly easy. There are a lot of wires, but only a few you need to worry about.
wiring part of build
On the ECU harness, there is a connector only 3-4 inches from the big blue ECU connector with about 12 wires on it. Cut these wires somewhere AFTER the connector if you can, once again trying to get as much length out of the wires as you can. These wires go to items inside the car:
* Yellow/Red - Tachometer Signal
  Not used by the factory 1200 tachometer
  (or, connect to your aftermarket tachometer)
* Yellow/Green - Speedometer Sensor
  (leave disconnected unless you use a 180SX speedometer)
* Black - Ground/Earth
* Blue/Green - A/C signal (if you have aircon)
* Orange - Start Signal
  goes to 10A fuse, then Black/Red wire to ignition switch/relay box
* Blue/Black - Water Temp. Signal
  hook up to S13 temp gauge, not used by 1200
On the harness that goes from the ECU to the engine:
* THICK White (longest one) goes to fuse block
* Thinner White (to ignition switch)
* THICK Black/White (to ignition switch)
* Black/Yellow - from relay to + positive side of fuel pump
* Black/Red to fuse block 10A
* Black (SOLID BLACK IS ALWAYS GROUND/EARTH)
Keep the fuel pump resistor in place. It quiets the pump at idle, and doesn't affect performance as full voltage kicks in when needed.
Use the harness fuel pump ground wire, as it is a more reliable way of grounding than simply grounding the pump to the chassis.
Relay Box - there are two relay boxes. See wiring part of build
Brake System
The SR swap only adds a few hundred lbs to the car, so it doesn't necessarily require bigger brakes. However you will likely be going faster, so it's a good idea to upgrade the brakes. Use a large diameter rotor to increase braking leverage while reducing pedal force needed -- the S13 Brakes swap is the easiest way.
280ZX front suspension/brakes is the way to go for lowering + brakes upgrade at the same time.
rear disk brake setup for 82-83 280ZX
The stock fuel and brake lines are routed through the transmission tunnel, which is already pretty crowded and the stock lines are too small anyway, so you'll have to install all new lines and route them differently.
Differential
Ute rearend assembly with LSD to handle the power with driveshaft customized to fit the 71C gearbox.
See tech article: Rear_Axle_Swaps#1200_Ute
Upgrades
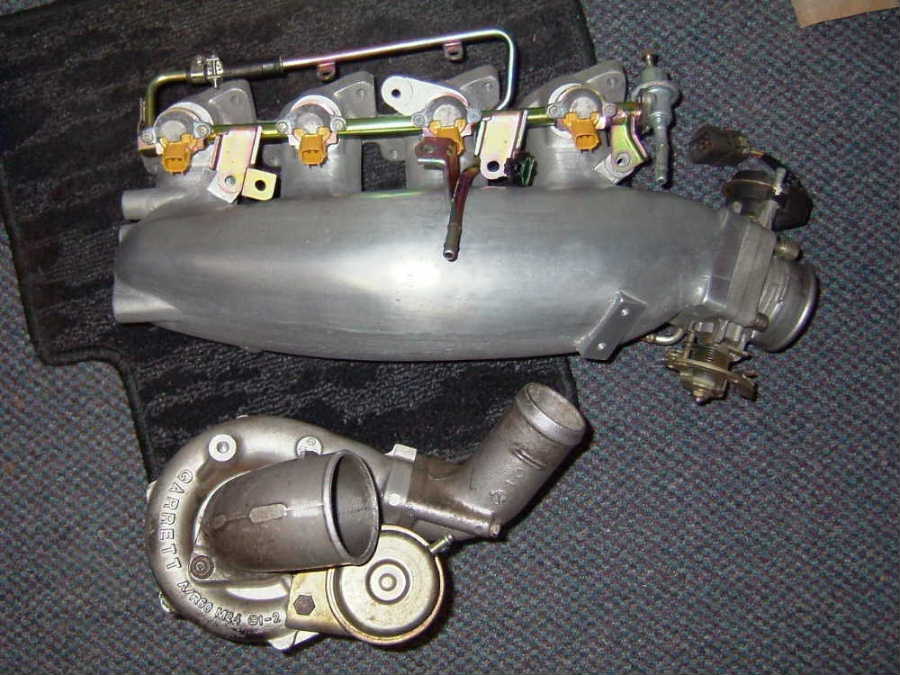
Greddy style intake, Nismo 555 cc injectors, Nismo fuel pressure regulator, and S15 T28 ball bearing turbo
 album
album

Top-mount exhaust, not needed for a 1200
 album
album
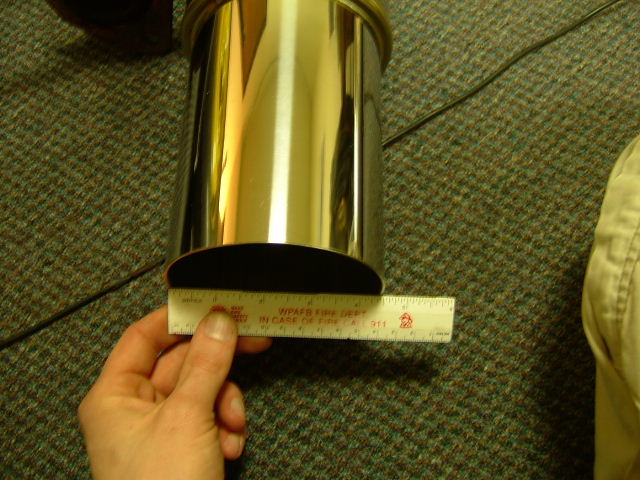
4.5" exhaust pipe, not needed
 album
album
Z32 MAFS with Tomei wire adapter
S15 ball bearing turbo
Rocker Arm stoppers
Greddy style intake manifold
Stainless steel 80mm outlet pipe
Blitz Dual SBC (boost controller)
Enjuku tuned ECU
Large FMIC
NISMO 555cc injectors and regulator
Open element air filter
No accessories/fan, only water pump and alternator being driven.
I'm looking at buying a set of Tomei PonCams (256 or 264) and Greddy underdrive pulleys too.
This engine puts out 215 rwhp with stock everything, and with the above components this combination is good for about 300 rwhp and a whole lotta nasty low end with that S15 turbine.
* stainless steel turbo outlet pipe/dump pipe
* stainless steel braided lines for the turbo (oil and coolant)
* Nismo engine and transmission mount rubber insulators
* BEAUTIFUL (and expensive...$380) Unorthodox Ultra SS Underdrive Pulleys
* completely ported and polished SR20DET cylinder head
* ARP head studs
* 1.0mm metal headgasket
* Tomei 256 Poncams and bearings, rocker arm stoppers, valve springs/seats/retainers
* Tomei adjustable cam gears